
Attaching an External Hard Drive
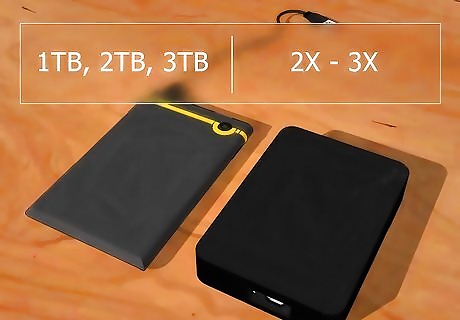
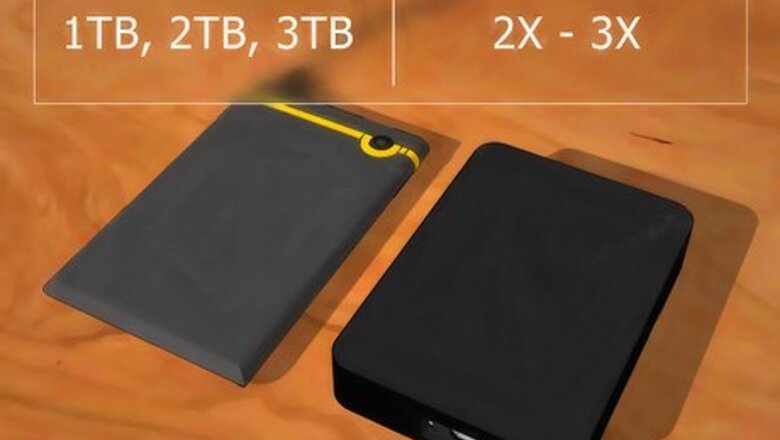
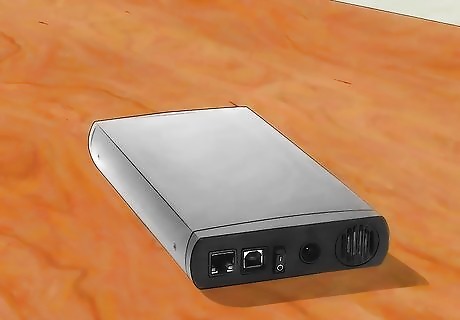
Determine your best option. External drives come in many shapes and sizes to fit any user’s needs. Make sure your computer has a spare port to plug into. Just want to plug and play? Look for a model without an external power supply. Frequently backing up your data? Some models come with automatic backup software. Pay attention to USB speeds! Newer versions of USB will transfer data faster, but your computer must have a corresponding port. Luckily both port and cables are backwards compatible!
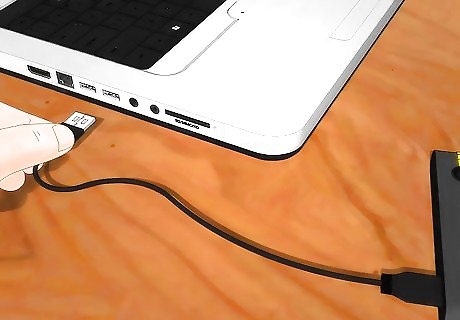
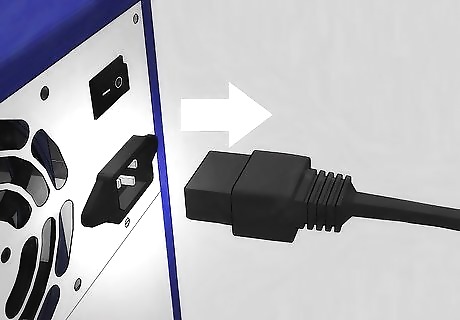
Connect the external drive. External hard drives are usually connected via USB port, although some models may use external SATA. Once connected, the driver should install automatically and you can start using it to store data!
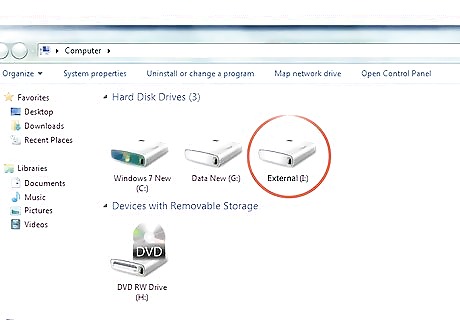
Access the drive. Open the file explorer to verify that your drive is listed with your other storage devices. You should be able to start storing data immediately!
Mapping a Network Drive
Determine if a network drive is right for you. Network drives are great for storing and sharing files with other users on a network. They are also useful if you want to store the drive out of the way, since they can be accessed remotely from anywhere on the network.
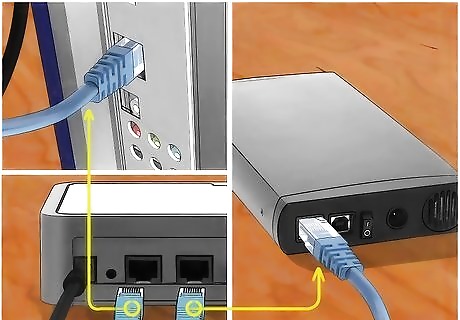
Connect the drive. Network drives can be connected to your network and can be accessed like any other disk as long as you remain on the network. Plug in the network drive to an outlet if it requires external power. Connect the drive to the network. This can be done via the router or modem - usually with an ethernet or USB cable.
Map the drive. This allows you to easily access the drive like any other hard drive whenever you are on the network. The following steps are written for Windows 10 and may vary slightly depending on the version of Windows you are running. Navigate to This PC > Map Network Drive. Select a drive letter and press Browse. Select the network drive from the list and press OK.
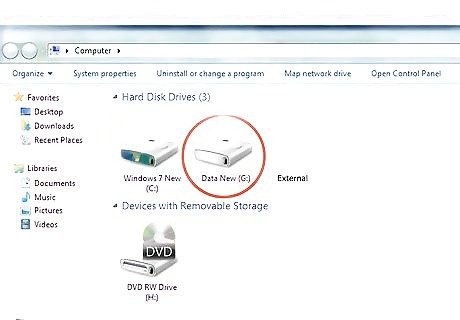
Access your network Drive. Open the file explorer and you should see your drive appear listed with the rest of your storage devices.
Replacing the CD, DVD, or Floppy Disk Drive
Purchase a new internal hard drive. If you don’t want to expand externally, but don’t have any extra space inside the computer, you can replace the CD, DVD, or Floppy (AKA Optical Drive). A standard 3.5” internal desktop hard drive is a good way to add lots of space for cheap. Both hard drives and optical drives can utilize either an IDE or SATA interface cable(two alternates to USB). Most hard drives will come bundled with the cables they need, but you may need to purchase them separately as well. EXPERT TIP Gonzalo Martinez Gonzalo Martinez Computer & Phone Repair Specialist Gonzalo Martinez is the President of CleverTech, a tech repair business in San Jose, California founded in 2014. CleverTech LLC specializes in repairing Apple products. CleverTech pursues environmental responsibility by recycling aluminum, display assemblies, and the micro components on motherboards to reuse for future repairs. On average, they save 2 lbs - 3 lbs more electronic waste daily than the average computer repair store. Gonzalo Martinez Gonzalo Martinez Computer & Phone Repair Specialist Choose a hard drive that keeps your data safe. Gonzalo Martinez, an Apple repair specialist, says: “When you delete information from a regular hard drive it writes a zero over the data. There is sophisticated software that can look underneath the zeros and extract your files. With SSD hard drives, your data is a lot more secure because it’s very difficult to remove deleted data from an SSD."
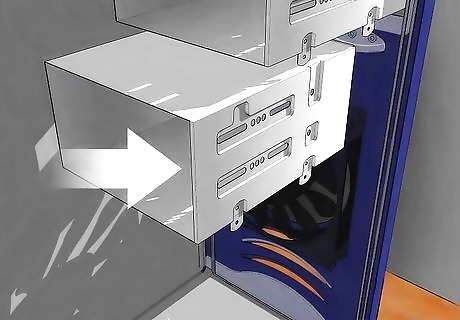
Acquire necessary adapters. Most optical drives utilize a 5.25” expansion bay, which is too large for a 3.5” hard drive. You may need mounting brackets or a 5.25” to 3.5” bay adapter. Consult your manufacturer’s specifications to verify the size of your optical drive first. The expansion bay is the space that holds the drive. Both mounting brackets and bay adapters will allow you to fit your smaller hard drive into the larger space.
Remove power from the computer. You want to make sure the computer is completely powered off and unplugged before touching any of the electronic components.
Open the computer. You will likely need a screwdriver to open the computer wall. The type of screwdriver will vary depending on manufacturer.
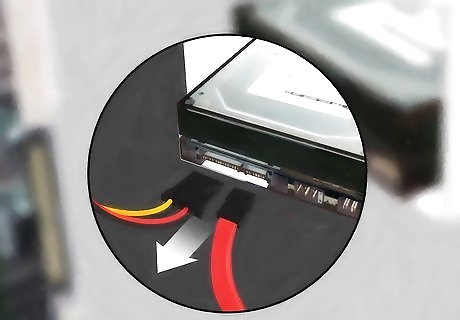
Disconnect the cables attaching the drive. Most optical drives are connected via two cables: power and data. The power cable typically has a white tip attached with black, yellow, and red wires. The data cable has a wide tip attached to a ribbon cable.
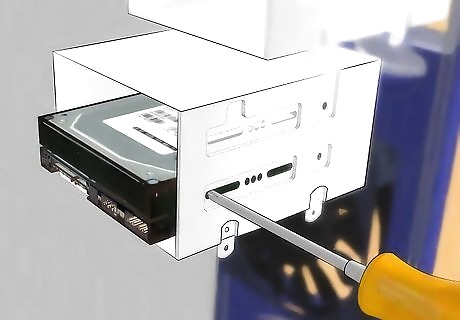
Unscrew and remove the drive. Once the screws are removed, the drive should either slide out or release with a latch.
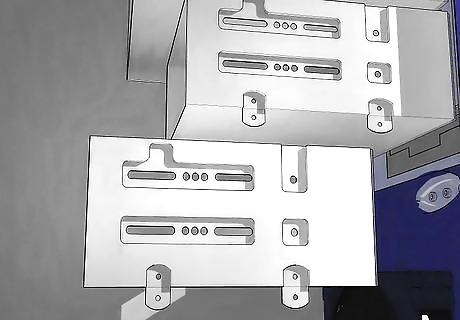
Install the mounting brackets or bay adapter (if necessary). Secure the necessary adapter with screws.
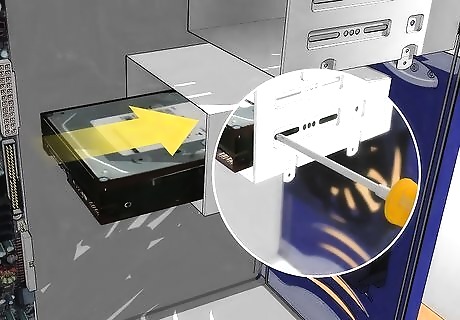
Mount the hard drive in the empty bay. Slide the drive into the bay and reattach the screws.
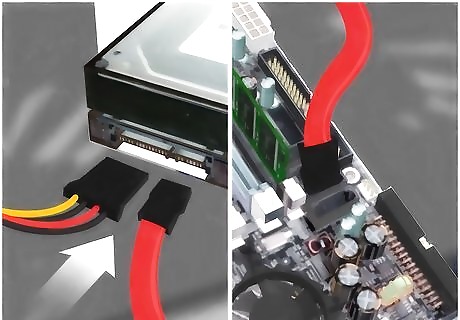
Connect the hard drive to the motherboard. Reattach the power and data cables.
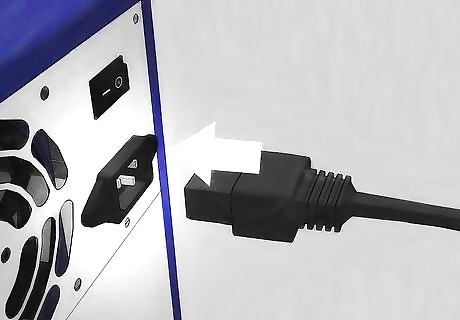
Restore power to the computer. You will need to plug the computer back in to setup the drive.
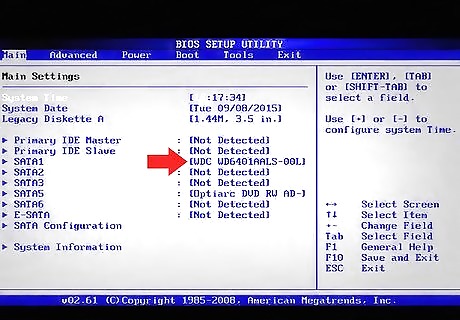
Setup the drive in the BIOS. BIOS (Basic Input/Output System) is the software used by the processor to identify its hardware like your newly installed hard drive. Different manufacturers use different software to access and modify the BIOS. Consult the manufacturer’s specifications to confirm exactly how to access the BIOS and the hardware section within. Power on the computer, and press the necessary key during the startup screen. Look for a tab named “Hardware”, “Setup” or something similar. Navigate using the keyboard. You should see your newly installed hard drive listed. If not, power off the computer and double check the cable connections. Look for an option labeled “Auto-detect” and make sure it is enabled. Save and Exit. This usually has a specific key bound to it in BIOS. Your computer should restart automatically.

Format the Drive. The drive needs to formatted into a filesystem that your computer can read before it can be used. If you plan to use any Windows system files you will need to format to NTFS, but for simply storing data a filesystem like xFAT or FAT32 will be fie. The following steps are for Windows 10, but should work for other versions of Windows as well. Press Windows Key + R to bring up the run menu. Type diskmgmt.msc and press OK. This launches the disk management tool. Right-click the new hard drive in the list and select ‘Format…’ Select your desired filesystem and press OK. Formatting a disk can take some time depending on the storage size of the disk. Once formatting is complete you can use your new hard drive to store data!


Comments
0 comment