
Download some Lightroom Presets. You may have to buy them but there are many free Lightroom Presets available online.

Go to your Downloads folder and unzip the file. Lightroom Presets are normally delivered to your computer as zip files. It will not install as a zip file therefore you should unzip it first. The uncompressed file will have a .lrtemplate extension.

Open Lightroom.
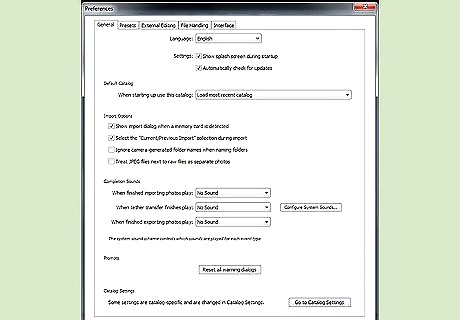
Click Edit. Go down and click Preferences. A new window will pop up.
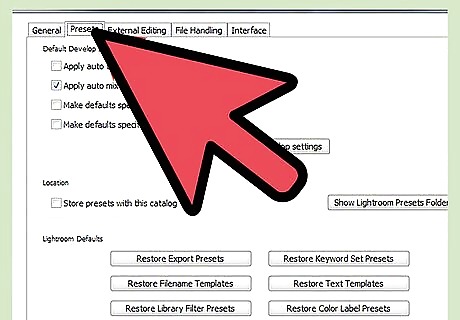
Click Presets Tab.
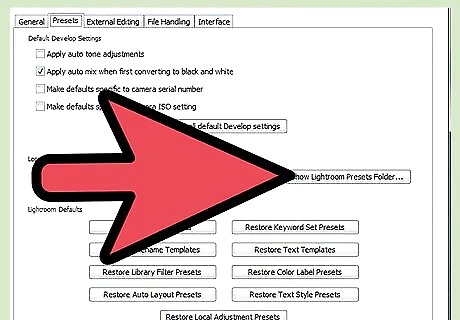
Click “Show Lightroom Presets Folder” under Location. A window showing the file location of Lightroom can be found (for example: C:\Users\Computer\AppData\Roaming\Adobe) depending on where the program was installed.

Locate and double-click the folder Lightroom.
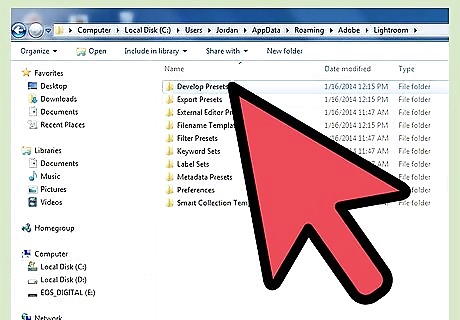
Locate and open Develop Presets.
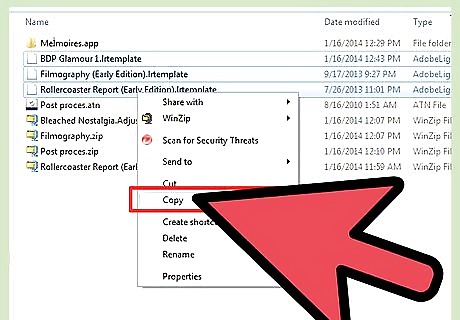
Copy the preset you just downloaded. Go back to where you have downloaded or extracted the preset template or templates, select them, and copy them. You can copy by pressing Ctrl + C or by right-clicking and selecting Copy. If you have downloaded more than one template you may copy them all at once.
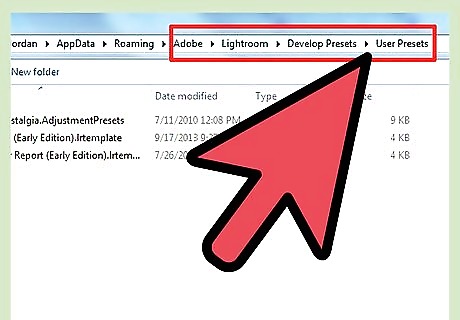
Paste the file or files in the User Presets folder inside Develop Presets.
Close Lightroom and open again.
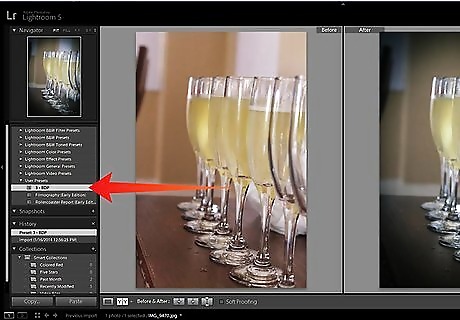
Try your new presets. Import a photo and click Develop. On the Left Side, below the thumbnail of you photo you will see the available presets. Look for and expand “User Presets” to find the presets that you have installed.


Comments
0 comment