
Choosing the Watercolor Paper

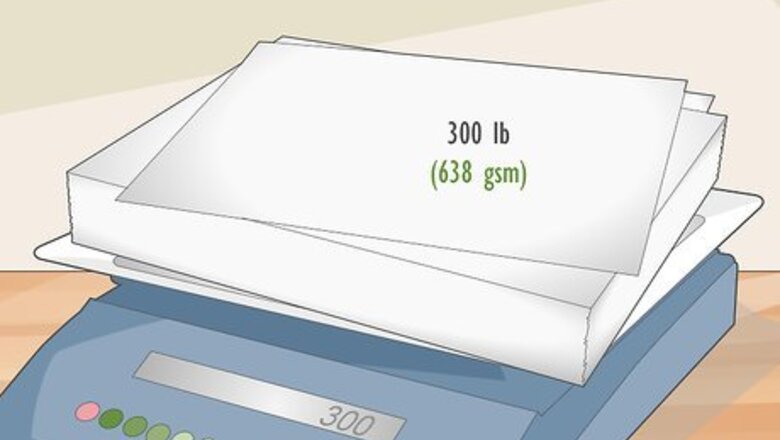
Select paper heavier than 300 lb (638 gsm) for more absorbency. Watercolor papers are made and sold by the weight of a ream, which is measured in either pounds or grams per square meter. Lighter weight paper is thinner and will more easily buckle and warp when you apply your watercolor paint. For more absorbency and less warping, go with a watercolor paper that is weighted at either 300lb (638 gsm) or more.Note: Heavier paper is thicker and often has a more textured surface, which can make it difficult to create detailed paintings.
Choose rough-textured paper for the greatest absorbency. In addition to weight, watercolor papers are also described by their textures. The highest quality (and most expensive) watercolor paper is known as “rough” texture and will absorb more watercolor paint, which means it won’t warp as easily. Choose rough texture paper for the least amount of buckling. 300 lb (638 gsm) rough texture watercolor paper can cost between $60-$135 for a ream. Some high-quality rough texture watercolor paper is handmade, which makes it even more expensive.
Use cold-pressed paper for a balance of texture and absorbency. Choose cold-pressed watercolor paper, sometimes called not-pressed, for a slightly raised surface that will absorb watercolor paint and help keep it from warping. For a less expensive, but still effective option, go with paper labeled as cold-pressed. Hot-pressed paper has a smooth surface and will buckle more easily whenever you apply your watercolor paint to it. 300 lb (638 gsm) cold-pressed watercolor paper can cost between $10-$20 per ream.
Stretching the Paper
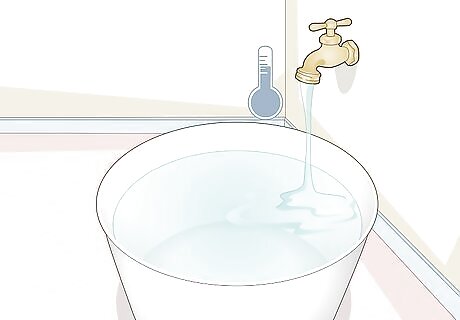
Fill a medium-sized bucket with cold water. Take a clean bucket and fill it up with fresh, cold water from the tap. Add enough water to fill it about ¾ of the way full so you don’t spill any over the edges when you dip your paper into it. Make sure the bucket is clean so you don’t get any dirt or grime on the surface of the paper.Tip: For the best quality finished painting, fill the bucket with cold distilled water instead.
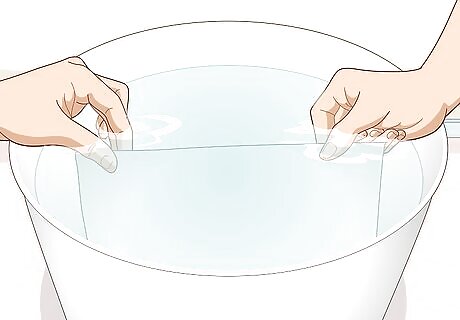
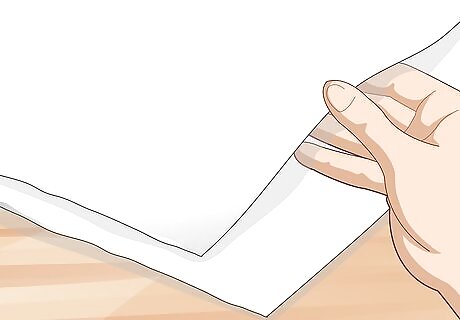
Dip a single sheet of watercolor paper into the water. Remove a single sheet of paper from the ream and hold it over the bucket of water with both hands to keep it straight. Carefully dip the paper into the water so it’s fully submerged. Then, gently raise the paper straight up out of the water and allow the excess to run off into the bucket. Be careful not to bend or fold the paper onto itself or you may not be able to spread it out without damaging it.
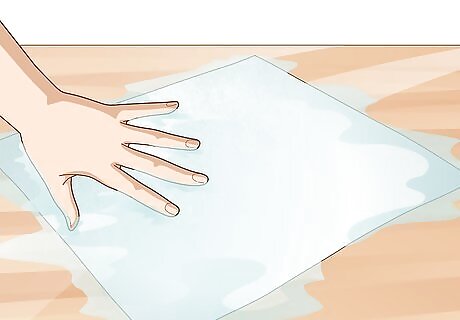
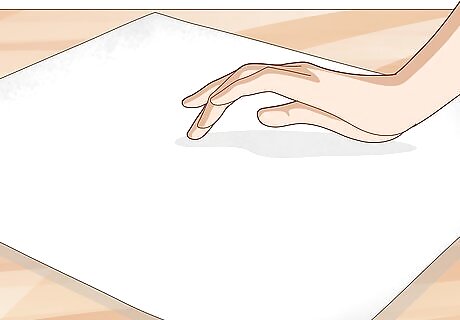
Place the wet paper on a flat surface where you plan to paint. Clear a smooth and flat surface for you to use to paint your watercolor paper, such as a desk or a table. Carefully lay the wet sheet of paper flat on the surface so it’s even and there aren’t any ridges or bubbles beneath it. You could also use a flat display board as a surface.
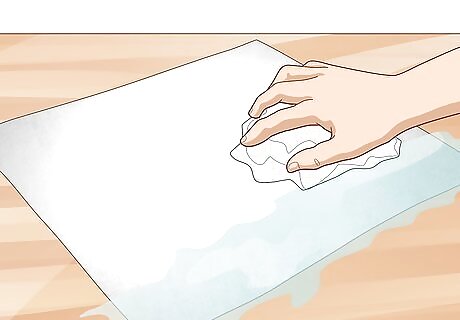
Soak up the water from the surface of the paper with a paper towel. Take a clean and dry paper towel and gently blot the surface of the watercolor paper to soak up the excess water. Blot all of the paper so it dries evenly and remains flat. Don’t try to completely dry out the paper, just pick up the extra water from the surface. Don’t lay the paper towel over the wet paper or it could stick to it. You can also use a clean, dry sponge to blot the water from the surface of the paper.
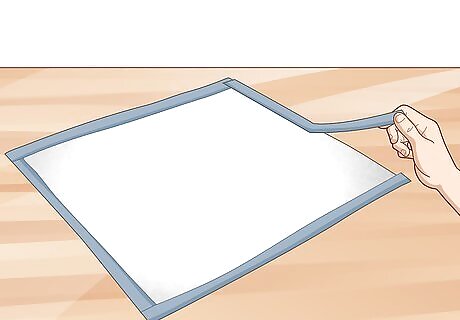
Apply strips of painter’s tape around the edges of the paper. Use a pair of scissors to cut 4 strips of painter’s tape the lengths of the sides of your watercolor paper. Carefully stick the pieces of tape on the edges to hold the paper tight. Use your fingers or a straight edge such as the spine of a book to rub the surface of the tape so it’s securely attached to the paper and the surface. Start painting the paper once it’s fastened to the surface so it won’t bend or warp. When you remove the strips of tape, it will leave a small border along the edges of the paper, so apply them evenly if you want to use them to make a consistent border.
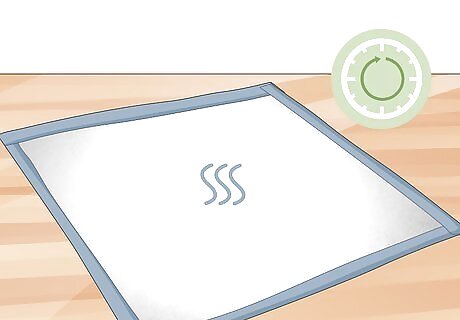
Allow the paper to dry overnight. Once you’ve secured the paper to the flat surface, leave it undisturbed until it’s completely dry. Wait at least 8 hours so it can air-dry and will be able to accept watercolor paints without becoming oversaturated. If you try to paint the paper while it’s still wet, you could tear or damaged it. Aim a fan in the direction of the paper to help it dry.
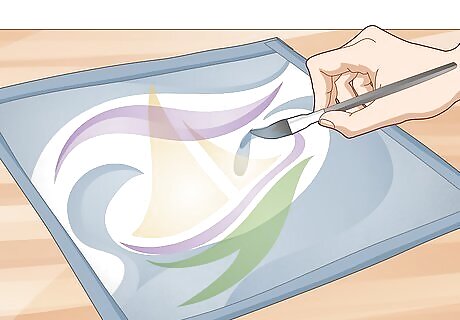
Paint the paper while it’s still taped to the surface. After the paper is completely dry, leave it taped to the surface when you paint it. When you’re finished with your painting, allow the watercolor paint to fully dry, then carefully peel off the tape and remove the paper from the surface.


Comments
0 comment