views
Adding the Fuel
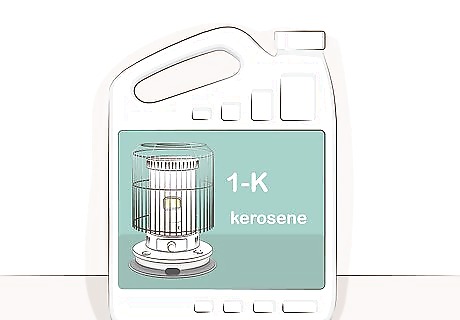
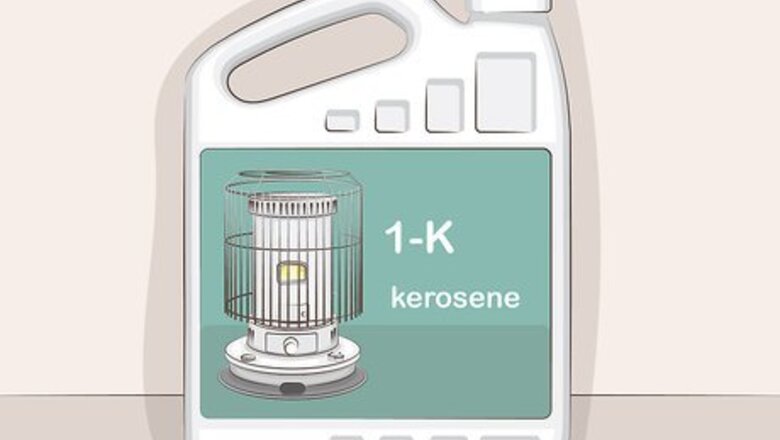
Pick up a container of the appropriate grade kerosene. Portable kerosene heaters typically run on 1-K kerosene, which has been carefully refined to burn clean without leaving any noticeable scent. However, there’s a chance that your model may use a different type of kerosene. For this reason, it’s a good idea to read the instruction manual included with your heater before attempting to fill the fuel tank. Both water-clear and red dyed varieties of kerosene are safe to use in home kerosene heaters. You can purchase 1-K kerosene at most hardware stores and home improvement centers.
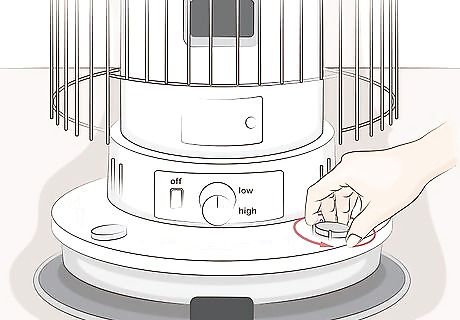
Remove the fuel cap on the base of the heater. Twist the cap counterclockwise to unscrew it. On most portable kerosene heaters, the fuel tank cap is attached by a short cord, which will prevent you from losing it accidentally. Some models may keep the fuel tank cap hidden beneath a separate access panel.
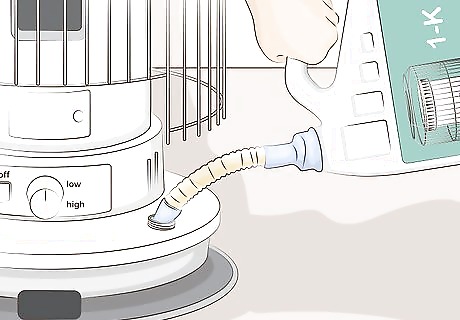
Fill your heater’s fuel tank with kerosene. Insert the flexible tube of the included manual siphon pump into the fuel tank and the straight tube into a separate container of kerosene. Squeeze the handheld pump slowly to begin transferring fuel from the kerosene container into the fuel tank. Keep a close eye on the fuel gauge at the base of the unit to make sure you don’t overfill your heater. For safety’s sake, always refill your kerosene heater’s fuel tank outdoors.
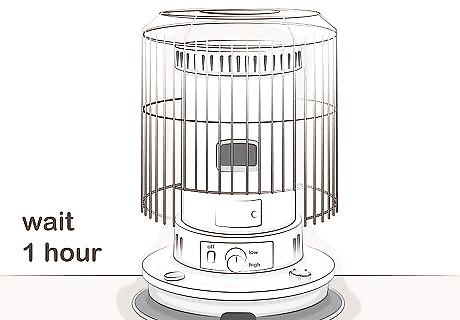
Let the wick soak for 1 hour before lighting your heater for the first time. If you've never fired up your heater before, it’s important to make sure the wick has had ample time to soak in the full fuel tank. Turn the large round wick knob at the center of the unit all the way to the left to put it in the “down” position. This will lower it into the kerosene until it’s completely submerged. Read through the instructions that came with your kerosene heater before lighting it for the first time. Most manufacturers recommend soaking the wick for at least 60 minutes prior to the initial use, but the guidelines for your model may be slightly different.
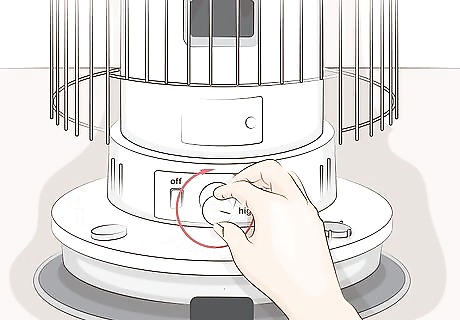
Turn the wick knob to the right to move the wick into the “on” position. Rotating the wick knob clockwise as far as it will go raises the wick into position inside the internal burn chamber. From here, you can either light it with the press of a button using the heater’s automatic ignition lever, or manually using a match.
Lighting the Heater Using an Automatic Ignition System
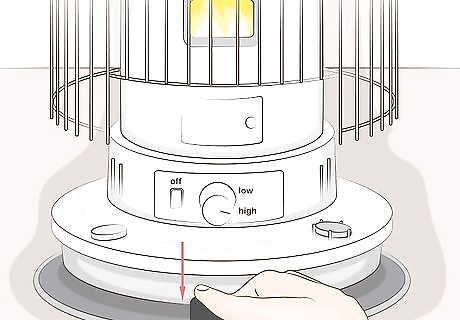
Press the automatic ignition lever at the base of the heater. On most models, the automatic ignition lever takes the form of a small horizontal button at the very bottom of the base. Push the lever down until it stops moving. Doing so will activate the internal igniter close enough to the wick to catch the rising kerosene fumes. Release the ignition lever quickly once you see the wick has been lit. The igniter in your kerosene heater should hover just above the wick when it’s in the “on” position. If your heater fails to ignite, it could be because the igniter is out of place. In this case, you’ll need to have it adjusted manually in order to get it operating correctly.
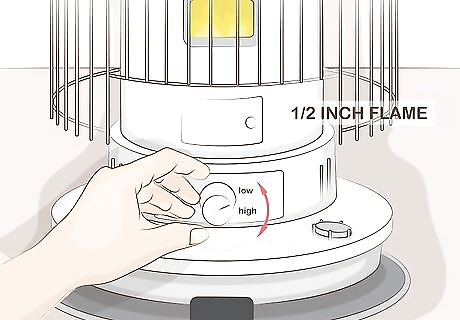
Adjust the ring of flames to a height of ⁄2 inch (1.3 cm). Turn the wick knob to the left or right as needed until the flames reach the recommended height above the flame dispersal disk. Most kerosene heaters have a small window near the burn chamber that make it easy to check the flame height while the heater is lit. Check the flames periodically to ensure that they remain at the proper level. Remember, turning the wick knob counterclockwise lowers the lit wick, while turning it clockwise elevates it. Adjusting the flame height isn’t just an aesthetic preference—it’s a matter of safety. If the flames are too high, the heater could generate an excessive amount of smoke and soot. If they’re too low, it could increase the risk of an accidental fire or carbon monoxide poisoning.
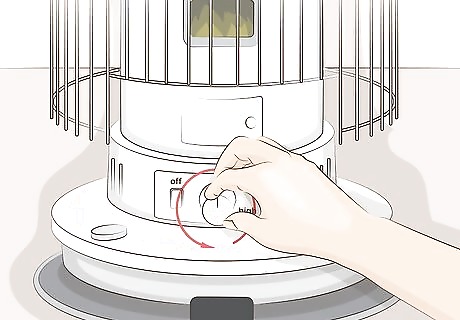
Rotate the wick knob counterclockwise to prepare to shut off the heater. When you're done using your kerosene heater, twist the wick knob as far to the left as it will go, but don’t release it yet. Turning the wick knob to the left will lower the wick to the correct height to put out the flames safely. Extinguishing a kerosene heater can be a little tricky, but you'll get the hang of it after a few uses.
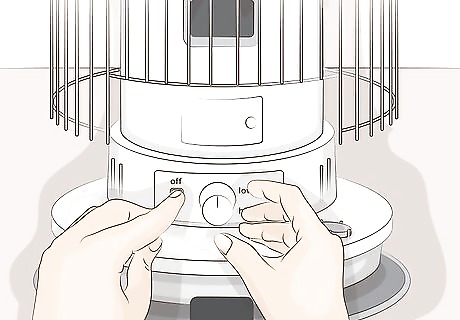
Push the shut-off button and release the knob to extinguish the heater. While holding the wick in the down position, press and hold the shut-off button located to the left of the wick knob. Then, slowly let go of the wick knob until it returns to its neutral position. Both of these actions must be performed simultaneously in order to successfully put out the wick. After 10-15 seconds, peek in the window or open the door on the body of the heater to confirm that the flames have gone out. Always wait at least 10 minutes to relight your kerosene heater after extinguishing it. This will give any accumulated gases time to disperse and allow the unit to return to a safe operating temperature.
Lighting the Heater with a Match
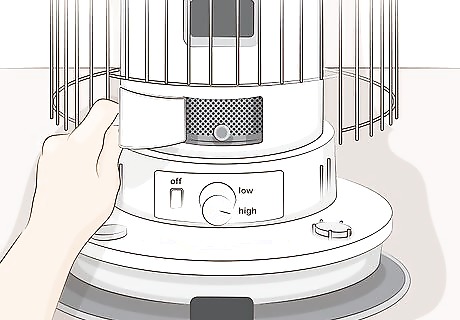
Open the door on the body of the heater. This door provides access to the burn chamber for lighting and adjusting the wick. On most models, it’s located directly above the wick knob on the front side of the heater. Pull the small peg handle to swing the door outward. The only time you should open the door on your heater is when lighting the wick or confirming that it’s been successfully extinguished.
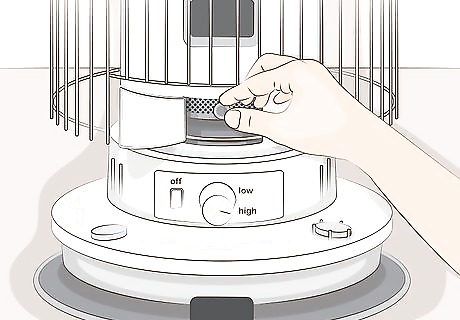
Lift the burn chamber using the burner knob. Inside the heater you’ll see a round, metal knob attached to the bottom of the cage-like burn chamber. Use two fingers to pull up on this knob and raise the burn chamber to expose the wick underneath. You’ll use the burner knob as a handle anytime you need to change the position of the burn chamber. The burner knob is made of non-conductive metals, which means it doesn’t get hot. This makes it possible for you to handle it safely at any time. Not all kerosene heaters feature doors or hatches. If yours doesn’t, you’ll find the burner knob on the outside of the unit above the wick knob and shut-off button.
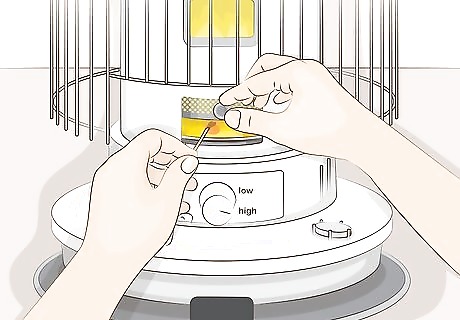
Hold a lit match to the exposed wick. Light a match and insert the head into the space beneath the raised burn chamber. Touch the match to the wick to ignite it. Be careful not to reach too far into the open heater, or you could get burned when the wick catches. It may help to light the match before you lift the burner knob, or to have someone else hold the burn chamber up as you guide the match in. If you’re worried about burning yourself, use heavy-duty grill matches with extra long sticks.
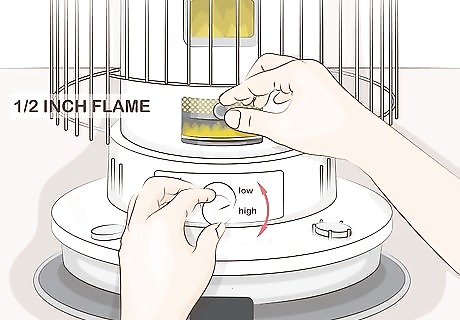
Adjust the flame height to ⁄2 inch (1.3 cm). Toggle the wick knob back and forth as needed until the flames extend roughly half an inch beyond the flame dispersal disk. Turning the knob to the left lowers the wick, while turning it the right raises it. Don’t forget to close the door of the heater once the flames have reached the recommended height. Come back and check the flame height every hour or so. It’s important for the flames to remain at about ⁄2 inch (1.3 cm).
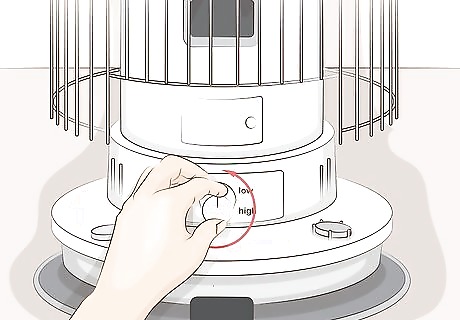
Lower the wick to the "off" position to begin turning off the heater. When you’re done heating the room, rotate the wick knob all the way to the left to decrease the intensity of the flames. Hold the knob steady. From here, you'll need to hit the shut-off button and let go of the wick knob simultaneously in order to make sure the heater is completely off.
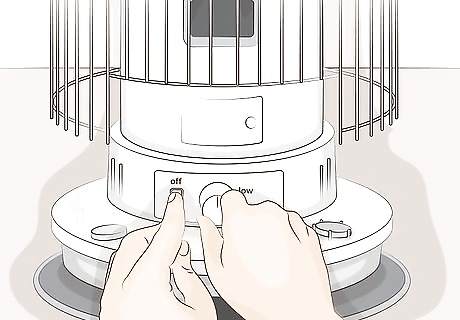
Hold down the shut-off button to extinguish the flames. Press and hold the shut-off button located just to the left of the wick knob. As you do, release the wick knob slowly. The flames should go out once it returns to its original position. Hold off on relighting your heater for at least 10 minutes while it cools down.



Comments
0 comment