views
Crafting a Bookshelf
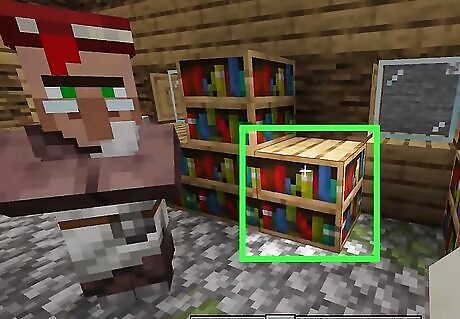
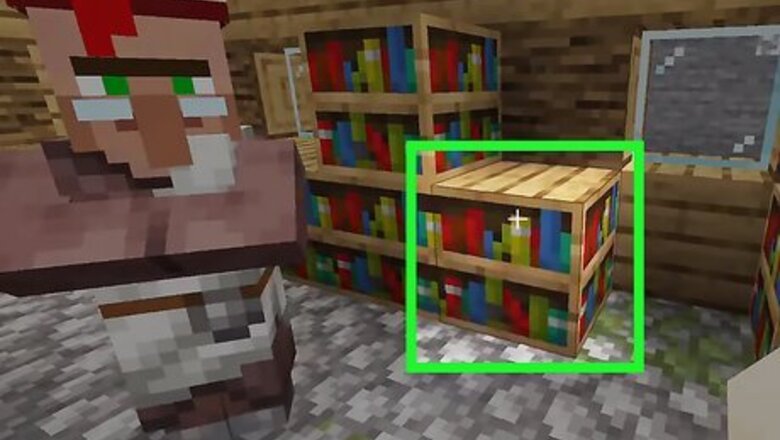
Harvest bookshelves in NPC villages (optional). Villages and strongholds often include libraries with bookshelves. Harvest these with an axe to get three books from each one. If you do this, you can skip down to the last crafting step. Otherwise, continue to the next step. Check out this article for help finding a village. if you have a tool with the silk touch enchantment, you can harvest the whole bookshelf instead.
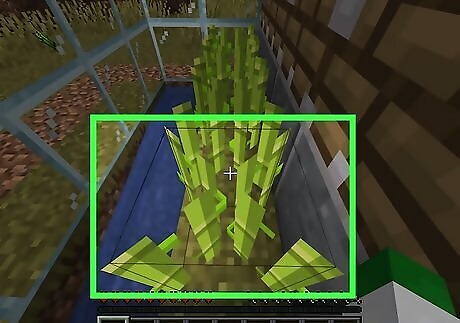
Gather sugar cane. You might think of these tall, green plants as reeds or bamboo. Find these growing near water, and harvest them with any tool. You'll need nine pieces of sugar cane per bookshelf.
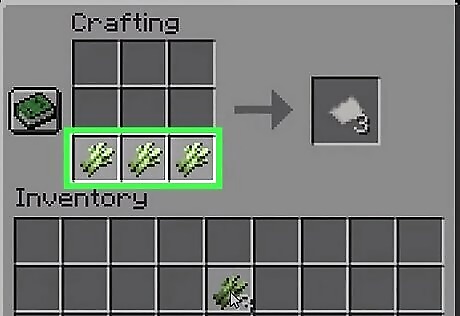
Turn the cane into paper. Open your crafting table. Place three pieces of sugar cane in a horizontal row. You should get three sheets of paper each time. Repeat this for the remaining sugar cane to get a total of nine sheets of paper (for one bookshelf).
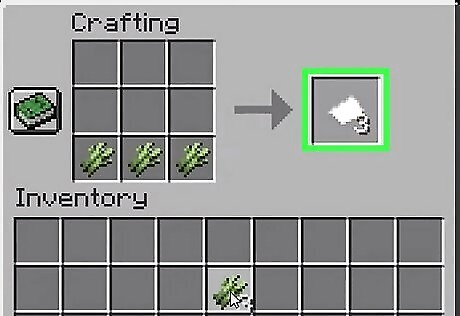
Turn the paper into books. Three sheets of paper make one book, and you'll need three books to make a bookshelf. The recipe for this is a little different depending on how you're playing Minecraft: All PC and console versions: Get leather by killing cows. Put one piece of leather and three pieces of paper in your crafting area to make a 2x2 square. The exact placement does not matter. Minecraft Pocket Edition: Place three pieces of paper in a vertical column. You do not need leather.
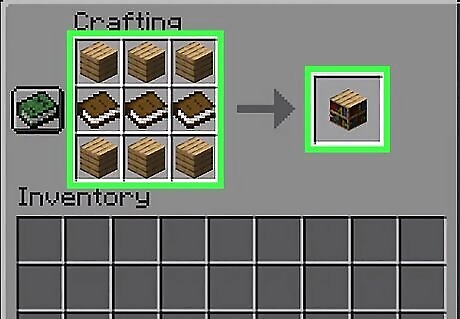
Combine books and planks to make a bookshelf. Place three books in the middle row of your crafting table. Fill the top and bottom rows with wood planks to make a bookshelf. As you probably know, you can get wood planks by placing logs in a crafting table. Get the logs by chopping down trees with an axe. You can use any type of wood planks for this recipe, and they all do not need to be the same.
Using the Bookshelf
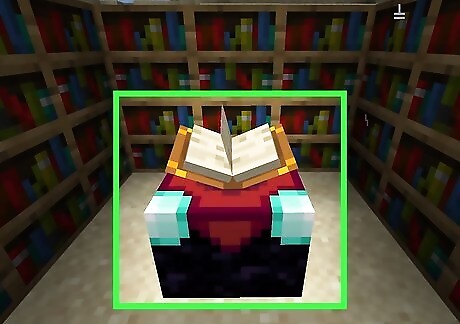
Make an enchantment table. Besides decorating your home, bookshelves are mostly used to improve enchanting tables. Get started by building the table with the following crafting recipe: In the lowest row: three obsidian blocks. In the middle row: diamond, obsidian block, diamond In the top row: (nothing), book, (nothing)
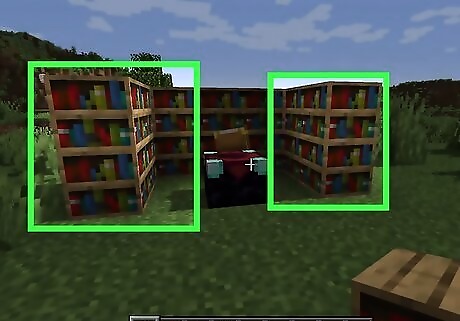
Set up bookshelves nearby. Each bookshelf near the enchantment table unlocks more powerful enchantments. You must place them as follows for them to count as "nearby:" Exactly two squares away from the table. Either on the same level as the table, or one higher. The space between the table and the shelf must be empty. Even a carpet, torch, or snowfall will block the effect.
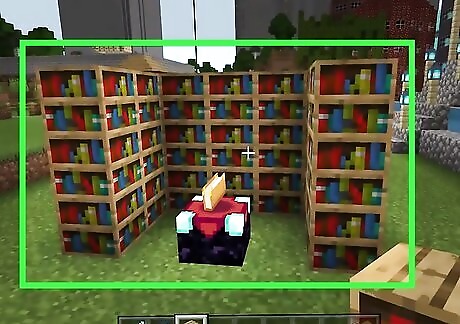
Set up fifteen bookshelves for the best enchantments. The highest-level enchantments become available once fifteen bookshelves are set up as described. There are a couple easy ways to do this: Surround the table with a large square of bookshelves, leaving a gap in between. Leave one gap in the square to walk through. Or make a 4x5 L shape out of eight bookshelves. Place a second stack of eight bookshelves over the L. (This is one more than you need, so you can skip one from the second level.) It's best to have 30 levels of experience when you go to start enchanting. A level-30 enchantment usually only takes around 3 levels of experience from the user. Plus, level-30 enchantments always give you the highest chance at the strongest enchantments.
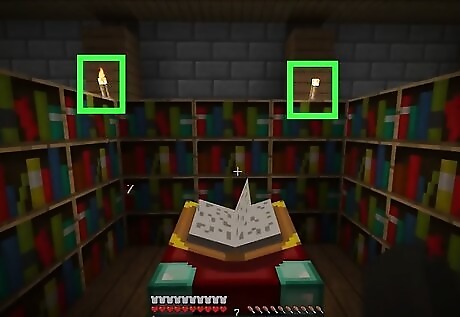
Place torches to adjust the enchantment level. Some enchantments are only available at lower levels. You might also need to save XP by making low-level enchantments. In order to accomplish this, place torches or another easily removed object between the table and some of the bookshelves. Each bookshelf you block will reduce the level of enchantments your table offers.



Comments
0 comment