
views
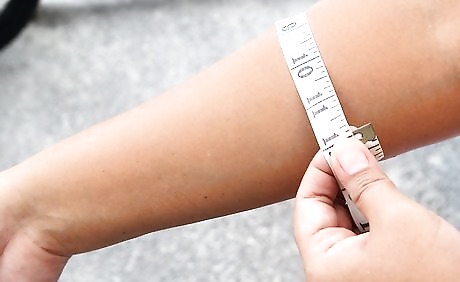
Take your measurements. For the simplest vambrace pattern, just measure the circumference of the thickest part of your forearm, then your wrist and finally the length you want the vambrace to be. This is the basic pattern for most vambraces.
Create the design. Draw the prototype in 3D first, then figure out the components you'll need. If this is your first time working with leather, chose a simple design.
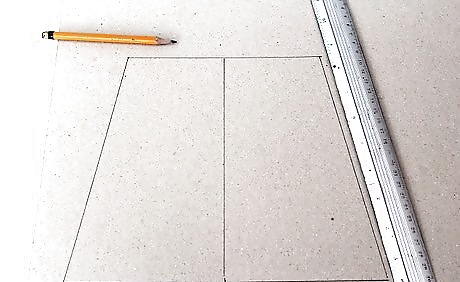
Draw your pattern on a paper. To be more precise, you can use computer editor to draw it and then print. Don't forget to mark some places for eyelets. Do this on both sides, you will use them for laces.
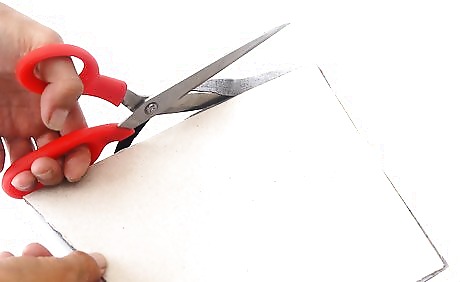
Cut out the pattern.
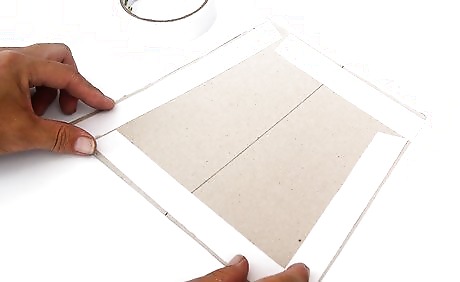
Connect everything with sticky tape. You should make sure that everything goes as planned and that the pattern matches your measurements.
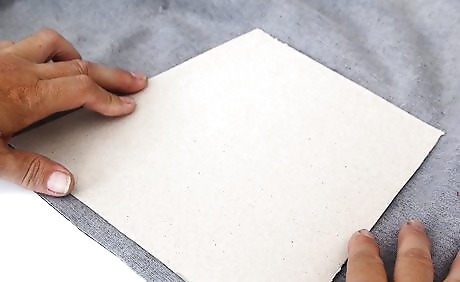
Transfer the pattern from paper to leather. If your vambrace consists of multiple pieces, try to decrease the space between different parts. This way you'll spend less leather.
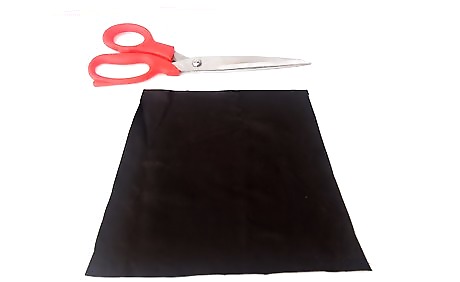
Cut the leather.
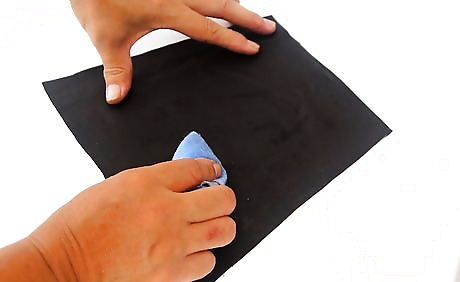
Wet pieces of leather with wet cloth. This will make it easier to work with.
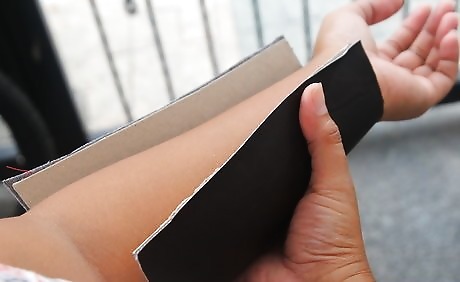
Make the leather take shape of your arm. Lay it on your arm and press down gently.
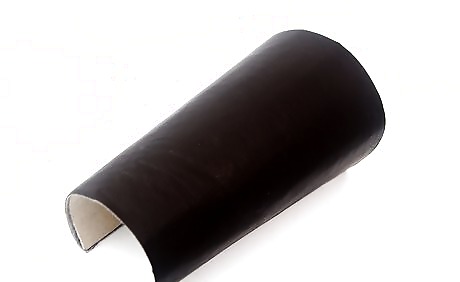
Wait until it dries and take it off. When leather dries, it keeps its shape.
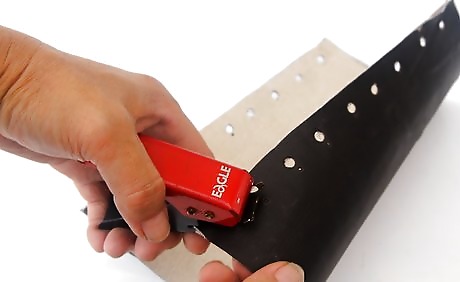
Make a few holes. You'll use them for laces. Only do this when the leather is completely dry.
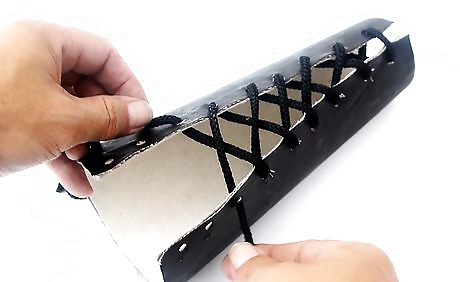
Decorate the leather. You can color it with oil leather dyes, clean the edge if it's too rough. Experiment and be creative!
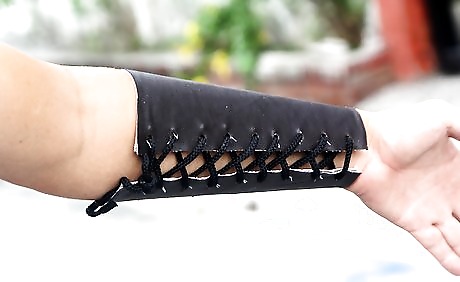
Put the laces in.


Comments
0 comment