views
Using Hand Lotion

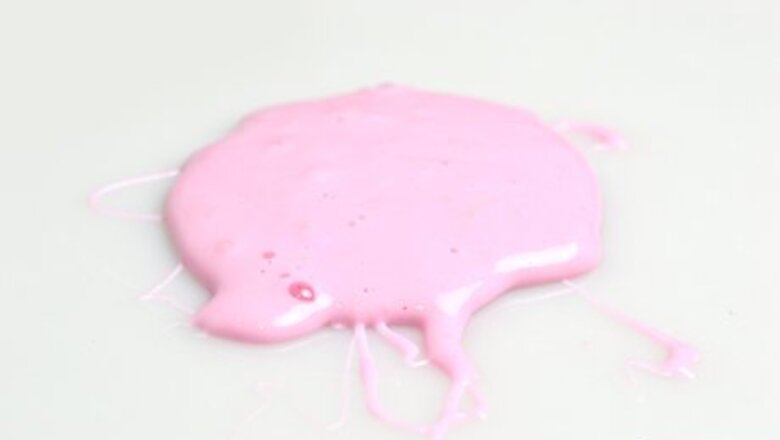
Spread out your slime on your work surface. Start by removing the slime from its container and flattening it out. If you’re worried about making a mess, lay down a piece of parchment paper under the slime or scrape it out into a large bowl instead. Don’t forget to clean your work surface and any containers you’ve used when you’re done.
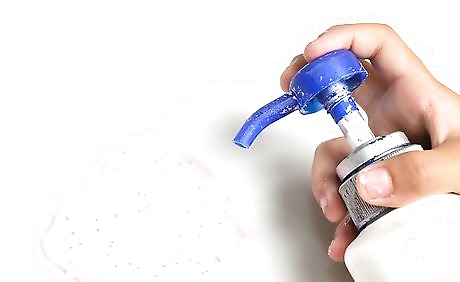
Squirt a few pumps of lotion onto the slime. Add the lotion a little bit at a time so it doesn’t change the texture of the slime too much. A couple pumps should be enough to start with. You can always use more later, depending on how big you want your slime to get. For best results, use a plain white, unscented lotion. When combined with the other ingredients in your slime, scented lotions may make it smell funny. If you add too much lotion at once, it can cause your slime to become greasy and fall apart.
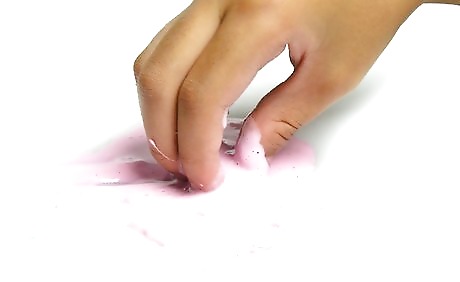
Work the lotion into the slime. Rub the lotion all over the outside of the slime to spread it around. Then, pick up the slime and fold, pull, and roll it to work the lotion in. Continue mixing until the lotion has been completely incorporated. You should notice the slime growing slowly. Keep mixing and adding more lotion until your slime reaches the desired size. Use a separate utensil like a spoon to stir the goopy slime if you don’t want to get your hands dirty.
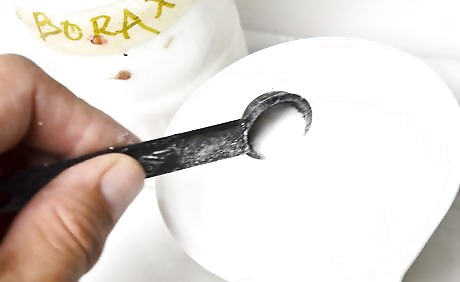
Use a mixture of Borax and water to thicken your slime. If the slime feels thin and sticky when you’re done, it may need a chemical activator to get it back to the right texture. You can make your own activator solution by stirring about a teaspoon of Borax into a cup of warm water. Pour the solution into a spray bottle or water bottle so it will be easier to apply. Be sure to label the contents of the bottle so you don’t try to drink it by accident! If you don’t have any Borax on hand, you can also use a mixture of contact solution and baking soda.
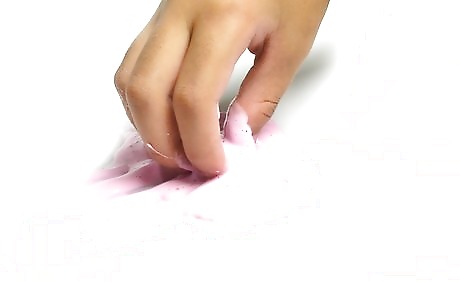
Add the activator until you get the right consistency. Spray or drizzle a few drops of solution onto the slime and mix it in thoroughly. Add as much as you need to reduce the stickiness of the slime. You’ll know you’ve used just the right amount when it no longer clings to your fingers or work surface. Once you’re finished, put your slime back in its original container. You’ll probably be surprised by how much it’s grown!
Mixing in Shaving Cream

Dump your slime out onto your work surface. Take the slime out of its container and spread it out by hand. You want it to be nice and flat so it will soak up as much shaving cream as possible.
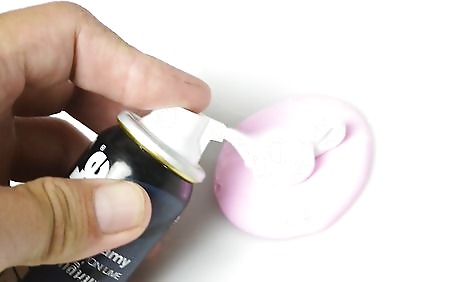
Spray a small amount of shaving cream onto the slime. Use no more than a quarter-sized glob at first. The key is to add the shaving cream little by little so you don’t accidentally ruin the texture of the slime. Adding too much shaving cream at one time can make your slime oily. Press and hold the nozzle of the can gently, or it may release more shaving cream than you want. Stick to basic shaving creams only. Shave gels and similar products won't provide the right consistency. Many types of slime are made with shaving cream, so you’re really just adding more of one of the main ingredients.
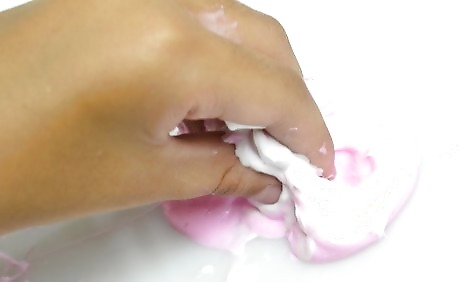
Mix the shaving cream into the slime by hand. Fold and squeeze the slime until the shaving cream has been absorbed entirely. Use a large spoon or spatula to stir the two substances together if you’d prefer to keep your hands clean. The slime will begin to expand as you’re mixing. Be sure to work the shaving cream into the middle of the slime and not just around the outer surface. Adding shaving cream to your slime may cause it to become lighter or change its color slightly.
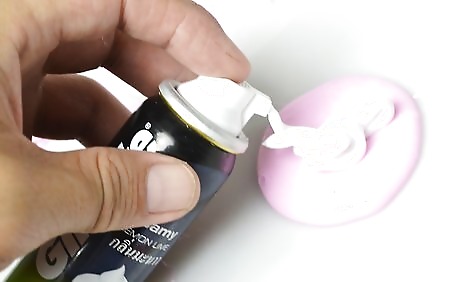
Add more shaving cream to make your slime bigger. Keep squirting and mixing until you’re satisfied with the size of your slime. It may take several rounds to get it as large as you want it. Remember to use a modest amount of shaving cream each time. Shaving cream works best for beefing up light, fluffy types of slime.
Adding Micro-Beads to Floam

Place your floam in a large bowl. When you’re working with homemade floam, it’s a good idea to transfer it to a separate container. This will prevent the tiny micro-beads from going everywhere if there’s a mishap. A large Tupperware container can keep you from losing beads while you’re mixing your floam. Avoid mixing your floam near the sink, as they beads can easily get stuck in the drain.
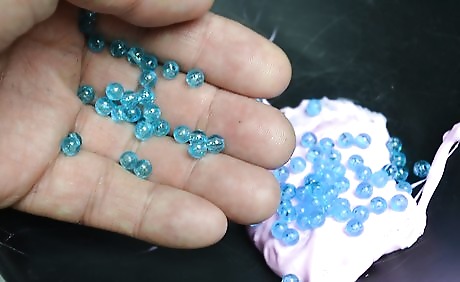
Measure out a small amount of micro-beads. A good way to make sure you’re using just the right amount is to shake the beads out into the palm of your hand, then sprinkle them onto the floam. Otherwise, it can be easy to accidentally add too many. You can usually find micro-beads at arts and craft stores. Look for beads that are the same color as your floam, or mix in a different color for funky twist.
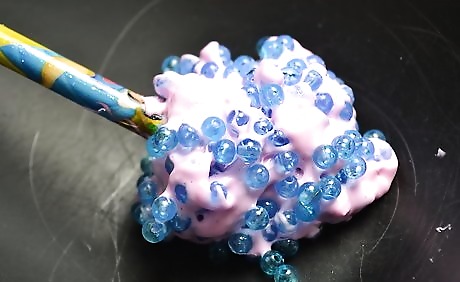
Knead the beads into the floam. Use both hands to pull, stretch, fold, and twist the floam. Keep kneading until the beads are evenly distributed throughout. This might take a few minutes. Make sure you hold the floam over the container while you’re working to keep the loose micro-beads from falling all over the place.
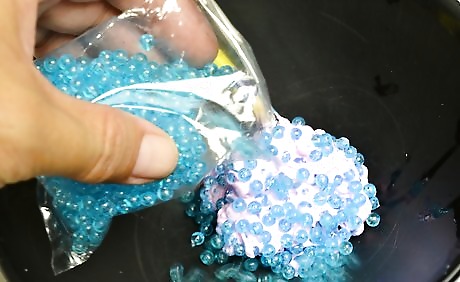
Add more beads until your floam is the desired size. Once your floam is thoroughly mixed, put it back in the container and shake some more beads on top. Knead the beads in and see how much bigger your floam gets. You can add beads 1-2 more times if needed. Eventually, your floam will get so full of beads that no more will be able to stick, which means it may not get any bigger. Keep in mind that the more micro-beads there are your floam, the less stretchy it will be.







Comments
0 comment