views
Getting the Best Gear for Lunar Photography
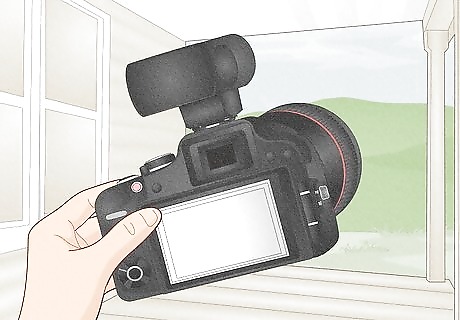
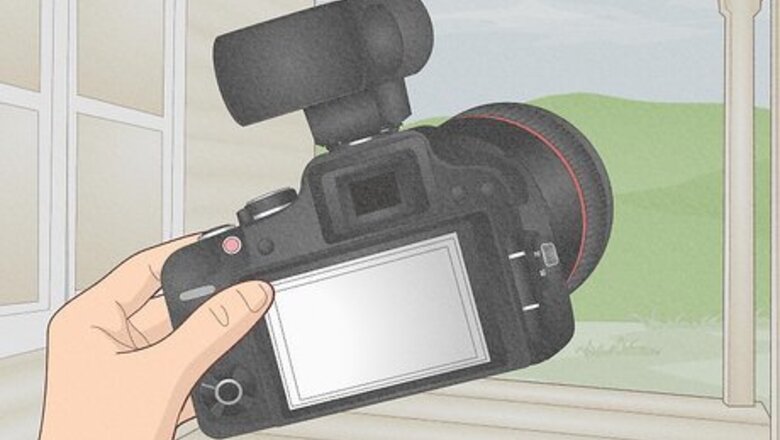
Full-frame DSLR cameras typically take the best shots. If photographing the moon becomes more than just a passing hobby for you, buy a camera dedicated to this task. Micro Four Thirds cameras with cropped sensors also work well. These cameras can be pretty pricey (around $2,000 unless you can find a used one in good condition), so make sure you're getting a camera capable of producing the images you want. Look for a camera with: Manual settings A high dynamic range An ISO range that starts at 100
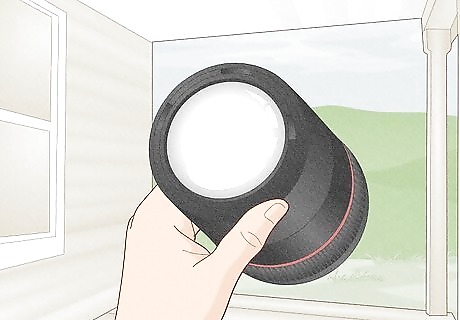
Invest in a quality telephoto or zoom lens for close-ups. Your kit lens is fine for landscape photos with the moon in the background. But if you want to focus on the moon, you need to zoom in. Look for a lens with a focal length of at least 200mm and an aperture of f/5.8 or f/8. In photography, lens quality is more important than camera quality—even a basic point-and-shoot camera can take amazing photos with the right lens. So if you have to choose between spending money on a camera or on a lens, go for the more expensive lens. One way to cut costs is to look for a vintage lens. But keep in mind that you'll need an adapter to fit a vintage lens on a modern camera, which can add to your total. If budget isn't an issue, look at super-telephoto lenses with focal lengths between 400mm and 800mm. These bad boys can cost more than your camera, but they'll capture mind-blowing details of the lunar surface.
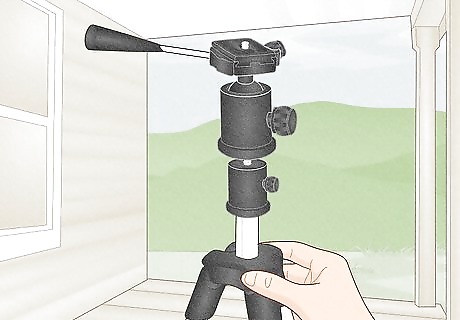
Get a tripod capable of handling the weight of your camera and lens. If you've invested in a quality camera and a big telephoto lens, you'll probably need to upgrade your tripod as well. Add up the weight of your camera and your lens, then look for a tripod that can hold 1.5 to 2 times that much. That way you can be sure that your tripod will be stable when you mount your gear. Get a portable tripod if you're planning on traveling some distance to shoot and don't want to lug heavy gear around. If you're just setting up in your backyard, though, portability might not be that big of a deal.
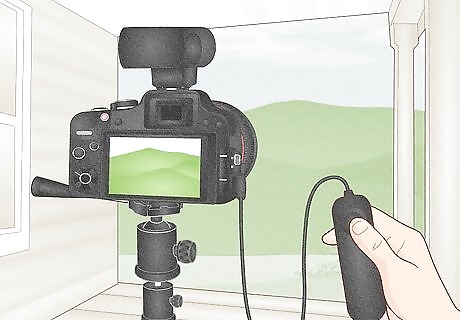
Add a remote shutter release to avoid camera shake. Sure, you're already using a timer, but the remote shutter release gives you a little more control over the shot you're taking. It's also the best way to make sure your camera is completely still and your photos are sharp. Before you spring for a separate camera accessory, check your camera's user manual. Many mirrorless camera brands also have free smartphone apps that you can use for remote shutter release. All you have to do is pair your smartphone with your camera over Bluetooth.
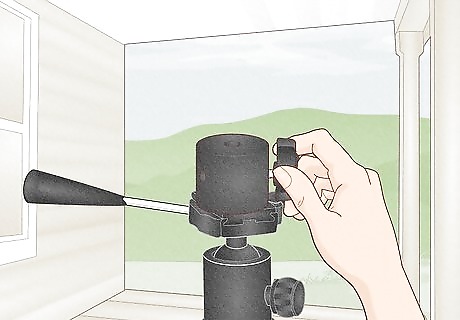
Mount an equatorial tracker to reduce blurriness on long exposures. An equatorial tracker is technically an accessory for your tripod—you mount the tracker on your tripod, then mount your camera on the tracker. It locks onto the position of whatever celestial body you set it to, then compensates for the Earth's rotation so you get blur-free photos of the night sky. You don't necessarily need an equatorial tracker if you're only going to take photos of the moon—after all, it's a pretty big and bright object in the sky. But if you're thinking about taking other photos of the night sky, especially focusing on different stars and planets, it's essential.
Setting Up Your DSLR Camera to Shoot the Moon
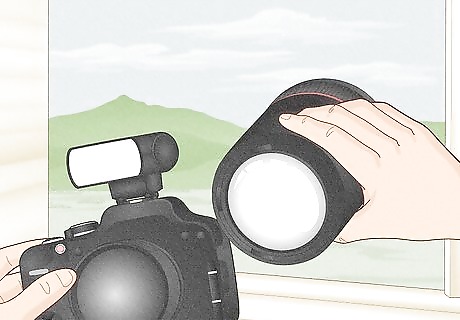
Use the biggest lens you have. You don't necessarily need a massive telephoto lens to shoot the moon. The 18-55mm kit lens that came with your camera will work, too—you just won't get the level of detail, particularly of the lunar surface. A telephoto lens with a focal length of 200mm or greater offers a lot more versatility so you can get a wider range of shots. The size of your lens doesn't necessarily change your camera settings, but keep in mind that the bigger the lens, the less light you're letting in.
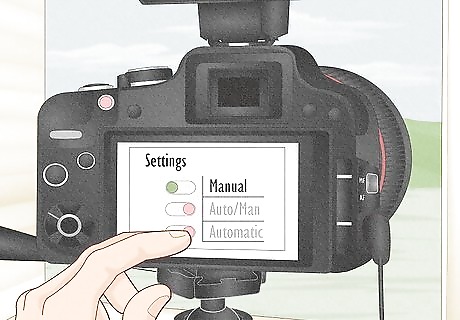
Turn off any automatic settings you have enabled on your camera. Your camera just doesn't have auto settings that will get you a good picture of the moon. Instead, you'll need to set things manually. If you're normally the point-and-shoot type, don't let this scare you. There are really only 3 settings you need to concern yourself with: ISO, aperture, and shutter speed. Make sure image stabilization (IS) is turned off as well. You're going to have your camera on a tripod anyway, so you don't need it. You can leave white balance at the automatic or default setting. The moon is exceptionally bright, especially in the night sky, so the default or daylight setting works just fine. If you need to make any adjustments, you can do that in post-processing.
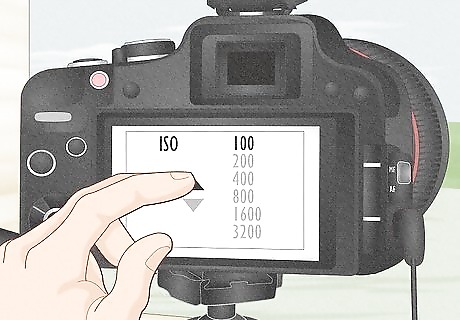
Set your ISO as low as it will go to reduce noise (graininess). Most DSLRs will go as low as 100 and that's what you want. If you were shooting anything else at night, you'd want a higher ISO to pick up details. But if you're focusing on the moon, go as low as possible. If you want to capture the moon rising or setting behind a landscape, you might take some shots at a higher ISO to get a sharp shot of the foreground, then lower your ISO to take photos of the moon itself. You can merge these shots together in post.
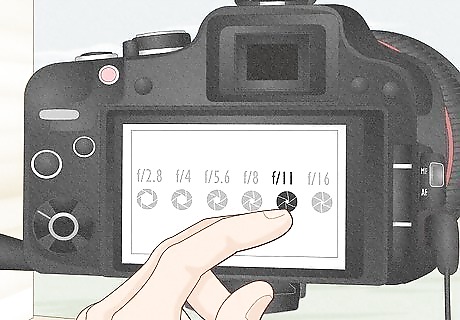
Start with your aperture at f/11. The aperture controls the size at which the shutter opens to allow light into your camera. At an f-stop as high as 11, you're not letting in a lot of light, which means you'll see more details on the moon's surface. Remember that the moon is a lot brighter than you think it is, so when you're focusing on the moon, you don't need to let a lot of light in. You can play around with the f-stop and see what you get, but f/11 is the favorite among lunar photographers.
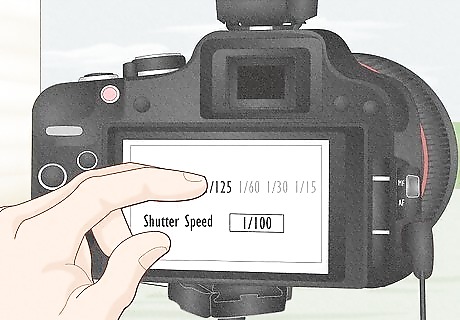
Choose a short shutter speed of at least 1/100-second. Because the moon is reflecting the sun's light, it's an extremely bright object—even if it doesn't appear that way when you look at it with the naked eye. A fast shutter speed exposes the camera to more light, which means the details of the moon will be sharper and it won't be surrounded by a halo of light. The closer to fullness the moon is, the brighter it is, so you'll want to adjust your shutter speed accordingly. If you're shooting a full moon, you might go as fast as 1/200-second. EXPERT TIP Or Gozal Or Gozal Photographer Or Gozal has been an amateur photographer since 2007. Her work has been published in, most notably, National Geographic and Stanford University's Leland Quarterly. Or Gozal Or Gozal Photographer Experienced photographer Or Gozal adds: "Keeping the shutter speed at a minimum of 1/125-second will mean the moon will be less likely to come out blurry."
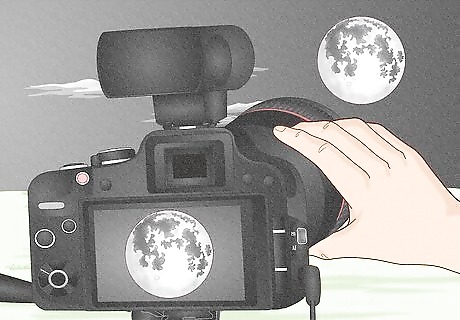
Focus manually on the moon itself. You can also manually focus to infinity, but if you do this, don't use the infinite mark on your lens (it's usually a little off). Try to zoom in on a specific feature on the moon's surface, then adjust your focus back and forth until those features are as sharp as possible. It can take some time to find the sweet spot—focusing is an art that takes a little trial and error to get right. If you go out and practice, bring along a white or silver marker that you can use to mark the points you like so you can find them quickly again.
Capturing Great Moon Photos
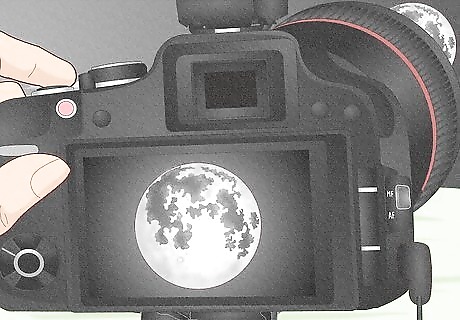
Shoot in RAW so you have more editing options. RAW gives you practically all the data that is captured by your camera, giving you a lot more to work with in post-processing. Even if you're not sure whether you want to edit your photos, it's usually better to shoot in RAW anyway, just to preserve the option. RAW files can be quite large. If you're planning on a more extended photoshoot, make sure you have plenty of SD cards for your camera or space on your phone. Saving photos to the cloud is also an option.
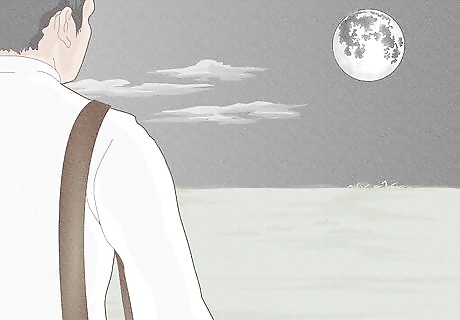
Find a location with minimal light pollution. You get a better picture of the night sky in general, and the moon specifically, if you get away from major cities and other sources of artificial light. Ideally, you want the contrast between the moon and the sky itself to be as sharp as possible. More rural areas also give you clearer air in general, with less smog than you'd have near large cities. If you're going for close-up shots of the moon, you'll get your best photos on a clear, cold night. You can still get some interesting shots of the moon with cloud cover, but you won't get a lot of detail of the moon's surface.
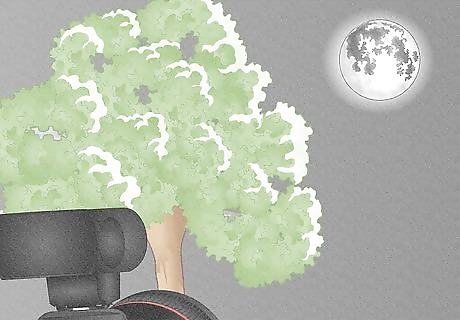
Focus on something illuminated by the moon rather than the moon itself. This is a great way to get a creative and artsy-looking photo even if you don't have the best gear. It works particularly well during a full moon, when the moon is at its brightest. For example, you could focus on a building or tree glowing by the light of the moon. If you live near a large body of water, another similar option is to focus on the moon's reflection over the water.
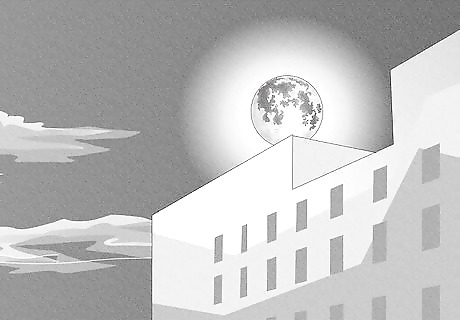
Frame the moon rising or setting over an interesting landscape. The moon is largest in the sky when it's rising or setting—this is also when the sky tends to be the brightest relative to the moon, which makes it a lot easier to capture details of the moon's surface. For example, if you can find a vantage point with enough elevation and distance to minimize light pollution, you could take a photo of a gorgeous full moon rising over a cityscape.
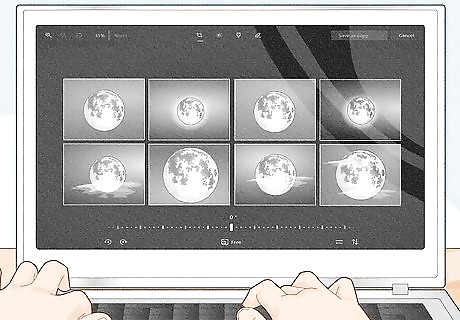
Take stacked shots to enhance detail. With several nearly identical shots, you can use photo-editing software to layer them. This helps you produce a final image with a higher resolution. Shooting video instead of still images can be great for this because you'll get thousands of frames per second from which you can select the sharpest to stack. You can also layer photos taken at different times. This is a great strategy if you want a photo of the moon rising over a particular landscape. You can capture the landscape perfectly, then adjust your camera's settings to capture the moon perfectly. When you stack those images, it looks like one great shot.
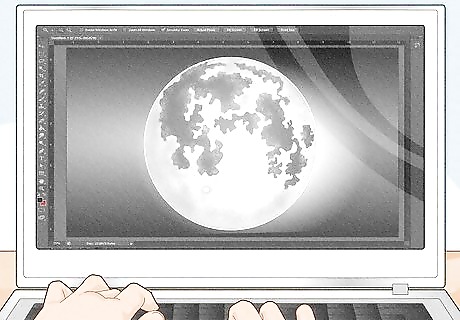
Use post-processing to take your photo to the next level. If you have any experience with digital photography, you know that taking the actual shot is only half the story. The rest happens when you upload your photo into your favorite editing software. There's no specific "go-to" workflow for moon photos, so feel free to experiment and see how your image looks best. When in doubt, always try converting the image to black and white—it can elevate even the roughest color photos.
Taking Moon Photos with Your Phone
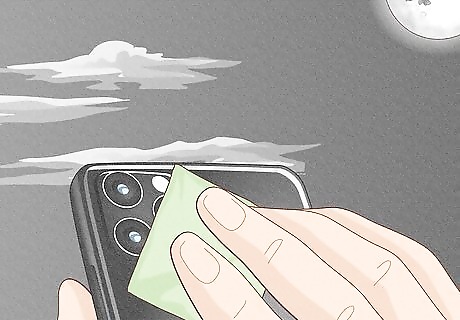
Wipe off your lenses with a dry, lint-free cloth. The lenses on your phone pick up a lot of grime without you even thinking about it and all that dust can blur your image. If your phone came with a microfiber cloth, use that. Otherwise, any similar cloth will do. If you have stubborn debris on your lens, use a drop of lens cleaner (the kind you'd use for reading glasses) or water on a cotton swab to gently wipe it away, then dry the lens with your microfiber cloth.
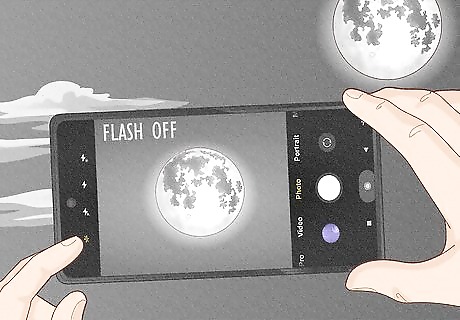
Turn off your camera's flash and auto-focus. To take a good picture of the moon, you need your phone's camera to be as manual as possible. Mess around with the settings a little and see what you can do. Basically, you want to turn off any auto features you see. If your phone lets you change ISO and aperture settings, set your ISO as low as possible and your aperture as wide open as possible. Start with a fast shutter speed and adjust downward as needed. There are photo apps available as well that give you more control over various settings or allow you to shoot better photos at night. Some of these apps are free, but most of them you'll have to pay for.
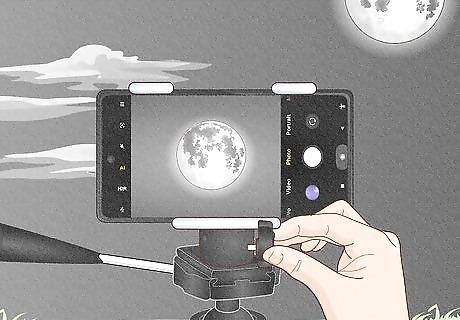
Stabilize your phone with a tripod or solid object. They do make tripods for smartphones that work pretty well, but if you don't have one, you can improvise with a book, a wall, or any other sturdy object. The most important thing is that your phone moves as little as possible when you take the picture. If you absolutely have to hold your phone, brace yourself and hold your breath as you snap the picture. Keeping your elbows in and bracing them against your torso will also give your phone more stability when you're holding it.
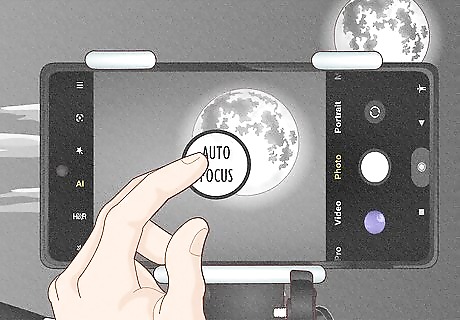
Tap the moon on your screen to set the focus. Focus directly on the moon, then lower the brightness as much as you can. Ideally, the moon should appear gray—not white—on your screen. You can also try to zoom in a little, just watch your definition. The further you zoom in, the more pixelated the image will become. You might get your sharpest photos at dusk or dawn when the moon is just rising or setting. Since the moon isn't that much brighter than the rest of the sky at these times, your phone's camera doesn't have as much contrast to deal with.
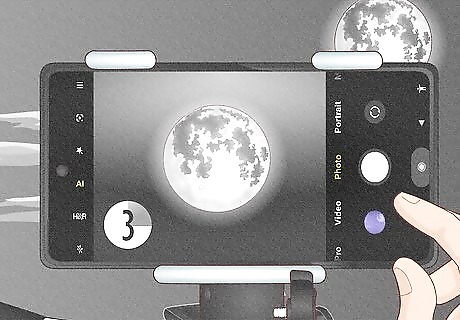
Set the photo timer to reduce blurriness. The bad thing about using the camera on your phone is that you still have to touch your phone to take the picture, which jostles your phone and causes the picture to be blurry. With a timer, you don't have to worry about this. Phone cameras come with a built-in timer, so you don't need any apps for this. Just adjust your settings so the camera waits a few seconds after you've tapped the button to actually snap the picture. Some phones have voice controls, which you can also use to enhance stability and reduce blurriness.
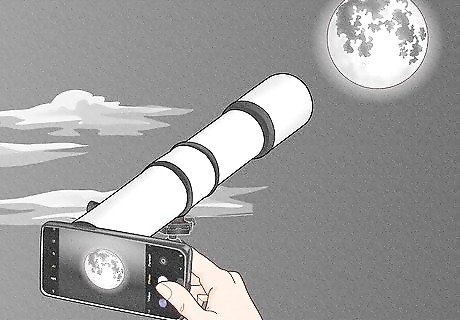
Mount your phone to a telescope for the best close-ups. Your phone just isn't going to capture details of the moon's surface on its own—but if you (or a buddy) happen to have a telescope lying around, you can use it to give your phone a closer look. The best way to do this is to buy a mounting kit (typically under $100) that will attach your phone to the eyepiece of the telescope. You can just hold your phone up to the eyepiece and probably get a few shots, but this is really difficult to do and your shots are likely to come out blurry from your hands shaking.
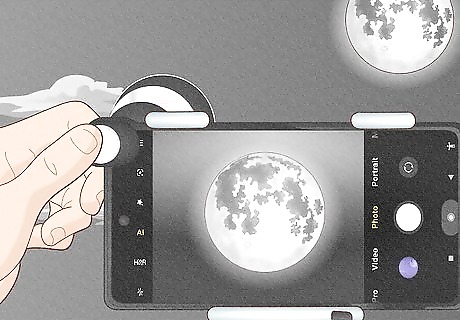
Try out add-on magnifier lenses to get closer to the moon. You're not likely to get the kind of sharp resolution and fine details with these as you would using a DSLR with a telephoto lens. At the same time, you might get better images than you would with the phone camera alone, and at under $100, they won't set you back as much as a telephoto lens for a DSLR would. These can be a bit tricky to put on your phone correctly, so try them out before you go out for your photoshoot. You might also need to take your phone case off to get the lens on.
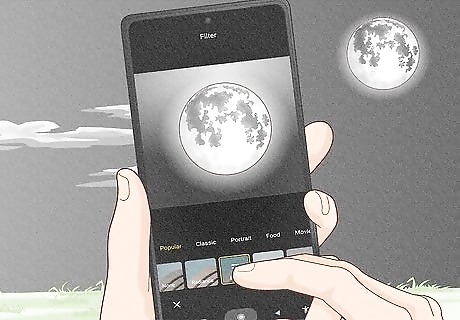
Edit your image to enhance image quality. The camera app on your phone likely has most of the editing functions you want, but you can also upload your picture into another app and edit there. Through the editing process, you can make up for a lot of deficiencies your phone camera has. As with a DSLR, converting your image to black and white is an easy editing option that will get rid of a lot of the imperfections that are more noticeable in a color image.





Comments
0 comment