views
Preparing the Horse
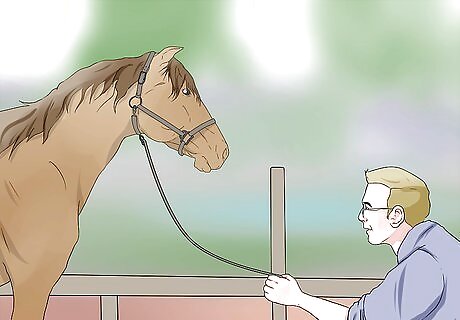
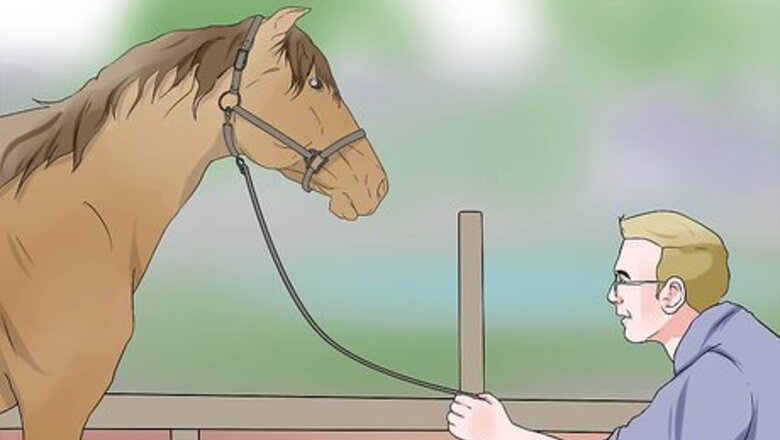
Tie up your horse. Your horse should be standing still while plaiting the tail, so tie him up before starting. Make sure he is on a hard flat surface. As you will be standing behind your horse, make sure to take steps to avoid being kicked.
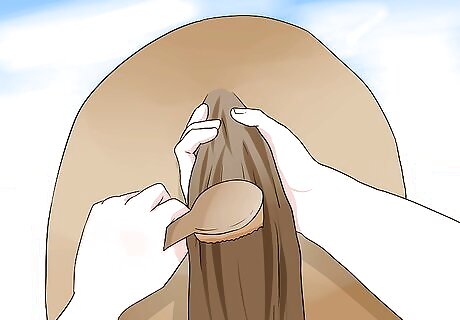
Brush the tail and check its thickness. Using a soft body brush or a tail brush, hold the whole tail in one hand and gradually push the brush through small sections of tail at a time. Comb the top of the tail and sides with a mane comb. If the tail is thin, or the hairs on the side are too short to plait, you can use a pulling technique to make the tail look presentable instead.
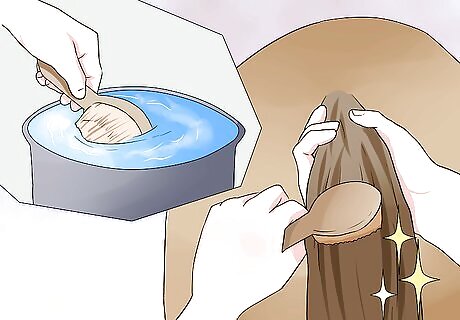
Wet the tail. Before beginning, you will want to make the hairs shinier and less slippery. Dip a brush or sponge in water and brush the tail with it to dampen it. Alternatively, dip your fingers in egg white or a hair gel for horses. You only want to dampen, not completely wash the tail, as it can make the hair harder to manage. Do not use ordinary hair gel, as some horses are allergic to it. Do not use coat polish or detangler, as they will make the tail slick and hard to handle.
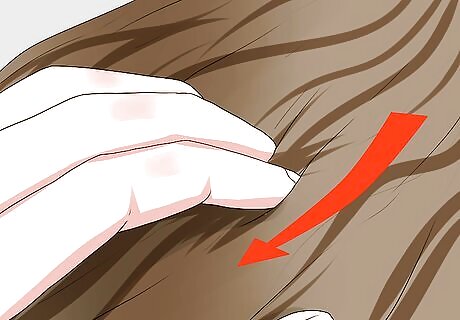
Run your fingers through the top and sides of the tail. After dampening, you will want to be sure the hair is ready for plaiting. You should be able to comb the tail without hitting any snags.
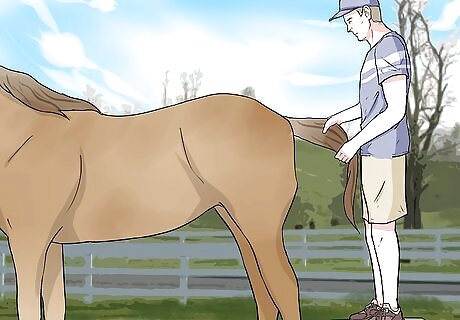
Stand above the horse. You do not want to pull the hair downward while plaiting. This can cause the plait to come loose or look untidy. If you have a particularly tall horse, use a step stool.
Beginning the Tail Plait
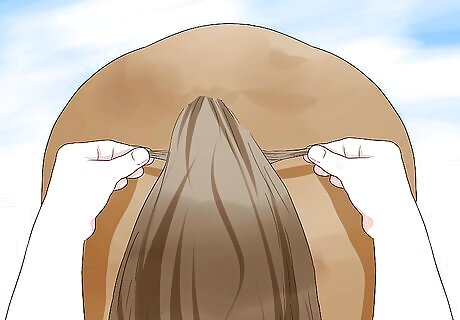
Grab two small sections of hair. You should start with two small bunches of hair, about 1 centimeter (0.4 in) each, from either side of the base of the tailbone (dock). Take the left and right sections in your hands, and hold them taught.
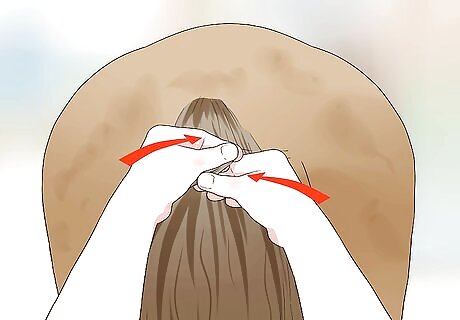
Cross the two sections over. When finished, the left hand one should be on the right. This will help keep your work clean, and give you a good start away from the horse's skin.
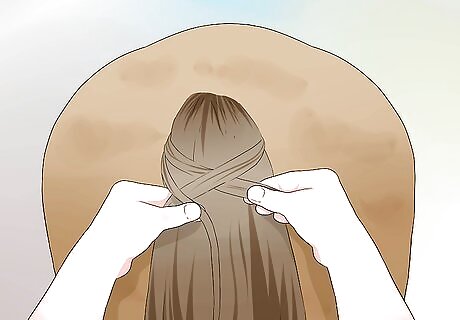
Begin a French braid on the tail. Take a third section of hair, roughly the same size, from either side. Cross this new section over the now-middle section, so that it is now in the center. Next, cross the opposite section over the new center section. You should end up with three strands to the left, middle, and right again, similar to how you started.
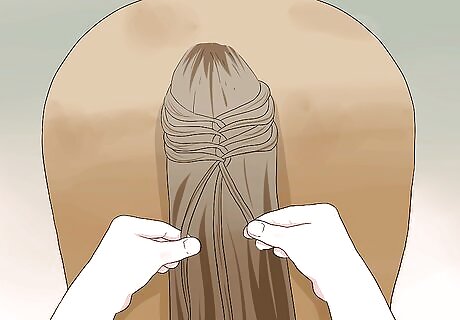
Continue the braid, adding hair for each crossing. Work about two thirds of the way down the dock. As you continue braiding down the tail, add additional bits of hair to your left and right strands before crossing over. Press inward each time you cross, to keep the plait tight over the dock. The key to a successful plait is maintaining even pressure the whole time. Don't pull hard downward, but keep a steady, small tug of pressure along the direction the tail flows. You can give the dock a quick squeeze to feel where you are along it. The extra strands you take should create a "ribbed" appearance on either side of the tail.
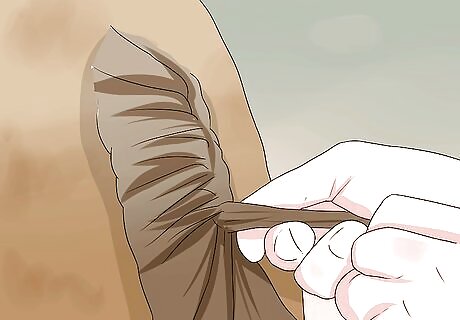
Finish the plait. Braid your three strands together, this time without adding additional hair from the side. This braid will not hold the tail as the other strands did. The rest of the skirt, or long tail hairs, will hang freely beneath the plait, although the "ribs" of the upper plait will help prevent loose hairs.
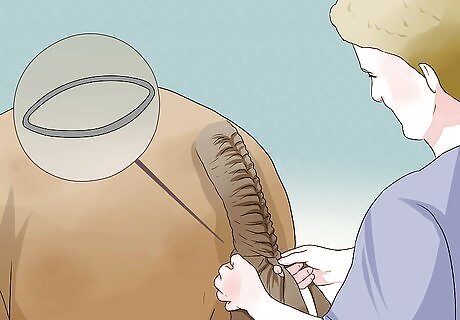
Secure the end of the plait. Now that you have the plait fully made, you need to tie off the end to keep it in place. Using a needle with yarn or thread, stitch the end tight. You can also use an elastic band. If you are intending to use the plait in a show or competition, be aware the trend is toward threads that match your horse's hair color.
Completing the Plait
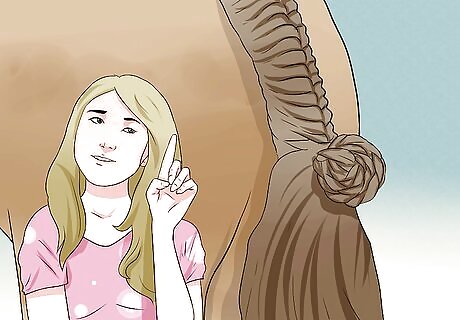
Choose a style to complete your plait. There are several ways you can complete the plait. The most popular style is the loop, though there is also the quicker wrap technique, or the fancier, though more difficult, pinwheel.
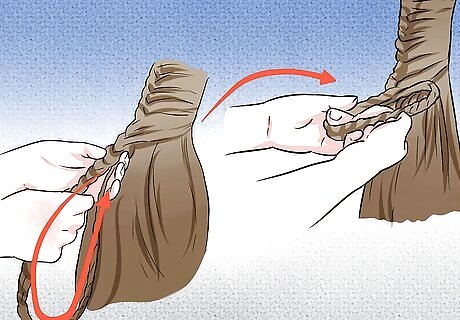
Finish with a loop. The loop is the most traditional way to finish off your work. Pick up the tip of the plait and pull it under the dock plait to form a discreet loop. Make sure the braid is snug against the upper dock plait. Pull the yarn ends through the "ribs" of the upper plait and tie the two plaits together. If you used yarn, you can instead grab the dangling ends of yarn with a latch hook or your fingers to pull through.
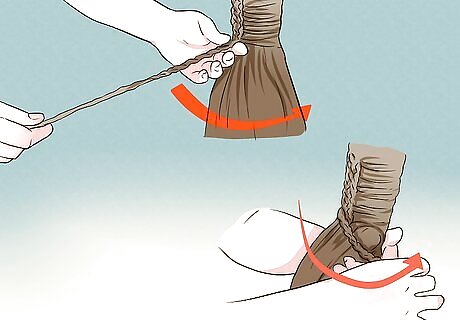
Finish with a wrap. This is the quickest way to finish the plaiting. Start by wrapping the braid once around the dock. Tuck the end of the braid under the loop you just made, and pull through down away from the horse. This won't be as tight as your braiding, but tense enough to not loosen immediately. Tie up the loose braid to the wrap, using either yarn or thread.
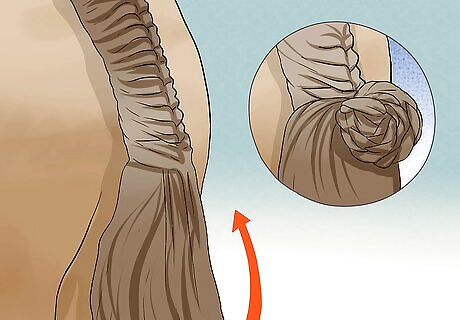
Finish with a pinwheel. Leave the braid unfinished, or undo the last few crossovers. This should leave two unused lengths of hair. Roll the plait over itself tightly up the length of the tail, forming a flat circle of plaited hair. Keep the two unused lengths of hair separate, dangling on either side of the wheel. After you have rolled up the remaining braid, cross the extra lengths of hair between the wheel and the plait, then loop and gently tie them around the plait.
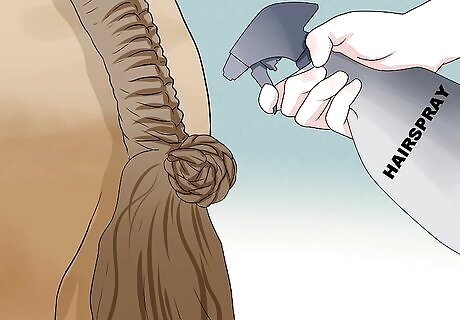
Use hairspray to hold your work in place. This will keep the plait stiff and keep loose hairs down. You don't want any spiky hairs, or other pieces out of place.
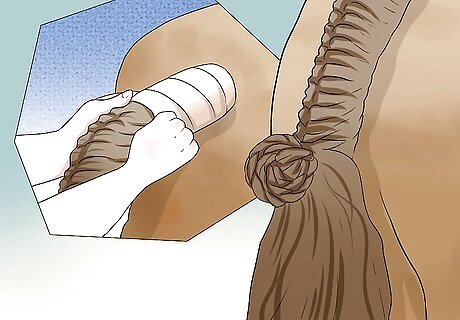
Protect the plait. Your horse may itch, and try to rub off the plait. This could tear the hair and ruin your work. You can cover it with a tail bandage, long sock, or stocking to keep it tidy and protected. A tail bandage is better, just make sure you remove it gently.





Comments
0 comment