views
Canning Mango
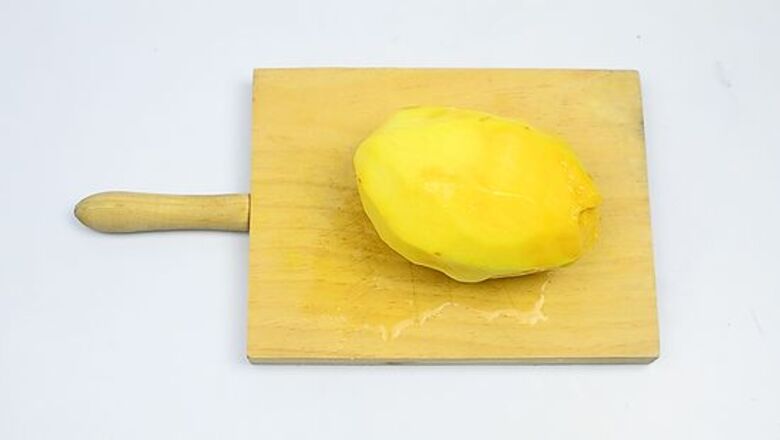
Peel the mango. Position the mango vertically on a cutting board and hold the top of the mango with your non-dominant hand. Use a paring knife or vegetable peeler to cut away long strips of the skin. Try to make your cut as shallow as possible so that you don’t cut away too much of the meat. Repeat the process until the entire mango has been peeled. The meat of the mango can get really slippery once the skin is gone, so be careful while you’re working to not slip and accidentally cut yourself. Instead of throwing away the mango skin, add it to your compost pile.
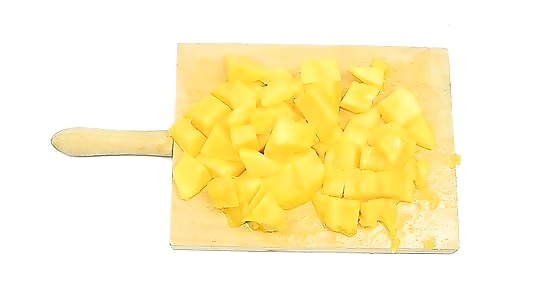
Slice the mango away from the seed and cut it into small chunks. The seed of the mango is a large, hard pit that is directly in the middle of the fruit. From the stem of the mango, cut down vertically to remove the “cheeks” of the fruit from the seed. Use a serrated knife, as the ridges will make it easier to cut into the flesh and will make it less likely that you’ll crush the fruit. Do this on each side of the mango. Put the cut portions onto the cutting board and dice them into 1 inch (2.5 cm) pieces. If you feel resistance when you’re slicing the mango, you’re hitting the pit. The pit is very hard to cut into, whereas the actual meat is extremely soft and slices easily.
Separate the mango chunks out between quart or pint-sized jars. Make sure you’re using clean, dry jars for your mangos. Generally, 3 diced mangos will fit into 1 pint-sized jar (1/2 liter), or 6 diced mangos will fit into 1 quart-sized jar (1 liter), so prepare how many jars you’ll need accordingly. Once the mangos are diced up, go ahead and disperse them evenly between your jars. Each jar will need some space for lemon juice and simple syrup, so leave at least 1 to 2 inches (2.5 to 5.1 cm) of headspace for the liquids. If you’re making a smaller batch of canned mangos and only have a few fruits to preserve, look into getting even smaller jars, like an 8 fluid ounces (240 mL) option.
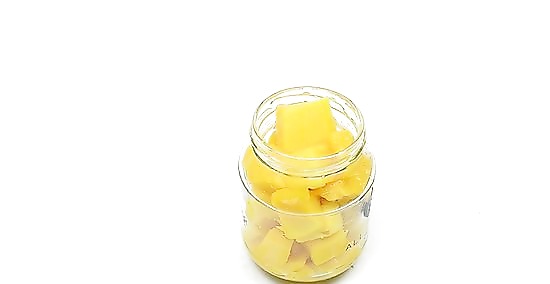
Add ⁄4 cup (59 mL) of lemon juice to each jar. If you’re using quart-sized jars (1 liter), use ⁄4 cup (59 mL) of lemon juice. If you’re using pint-sized jars (1/2 liter), add 2 tablespoons (30 mL) of lemon juice. Because mangos have a lower acidity level than most other canning fruits, it’s essential to add a little extra acid to each batch so they can be safely preserved. If you use freshly-squeezed lemon juice, strain the liquid to remove any seeds.
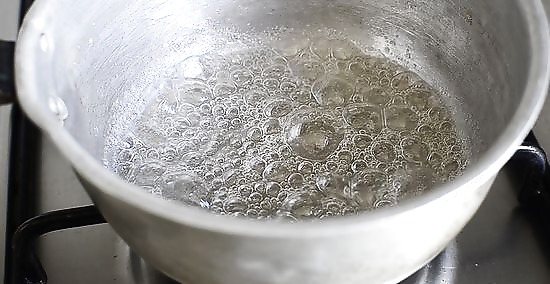
Make a simple syrup out of water and white sugar. Typical simple syrup is made up of a 1:1 ratio of sugar to water, but since mangos are already so sweet, you can make the ratio much lower. For 3 quarts or 6 pints (3 liters), heat together 1/2 cup (100 grams) of white sugar and 2 cups (470 mL) of water in a small saucepan. Stir the liquid until the sugar has completely dissolved. The measurements don’t have to be exact for this simple syrup. If you prefer a sweeter syrup, use a bit more sugar.

Pour the syrup into each jar, leaving ⁄2 inch (1.3 cm) headspace. After the sugar has completely dissolved into the water, carefully pour the syrup equally amongst your jars. Make sure to leave a little space at the top so you can process the jars safely. If you find that you need more syrup, go ahead and make another batch to properly fill the jars. If you transfer the syrup while it’s hot, be careful to not burn yourself.
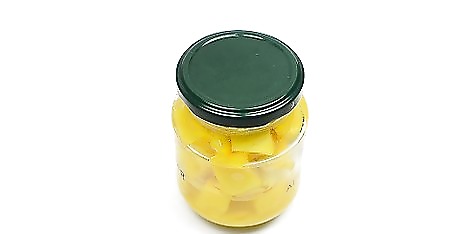
Put the lids onto the jars, taking care to remove any air bubbles. Take a silicone spatula (never use metal utensils when you’re canning) and run it along the inside edge of the jar. Push inward against the fruit to allow any trapped air bubbles to escape. Do this around the entire edge of the jar. After that has been done, go ahead and secure the lids on the jars. Using metal utensils could scratch or break the glass. Trapped air bubbles can create a lot of extra pressure when the jars are processing and cause them to not seal correctly.
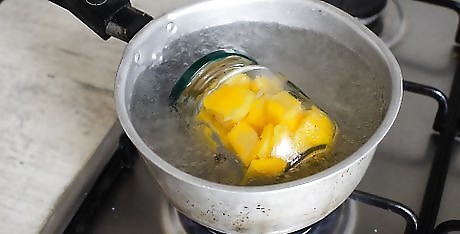
Process the jars in a water bath for 15 to 20 minutes. Pints (1/2 liters) need to be processed for 15 minutes and quarts (1 liter) should be processed for 20 minutes. If you have a canning bath, use that apparatus and follow the instructions. If you don’t have one, use a deep stockpot or dutch oven filled with enough boiling water to completely submerge the jars. Place a lid over the pot while the jars are processing. Use silicone tongs to carefully submerge and remove the jars. The jars need to be immersed in water by at least 1 to 2 inches (2.5 to 5.1 cm).
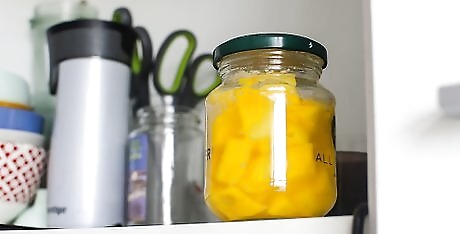
Store the canned mangos in a cool location for 1 to 2 years. After the jars have processed, let them cool on the counter for 2 to 3 hours. When storing them, keep the jars away from sunlight and try to keep them in a location that is under 75 °F (24 °C). When you open a jar, if the fruit smells off or if you see any discoloration, it is probably time to throw the batch out. Store opened jars in the fridge. Label the jars with masking tape and the “date made” so you know which jars of mangos should be used first.
Freezing Mango Chunks
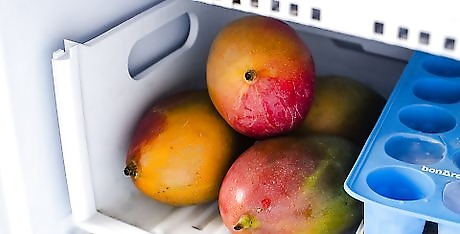
Freeze mangos whole if they’re too soft to cut open and slice. If you have a mango that is getting a little over-ripe but you’re not ready to use it yet, try freezing it before it starts to go bad. Simply place the entire mango into a freezer-safe bag, label it with the date, and slide it into the freezer. When you’re ready to use it, take it out of the freezer and let it defrost on the counter for 1 to 2 hours. You can peel and cut the mango while it’s still frozen, or wait until it’s has thawed to cut it up. If you try to slice and dice an over-ripe mango, you may end up with a substance that is more puree-like rather than chunk-like, which can be really hard to freeze.
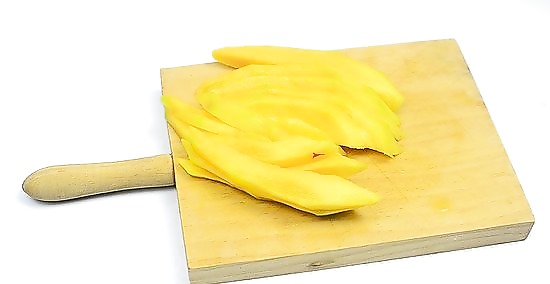
Peel and slice mangos to freeze them for future use. Use a serrated knife to peel away the skin of the mango, cut it away from the hard pit, and dice it into small 1 inch (2.5 cm) chunks or slice it into long strips that are about ⁄2 inch (1.3 cm) thick or more. The larger the chunk or strip, the easier it’ll be to remove the mango from the baking sheet once it has frozen. Smaller pieces can get overly brittle and snap or stick to the sheet. Freezing mangos is a great way to preserve just-ripe fruits, especially if you have an abundance of them and don’t want them to go bad before you can use them.
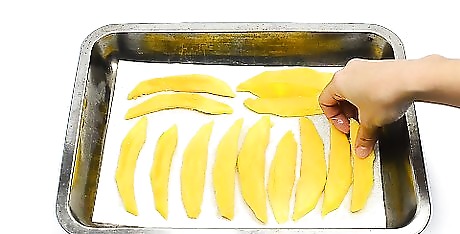
Spread the sliced mango out on a lined baking sheet (or two). Line a baking sheet with parchment paper to make it easier to remove the frozen mango. Spread out the mango so that each piece is separated from the others; if the mango pieces are touching, they’ll freeze together in chunks. Use as many baking sheets as you need to house all of the mango, or work in batches if you don’t have enough sheets or space available. Make sure that your baking sheet can fit into your freezer. If you need a smaller tray, use a dinner plate or small serving dish for the same effect.
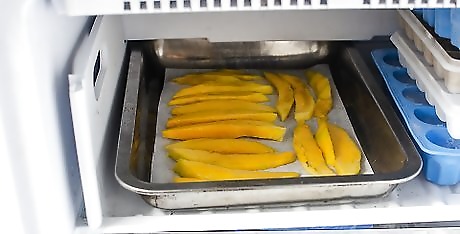
Place the baking sheet(s) into the freezer for 2 to 3 hours. Lay the baking sheets in the freezer as evenly as possible so that the mango doesn’t slide around. Don’t place anything on top of the mango or put the trays on top of each other. Freezing the mango on the baking sheets is an essential step—if you were to just put diced mango into a bag and freeze it without utilizing the baking sheet method first, the mango would just freeze into one huge lump.
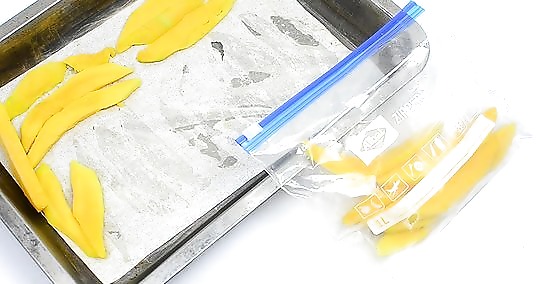
Use a spatula to transfer the mango from the sheet to a freezer bag. The parchment paper should make it a lot easier to remove the mango from the baking sheet, but even still, you may need to use a little bit of force to scrape up each piece. Put the mango directly from the sheet into a resealable freezer bag. Label the bag with the date so that you know which mangos need to be used first.
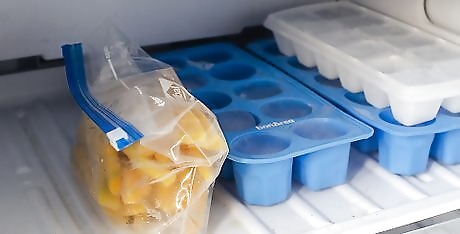
Store the mango slices in the freezer for up to 1 year. Keep an eye out for discoloration or freezer burn (which is why it’s important to use freezer-safe resealable bags). The mango should still technically be good, but the flavor will probably be compromised.

Make smoothies with frozen mango or let it thaw to use in other recipes. Toss frozen mango straight from the freezer into a blender with other ingredients, or take out as much mango as you want and let it thaw on a plate on the counter for 1 hour. Mango goes great in salads and salsas, and you can also use it in muffins and cakes. Thawed mango might be a little mushier than fresh mango would be. The texture changes slightly when frozen and it becomes a little less firm. However you decide to use the mango, you’ll be glad you took the time to freeze them to have to enjoy all year long.
Dehydrating Mango in the Oven
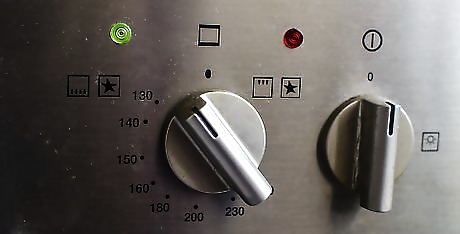
Preheat your oven to the lowest temperature setting possible. Most ovens can go as low as 200 °F (93 °C) or perhaps a little lower. Whatever that setting is on your oven, go ahead and preheat your oven to it. Mangos need to cook at a low heat for a long time to dehydrate properly without the risk of burning. If you have a food dehydrator, follow the instructions that came with the dehydrator to properly dry your mango.
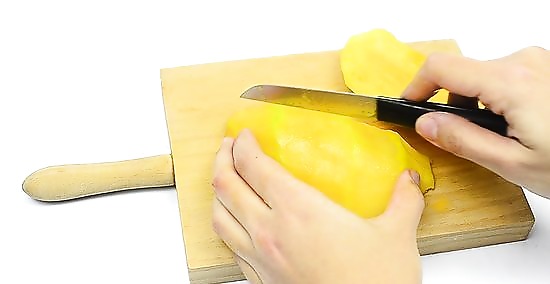
Peel and slice the mango into thin, equally sized strips. Use a serrated knife to carefully cut away the skin of the mango. Cut away the cheeks from the hard pit, and then slice the meat of the mango into thin strips that are equal lengths in size. Aim for thinner strips that are about ⁄4 inch (0.64 cm) thick so that they’ll dehydrate faster. The thinner the strips, the faster they’ll dehydrate. Keeping the strips even in size is important to ensuring they’ll all be done at the same time and to the same consistency.
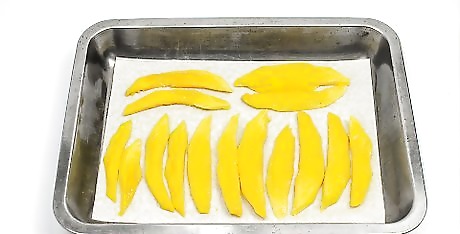
Line several baking sheets and evenly spread out the mango. Use parchment paper to line your baking sheets. This will make it a lot easier to remove the dried strips from the sheets once they’re done. Lay out the mango evenly so that there is a little bit of space between each slice. Depending on how many mangos you are going to dehydrate, you may need one or two baking sheets. If you have more mango than can fit on the sheets, work in batches over the course of a day to get everything done.
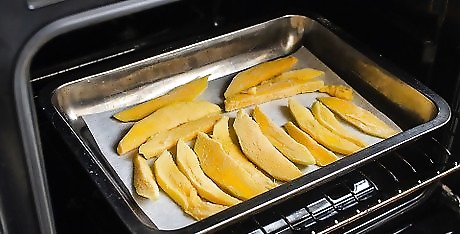
Flip the fruit every 30 to 60 minutes, baking them for about 4 hours total. Each time you flip the mango strips, check them for doneness. Most ovens will take about 3 to 4 hours to fully dehydrate the fruit, but if you sliced them really thin, it may not take quite as much time. Be careful when taking the baking sheets out of the oven to not accidentally burn yourself.
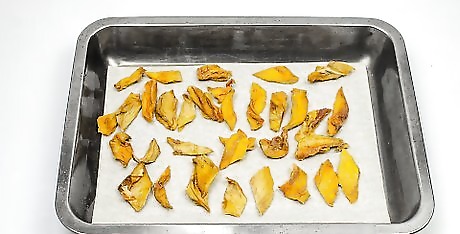
Remove the mango from the oven once all the pieces are rubbery. When you pick up a piece of mango and squeeze it, there shouldn’t be any wetness or moisture leaking out. When you bend it, check that it feels rubbery or leathery. And, of course, you could try biting into a piece to see if it has the consistency you want. Dehydrating mango allows you to keep it for a really long time because all the future bacteria-causing moisture has been removed.
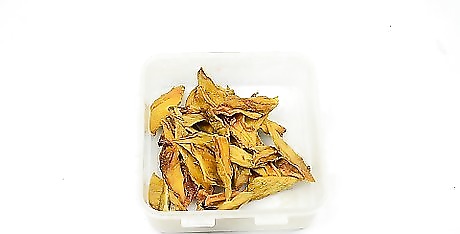
Store the mango in an airtight container for 6 to 12 months. If you keep it in the fridge, it could even last for 1 to 2 years. Keep an eye out for discoloration, excessive hardness, or a bad smell—these are all indicators that it’s time to throw out the dried mango. Label the container with the “date made” so you can keep in mind how long it should be good for.
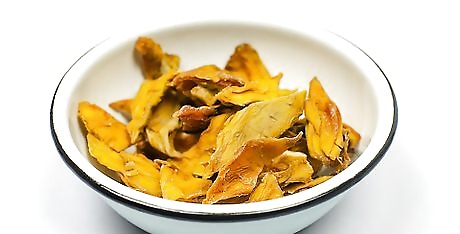
Eat the mango as a snack or add it to recipes that call for dried fruit. Mango strips are great on their own, you can add them to your own homemade trail mix, or they can be diced up and used in baking recipes. They’re also great additions to oatmeal and pancakes! For a decadent treat, try dipping the dried mango into melted dark chocolate. Let the strips dry on parchment paper, and then enjoy at your leisure.


Comments
0 comment