views
If you want to learn more about properly charging the battery of your phone or mobile device, read this article.
Using a Battery Charger
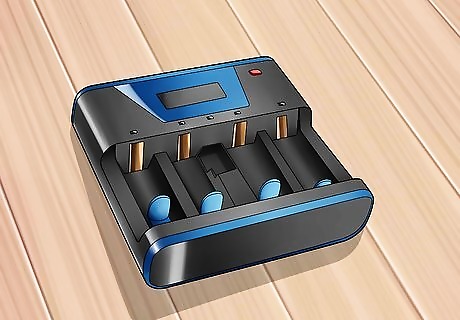
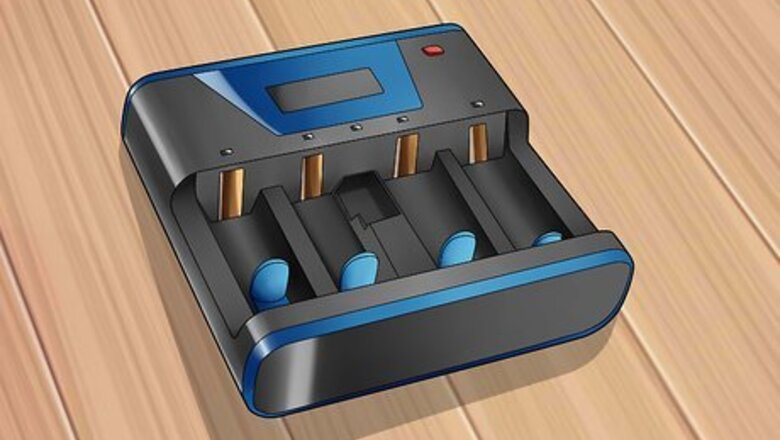
Get an appropriate charger for the batteries you need to charge. Rechargeable batteries are most often charged in an A/C adapter, which you can plug into a basic home outlet. These chargers feature terminals sized in a variety of ways, from AAA to D. Depending on what kind of batteries you want to charge, you can usually find a charger appropriate for the size at any electronics or hardware store. Some chargers feature a variety of adaptable sizes, meaning you can charger AA and AAA on the same terminals. If you've got a lot of different-sized batteries, this would be an ideal choice. Rapid-chargers are similar to regular chargers, but often don't have a charge-control mechanism that halts or slows the flow of voltage. These are effective at quickly charging batteries, but can reduce the life of the battery more significantly.
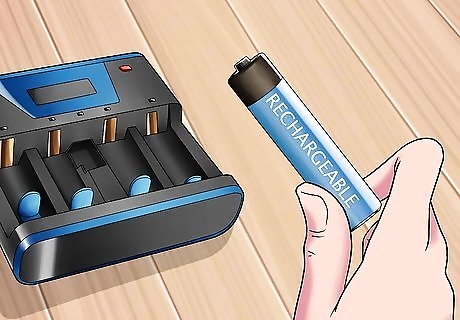
Use only the appropriate batteries in the charger. Never try to recharge single-use batteries, or you risk causing corrosion and damage to your charger. Only try to recharge batteries specifically labeled "rechargeable." If you've got some dead single-use batteries, dispose of them properly and buy rechargeable ones. Nickel–metal hydride (NiMH) batteries are common in consumer products, especially power tools, while lithium-ion batteries are common in electronics. Both varieties of battery are commonly used and both are rechargeable. When you first start to use a new set of rechargeable batteries, run them completely down before recharging them. This will decrease the possibility of a phenomenon called "memory effect," which is when the battery's capacity diminishes from being recharged prematurely. Use a battery tester to determine if there is life left in a battery before attempting to recharge it. Many battery testers are inexpensive, easy to use and provide an instant reading.
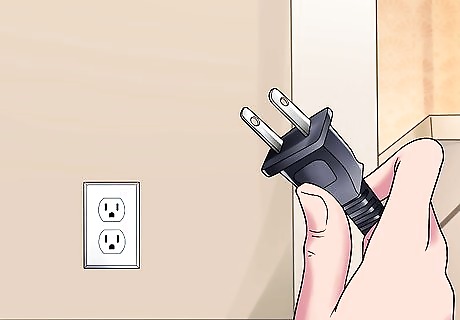
Plug the charger into an outlet. With most A/C adapter chargers, a power light should come on automatically, or by flipping an "On" switch. Make sure that any power indicator lights come on, and you'll be ready to start charging your batteries. Always defer to the manufacturer's instructions. Read the battery charger instruction manual thoroughly, which should contain important information, including the time it takes to complete charging, a key to indicator lights and safety information specific to the batteries being used.
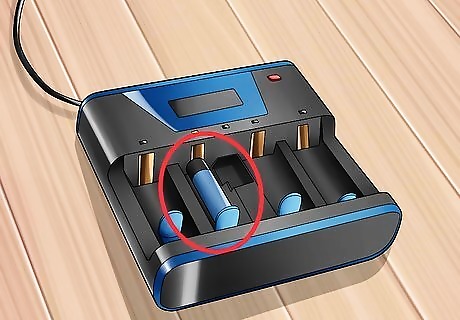
Insert each battery to be charged into the charger in the proper configuration. This means putting the positive (+) ends into contact with the charger's positive terminals and likewise with the negative (-) ends. On most A/C chargers, there should be a diagram showing you how to orient the batteries properly. Generally, the flat side of the battery should rest against the spring, and the "bump" on the battery should rest against the flatter side.
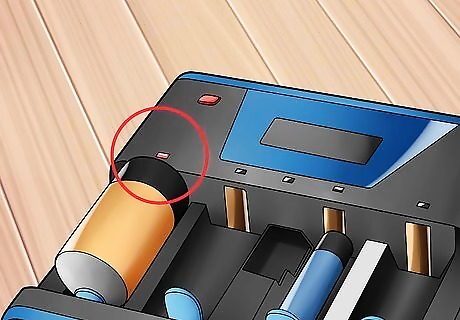
Allow the batteries to fully charge. Most chargers should change a light from green to red, or vice versa when the batteries are fully charged. Do not interrupt the process by unplugging the charger's cord or by removing the batteries early, or the battery life will be significantly diminished.
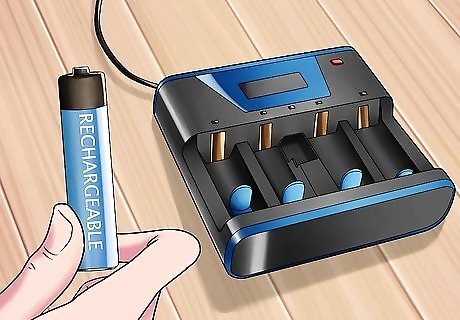
Remove the batteries when the charging process is complete. Overcharging of batteries is the primary cause of a reduction in the life of the battery, especially in rapid charge chargers. "Trickle charge" is a technique of lowering the charge to roughly 10 percent of the capacity of the battery, which is usually enough to keep a battery fully charged, without triggering the discharge that results in a diminished capacity of battery life. Most manufacturer's don't recommend long-term trickle charging, but if you have a charger with an adjustable charge rate, dropping it to a lower rate can be an effective way of keeping your batteries juiced.
Charging Car Batteries
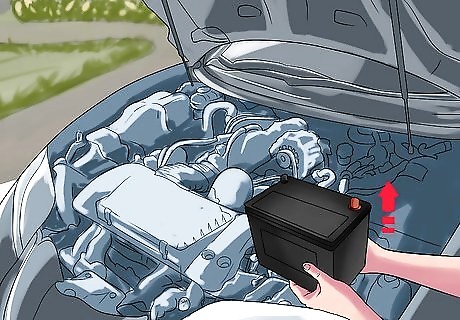
Remove the battery from the vehicle, if necessary. Make certain that the vehicle is shut off completely and remove the grounded terminal first, to prevent arcing, then move the battery to a well-ventilated area to charge it. It is possible to charge a battery without removing it, but you need to know whether or not the battery is grounded to the chassis, to avoid clipping the negative in the wrong place. If it is grounded to the chassis, clip the positive to the positive terminal, and the negative to the chassis. If it isn't, then clip the negative charger to the negative terminal, and the positive to the chassis. If you want to know how to jump your vehicle, read this article.

Clean the battery terminals. On most well-used car batteries, corrosion will typically build up around the terminals, and it's important to clean these periodically to make sure that your battery terminals make good contact with the leads. The best way to do this is to use plain baking soda and water, and brush the terminals with an old toothbrush to remove the corrosion. Refill each cell with distilled water, to the proper manufacturer levels, if necessary. Do not overfill. Some lead-acid batteries won't have removable ports, so defer to the manufacturer's instructions as always.
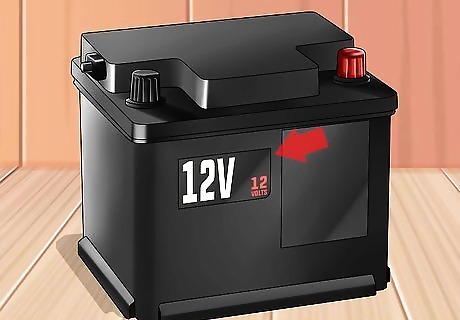
Determine the voltage of the battery. Usually, you'll be able to find this in the owner's manual for your vehicle, if it isn't listed on the battery itself. If you're unsure, you can also usually visit any auto parts retailer and have them check for your, at no charge.
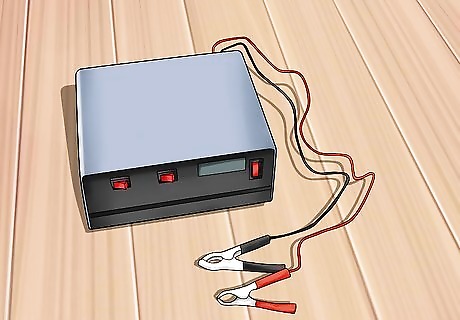
Use a charger with the appropriate output voltage. Depending on your vehicle and the battery in it, you'll need a charger with enough capacity to recharge it. Typically, batteries will be either 6 or 12-volts, but depending on whether or not your battery is a Standard, AGM, and Deep Charge model, you may need a stronger charger, depending. Some chargers are manual, which means you'll have to shut them off when the battery is fully charged, while other automatic batteries will shut off when the battery is full. Other than that, and slight differences in design, all chargers work in essentially the same way. Again, if you're not sure, head to the auto-parts store for a quick check. You don't have to pay for it, and you'll be sure you've got the right info.
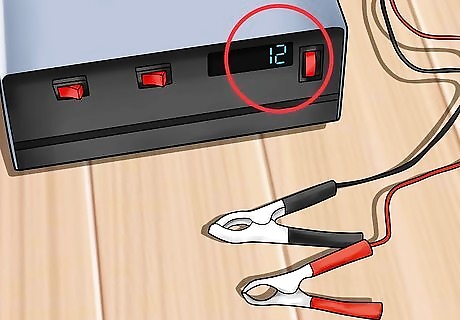
Set the output voltage to the correct number. After you know the voltage of your battery, you can set the output voltage to match. Most chargers have digital readouts, which just let you toggle up or down to the appropriate voltage. Some chargers have adjustable rates, but it's always better to start lower and slower than you think your battery might be able to take.
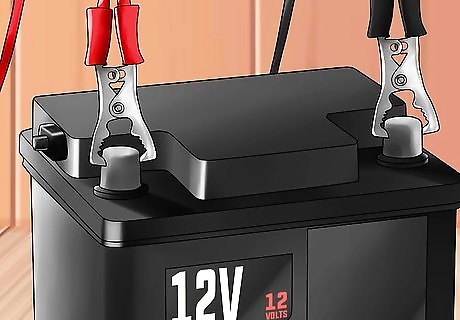
Attach the leads. Chargers come with two clips, one of which you should attach to the positive battery terminal and one of which to the negative. Switch the charger to the "OFF" position and remove the plug from the wall to be safe. Don't let the clips touch each other at any point during the process, and turn away from the battery itself when you make the final connection. First, connect the positive cable, which is usually the ungrounded one. Next, connect a jumper cable or an insulated battery cable that's at least two feet long to the negative post, and connect the negative battery cable to this cable. If the battery is still in the car, you'll want to clip the ungrounded cable to the ungrounded peg on the battery, and the grounded cable somewhere to the chassis of the car. Never clip a charger to the carburetor, fuel lines, or the body of the vehicle.
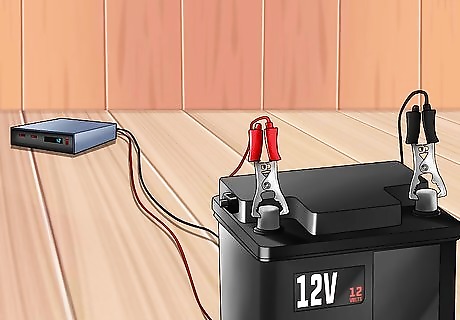
Keep the charger and battery as far away from each other as possible. Stretch the cables as far as they go, and never place the charger directly above the battery that's being charged. Corrosive gasses will sometimes be emitted from the battery, which can be dangerous.

Let the battery charge fully. Depending on the battery and the charger you're using, it may take as many as 8-12 hours to charge your battery. If you're using an automatic charger, it should shut off as soon as the battery is charged. If you're using a manual charger, you'll need to check and make sure the battery is charged before you do. If you want to know how to use a voltmeter to do this, read this article.



Comments
0 comment