views
Removing Printing with an Iron

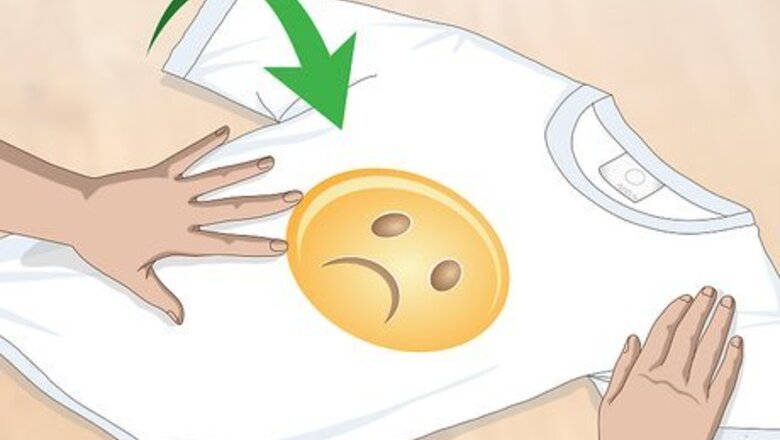
Put the item of clothing on a flat surface to iron it. Place the clothing on a surface that is safe to iron on. An ironing board or hard table of some kind is best. You could use the floor if you don’t have any other surface to iron on. Just be careful with a hot iron around carpeting. This method works to remove vinyl or rubber prints that were heat transferred to the clothing in the first place.
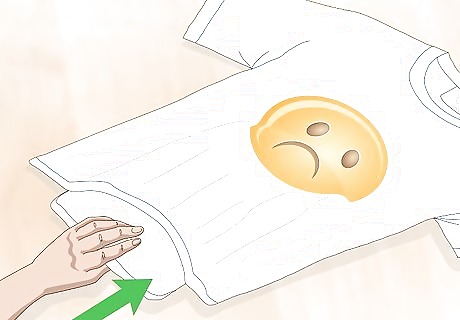
Place a dry towel inside the clothing underneath the printing. Fold a towel up so it fits inside of the piece of clothing and below all of the printing that you want to remove. This will protect the other side of the clothing from the heat of the iron. If you don’t have a spare towel handy, you could also use an old t-shirt or anything else that is soft and not prone to damage by heat.
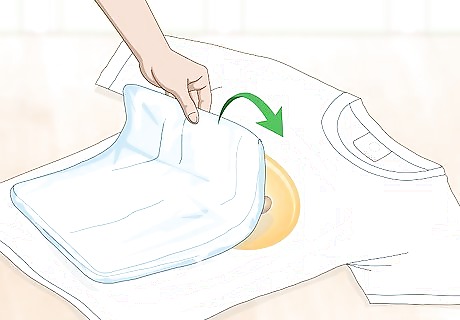
Put a wet cloth on top of the printing. Soak a hand towel or clean cloth in cold running water. Wring out the excess water so it is not dripping and place the cloth flat over the print you want to remove. The wet cloth will create a protective layer between the iron and the printing so it doesn’t melt onto the iron.
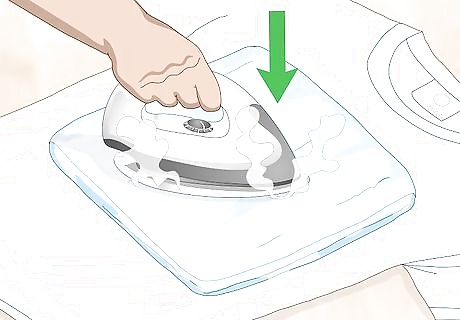
Place a hot iron on top of the wet cloth over the printing. Press the hot iron against the wet cloth over the first part of the print that you want to remove. Apply gentle pressure with your hand to be sure the heat reaches the print. If the iron is the heavy old-fashioned kind, then you can just let it sit on top of the printing and the weight should be enough on its own.
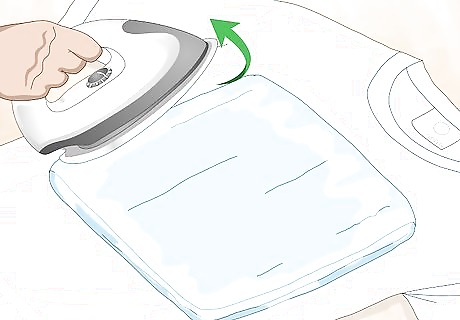
Remove the iron when the wet cloth is dry below the iron. Listen to the sound of the water fizzing and evaporating on the wet cloth under the iron. The cloth will be dry when you don’t hear the water bubbling anymore. Lift the iron up and set it aside when that part of the cloth is dry. If you leave the iron on too long after the wet cloth stops fizzing, it could burn.
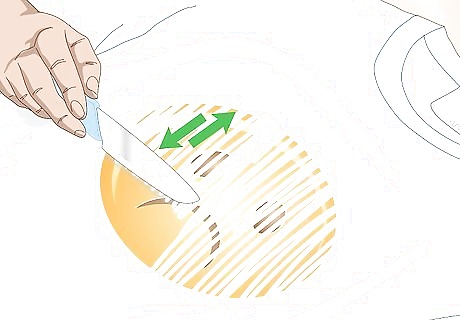
Use a knife to loosen the printing and pry it off. Carefully scrape off the print with the sharp edge of a knife. Use your fingers to help peel it off when you have loosened it with the knife. Be careful to always scrape away from you with the knife to avoid cutting yourself. Try to use the knife to just loosen the edges of the printing, and then peel as much as you can off with your fingers to avoid damaging the fabric below with the knife.
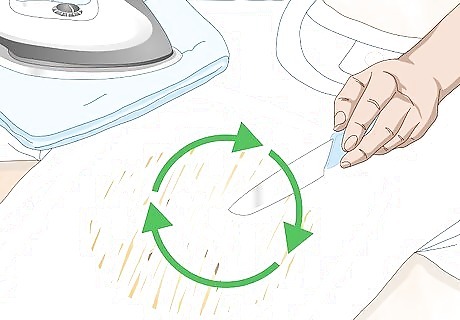
Repeat the process until all the printing is gone. Wet the cloth again if it is dry after you peel off the first section of print. Apply the hot iron over the wet cloth for the remaining printing, then scrape and peel it off until you are happy with the results. You may have to go over sections several times, depending how stuck on the printing is.
Taking Off Printing with Solvents
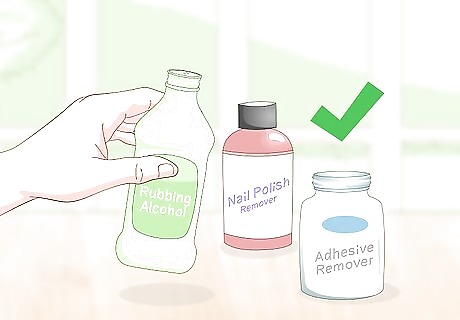
Get a solvent like rubbing alcohol, nail polish remover, or adhesive remover. These are common solvents you will be able to find in your house or at a convenience store. Get a bottle that has enough liquid in it to soak the whole area of the clothing that you want to remove printing from. You can also look for special heat transfer vinyl remover that is designed to take vinyl lettering off of clothing. Solvents only work to remove vinyl and rubber prints from clothing. Screen printed ink is permanent on clothes.
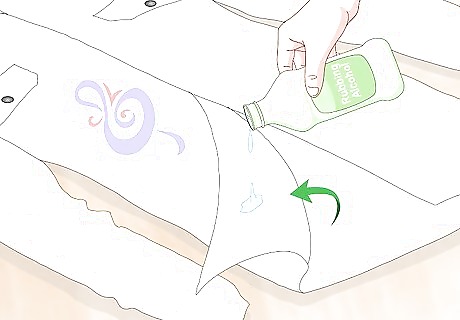
Test the solvent on a hidden area of your clothing to see if it causes damage. Turn the clothing inside out or find an area that doesn’t show when you wear it. Pour a drop or two of the solvent you are going to use onto the hidden area, and wait to see if it discolors or damages the fabric in any way. If the clothing looks fine after you pour the solvent on, then it is safe to proceed. If not, then you should find another solvent to use so you don’t ruin your clothing. Don’t use solvents on delicate fabrics such as rayon, wool, or silk.
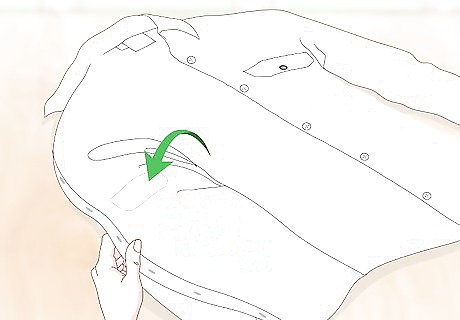
Turn the clothing inside out so the backside of the printing is facing you. You want to be able to soak the fabric behind the printing in order to take it off the front. Place the inside-out item of clothing on a flat surface in front of you. It would probably be easiest to sit or stand at a table or counter as you remove the printing.
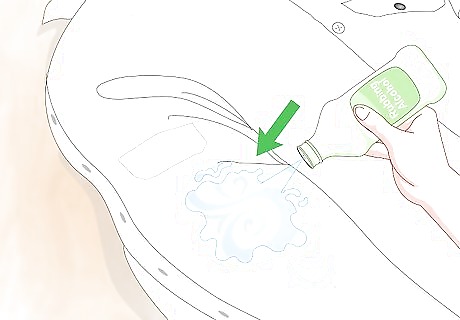
Pour the solvent onto the part of the clothing where the printing is. Pour out enough solvent to soak the entire back part of the fabric behind the print you want to remove. Wear a facemask if the solvent fumes bother you. Make sure that you are working over a surface that will be easy to clean up if you accidentally spill any solvent. Stretching the fabric out so that the solvent can soak in completely can make the process easier. Just make sure not to stretch the clothing so much that you damage or distort it.
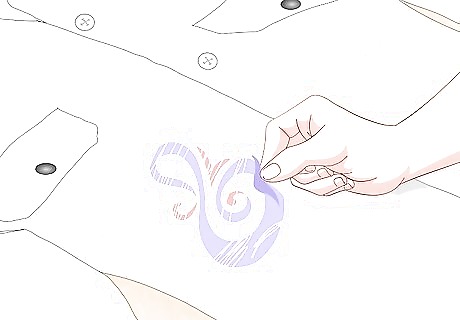
Turn the clothing back right side out and peel or scrape off the printing. Flip the clothing back so that the printing is facing outwards. Try to peel off the print with your fingers or scrape it off with the sharp edge of a knife. Be careful when you use a knife and always scrape away from you. You can wear latex gloves if you don’t want to get the solvent on your fingers and hands.
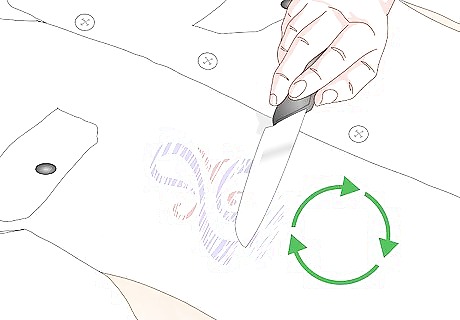
Repeat the process until you have peeled off all the printing. Get as much print off as you can by peeling and scraping. Flip the clothing inside out again and pour on more solvent when you can’t get anymore off, and then try to peel and scrape the remaining print off again until it is all gone. If you can’t get it all off with a solvent, then you can try using the heat from an iron to loosen the printing.
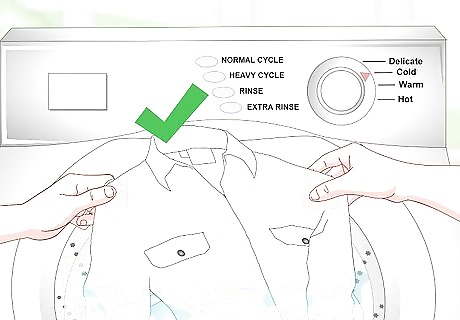
Wash the clothing as you normally would to remove the solvent. Follow the garment’s care instructions to wash it safely. This will get rid of any harsh chemical smells and your clothing will be ready to wear again! If there is any glue residue or stickiness left where the print used to be after you wash the clothing, then try an adhesive remover to get the residue off.





Comments
0 comment