
Using Fotor

Go to https://www.fotor.com/how-to/remove-unwanted-objects/. You can use this online tool with either a desktop or mobile web browser. If you use a phone or tablet, however, you might run into issues when you try to move the canvas. Fotor offers free text-removing, but you'll need to sign up for a free account. Fotor also offers a paid subscription service so you can access more features.

Click or tap Get Started. You'll find this light blue button centered on the page.
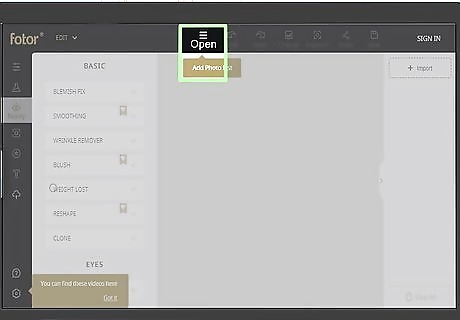
Click or tap Open. You'll see this button with ☰ centered above the editing space.

Upload the photo. You can choose to upload a picture from your computer storage, Fotor Cloud, Dropbox, or Facebook. Select the location, then navigate to and double-click an image to open it.

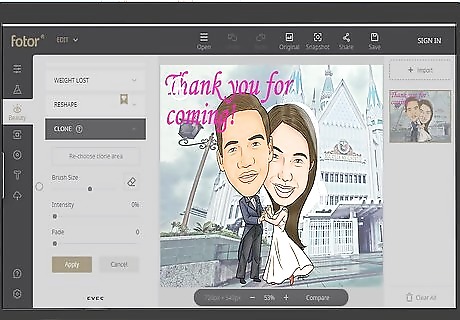
Click or tap Beauty, then select Clone. A menu will expand below.
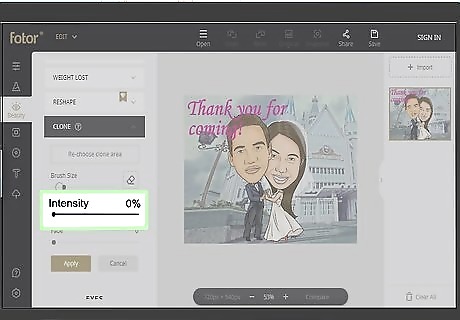
Click and drag (or tap and drag) the slider for Intensity to 100%. You'll need this up to see your cloning. You can change this later.
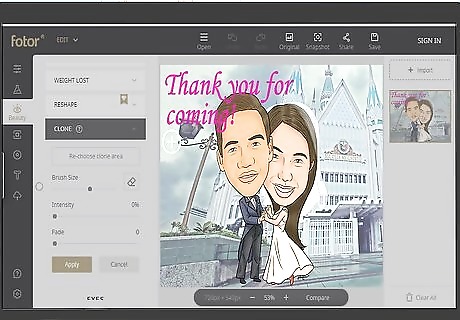
Click or tap the area on the image you want to clone. This will provide the area that will be used to cover up the areas you want to erase. If you don't like the area you selected, you can click or tap Re-choose clone area under the "Clone" header on the left side of the page.
Click and drag over the text you want to remove. You'll see the text covered by the section of the image you selected as the clone area. If you want a more precise look, you can change the brush size by dragging the slider under "Brush Size" in the menu on the left side of the page. You can also zoom in on the image by clicking or tapping the plus sign below the image. You'll see the % you're zoomed in next to the plus and minus signs that zoom in and out of the image. You can click or tap Cancel if you don't like the finished product.
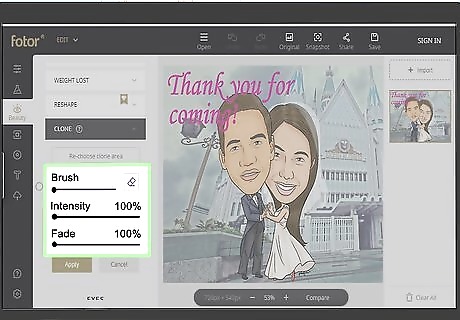
Use the tools in the left menu to edit the cloning effect. You can move the slider under "Fade" and "Intensity" to alter your finished product.

Click or tap Apply. You'll see this below the "Fade" slider in the menu on the left side of the page. The cloning you did to remove the text from your image will be applied and no longer editable. If you don't like the applied cloning, click or tap Original in the menu above the editing space to return to the original.
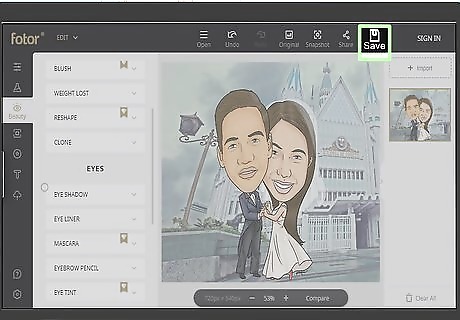
Click or tap Save. You'll find this towards the right end of the menu above the editing space. If you aren't logged into a free Fotor account, you'll be prompted to log in or sign up.
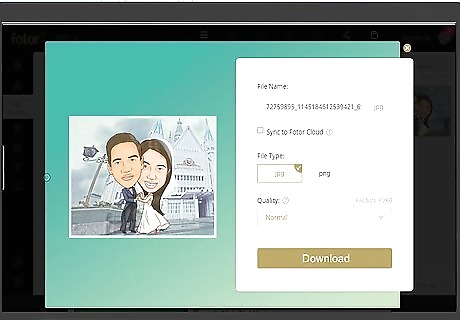
Download the file. Click or tap the file name text field to rename and save the file, choose your desired format (JPG or PNG) and quality, and then click Download.
Using InPaint Online

Go to https://online.theinpaint.com/. You can use a desktop or mobile web browser to use this online tool. With InPaint Online, you'll need to buy credits to be able to download your text-free image in high quality. You can get 500 credits for $19.99, 100 credits for $9.99, and 10 credits for $4.99. One image download costs 1 credit. You can also purchase the desktop version for Windows and Mac for a one-time fee of $19.99, plus a bunch of other features including no size limitation on your pictures and no credit system for downloading your text-free images.
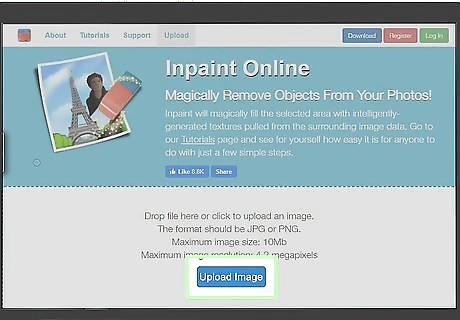
Click or tap Upload Image. You'll see this blue button centered half-way down the page. Your image should be in JPG or PNG format, no more than 4.2 megapixels in resolution, and no more than 10mb in size.
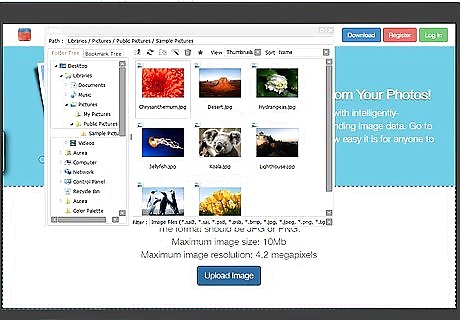
Navigate to and double-click the photo you want to edit. Your file browser will pop-up when you click or tap Upload Image and you'll need to find the image you want to remove text from. Your image will open in the editor with the erase tool automatically selected.
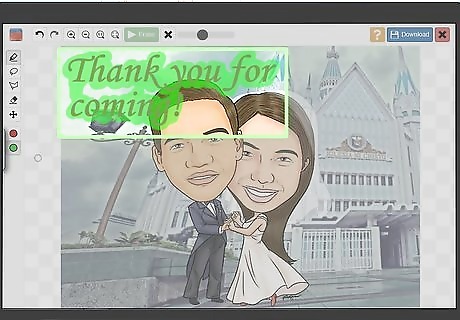
Click and drag (or tap and drag) over the area you want to erase. The area you drag your mouse (or finger) over will highlight in red to indicate that it'll be removed. If you click or tap the green circle in the menu on the left side of the page, you can change the area that provides the information InPaint uses to fill the erased area. The tools in the menu on the left side of the page (lasso tool, polygonal lasso tool, marker tool…) help you select areas to erase from the image. The eraser tool lets you erase your selections. If you want to clear all your selections, click or tap the X located above the editing space next to the "Erase" button.
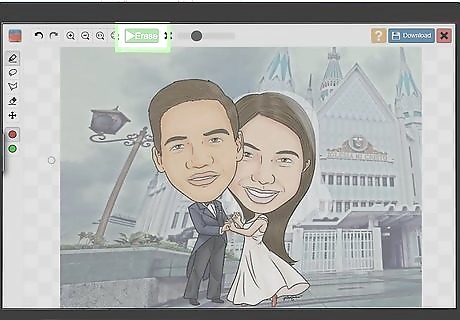
Click or tap Erase when you're done highlighting the areas. You'll find this green button above the editing space near the center of the page. You'll see a progress bar as InPaint removes the selected area. If you don't like the finished product, click or tap the Undo icon above the editing space on the left side of the page.
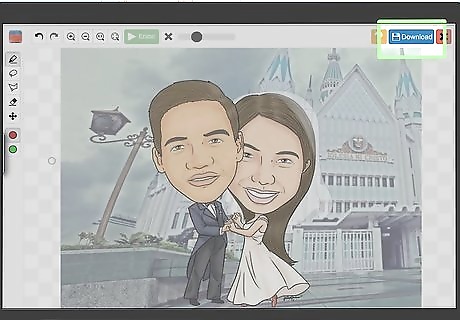
Click or tap Download. You'll find this in the top-right corner of the page. The yellow question mark button will open a new window with tips and instructions on how to use the editing tool. The red "X" button will close the editor and return you to a list of your recently uploaded images.
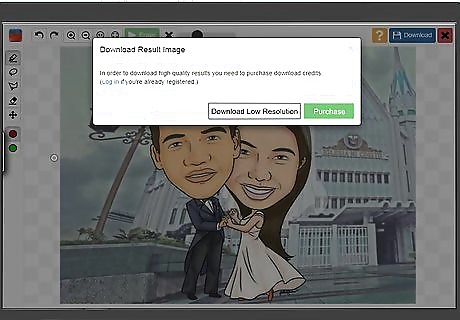
Click or tap Download Low Resolution or Purchase. If you choose to download a low-resolution copy of your image, your file browser will open so you can choose where to save the file. If you choose to purchase a high-quality copy of the image, you'll be directed to the pricing page where you can opt to purchase 500, 100, or 10 credits. Click or tap Buy Now to go to the payment page where you need to enter your payment information, such as your credit card, your PayPal, or your QIWI information. After you purchase credits, you'll be prompted to use one credit to download your text-free image in high quality.


Comments
0 comment