
Roasting Vegetables Straight from the Freezer
Set your oven to 450 degrees Fahrenheit (230 degrees Celsius). Roasting frozen vegetables in a hot oven helps quickly evaporate the excess moisture caused by ice crystallization. You want them to roast, not steam in their own moisture. If your oven runs hot or tends to burn food at high temperatures, you can set it at 375 F (190 C) and increase the overall baking time.
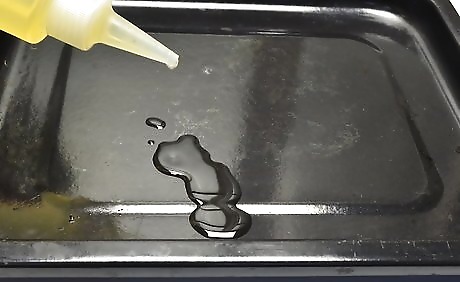
Drizzle oil into a low-sided baking sheet. It’s usually sufficient to use 1-2 tablespoons of your preferred roasting oil — vegetable, light olive, avocado, etc. You don’t need to completely coat the sheet. Avoid butter or oils (like coconut oil or extra virgin olive oil) that burn easily at high temperatures. A low-sided baking sheet will keep the veggies from sliding away but allow moisture to escape more easily. Choose a baking sheet that’s big enough to hold all of your veggies in a single layer with a bit of space between each piece.
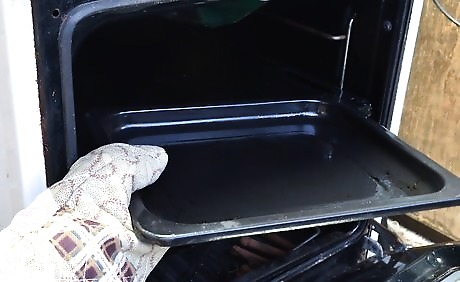
Put the pan into the oven while it continues to preheat. Preheating the pan jump-starts the browning process by evaporating the trapped water in the veggies more quickly. When the oven is done preheating, your pan is ready for baking.
Separate vegetables that have different sizes and textures. If you try to roast sweet potatoes and green beans together, for instance, the beans will burn long before the sweet potatoes are cooked through. To roast thicker, starchier vegetables and thinner, softer ones at the same time, prepare them separately with the same seasonings. Then, either place them on separate baking sheets or on separate sections of a single baking sheet. This will make it easier to remove the veggies that finish roasting more quickly.
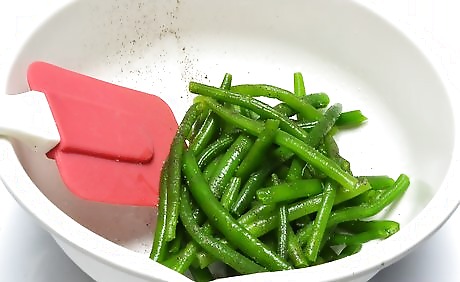
Toss the frozen veggies with oil and seasonings. Pour the vegetables into a mixing bowl, or open the bag and keep the veggies inside. Add 1-2 more tablespoons of your chosen oil and your favorite seasonings to taste — the classic combo of salt and pepper is great here. Stir with a spoon to coat everything in the bowl, or shake and massage the veggies in the bag to coat them. The vegetables don’t need to be doused in oil, just lightly coated. Start with less oil and add more as needed. Use this “start with less” principle with the seasonings as well, since it’s always easy to add more to taste. Consider familiar seasoning combinations like garlic salt, fennel seed, and Italian seasoning, or cumin, coriander, cinnamon, cayenne, and — after roasting — honey for a sweet and spicy twist!
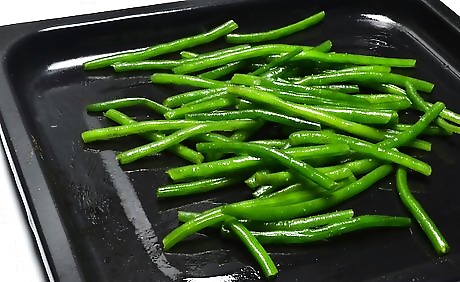
Add the veggies to the baking sheet and put it in the oven. Carefully pour or spoon the vegetables onto the hot baking sheet. Due to their trapped moisture, the veggies may spit and splatter when they hit the hot oil and metal. Remember that the pan is still scorching hot and use an oven mitt to slide it onto a middle rack in the oven.
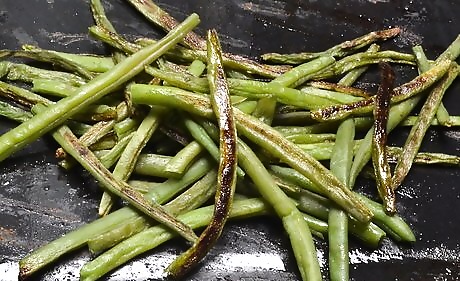
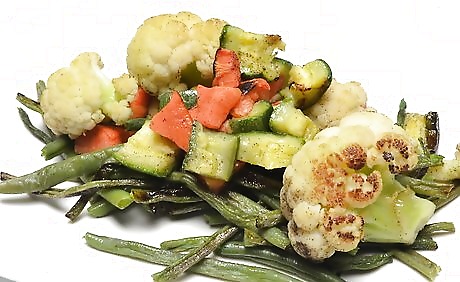
Check thin, less starchy vegetables to see if they are cooked after 15-20 minutes. Roasting times for frozen veggies vary widely, based on vegetable type(s), their sizes, your oven, and so on. Your eyes and nose are your best guides to when the veggies are done. After 15-20 minutes, pull out the pan and take a look. Veggies that are thin (or have been cut thin) and that are less starchy may be done at this point. These include asparagus, green beans, mushrooms, and sliced bell peppers, zucchini, or tomatoes. If they look golden brown and smell delicious, they’re done. You can also taste one to check.

Toss veggies that need more roasting and return them to the oven. Thicker, starchier vegetables will need more time, so stir them around quickly with a spoon or spatula and put the pan back in the oven. This variation in roasting times is why it pays off to keep veggies of different thicknesses and/or starch levels separated (on one pan or multiple pans). You can scoop out each veggie type as they finish and put the rest in the oven to keep roasting.
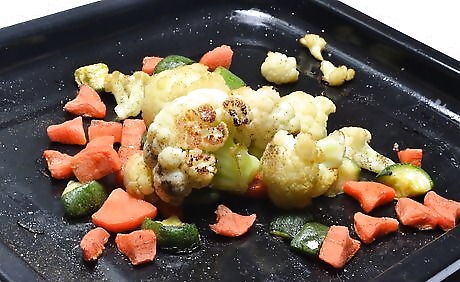
Check the veggies every 5-10 minutes to see if they are ready to serve. If you’re roasting at 375 degrees Fahrenheit (190 degrees Celsius) instead of 450 F (230 C), it may take up to 50 minutes for some starchy vegetables to roast through. Take regular peeks into the oven and use your nose to smell for burning, because veggies can go from perfectly roasted to over-charred quickly! You don’t need to turn the vegetables again. Cauliflower, broccoli, fennel, garlic cloves, onions, snap peas, and turnips may take around 30 minutes total to roast — but times will vary, so keep checking! Brussels sprouts, beets, carrots, parsnips, potatoes, pumpkins, and sweet potatoes usually take more than 30 minutes to roast.
Give the vegetables some final seasoning right out of the oven. Hit your veggies with a little more salt, pepper, and/or your other preferred seasonings as soon as they finish roasting. Then, let them cool for a couple minutes, dish them out, and wait for the compliments from your happy eaters!
Thawing Vegetables Before Roasting Them
Use thawed frozen veggies in fresh veggie roasting recipes. With a few minor adjustments before they make it into the oven, your frozen veggies will be indistinguishable from fresh roasted ones on the plate. You can find more than 50 frozen vegetable recipes at https://www.bonappetit.com/recipes/slideshow/roasted-vegetables-slideshow, and thousands more elsewhere online. Also check out all the veggie roasting recipes on wikiHow!
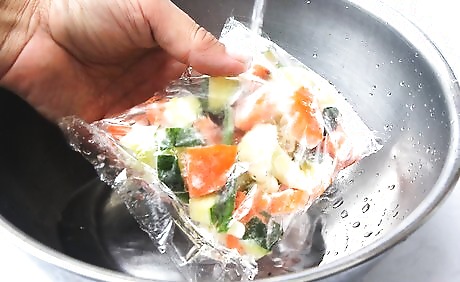
Thaw the vegetables with warm running water. Pour the vegetables into a large bowl, or put the bag right into the bowl. Place the bowl in the sink and let a slow but steady stream of warm (not hot) water from the faucet fill and overflow it. Check them after about half an hour, then every 15 minutes or so thereafter until they’re thawed.
Dry the thawed veggies thoroughly with paper towels. Blot and pat the vegetables to get as much surface moisture off of them as possible. Otherwise, they’ll steam instead of roast and end up with an unappealing, mushy texture. Always wash and thoroughly dry fresh vegetables before roasting them as well.
Space out the vegetables about ½ to 1 inch (2-3 cm) apart on the baking sheet. While fresh vegetables can be placed nearly side-by-side in a single layer, it’s better to spread thawed ones out more. This will aid in evaporation of their excess moisture from the freezing process. This doesn’t need to be an exact science, but try to spread them 1 inch apart instead of ½ inch (or 2 cm instead of 1), for instance.
Reduce 5 minutes from the recipe’s roasting time. Commercially frozen vegetables are blanched (slightly cooked) before they’re frozen, so they have a bit of a head start on being cooked through once they’re thawed. So, if your recipe says to roast the veggies for 25-30 minutes, expect it to take 20-25 instead. But remember that roasting times are always approximations, and use your eyes and nose to gauge doneness. Even if you’re roasting frozen vegetables that weren’t blanched, they may cook faster due to their softer texture.
Freezing Fresh Vegetables for Roasting Later
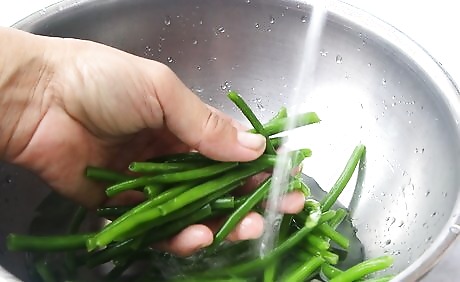
Wash and dry the vegetables. Start prepping your fresh veggies for freezing by rinsing them thoroughly with clean water. Then pat and blot them dry with paper towels. You don’t need to worry about getting them completely dry (yet), because they’ll be going back into water shortly.
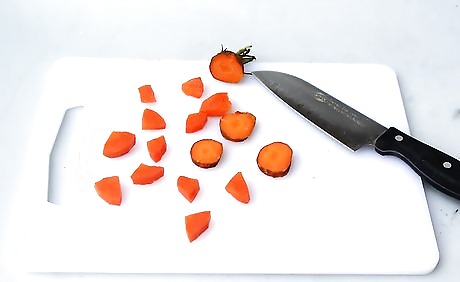
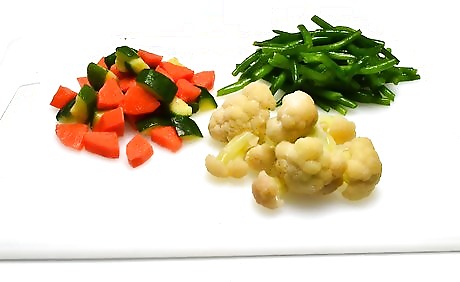
Cut the veggies to size for your intended recipe. If you have a recipe in mind for the vegetables, it’s easier to cut them to the proper size now — and it will save you time later. Otherwise, it still makes sense to cut larger vegetables (like carrots or sweet potatoes) into roughly equal-sized (and bite-size) pieces. This will help them thaw and eventually cook more evenly.
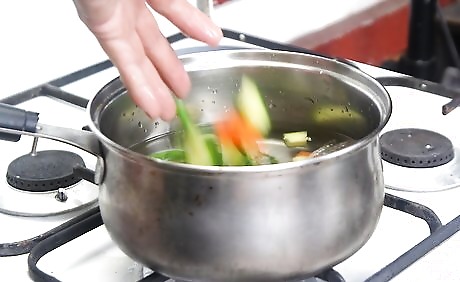
Blanch the vegetables in boiling water. Boil 1 gallon (4 liters) of water for every 1 pound (0.5 kg) of vegetables. Add the vegetables (one type at a time — not carrots and peas together), wait for the water to resume boiling, then blanch them for the appropriate time indicated on the vegetable-specific blanching chart found at http://nchfp.uga.edu/how/freeze/blanching.html (and similar websites). Blanching kills bacteria, and stops enzyme action to help preserve the color, texture, and flavor of the veggies.

Shock the vegetables in ice water to stop the cooking. After the recommended blanching time, pour the vegetables into a strainer. Immediately dump them into a large bowl filled with cold water and ice cubes (but with some room left for the veggies). This is called shocking, and will stop the cooking process and help “set” the color and texture before freezing.
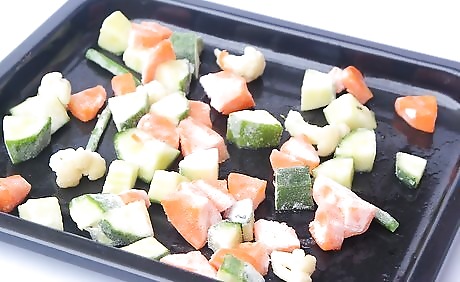
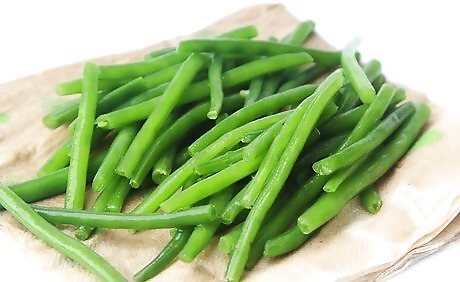
Dry the vegetables thoroughly with paper towels. Get as much moisture off the surface of the veggies as you can, without bruising or damaging the flesh. This is critical to maintaining the texture of your veggies when it comes time for thawing and/or roasting them.

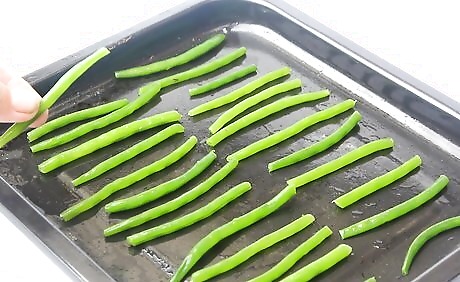
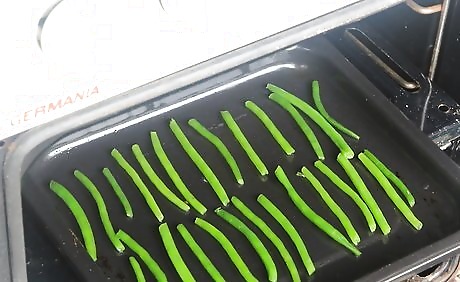
Freeze the vegetables on a baking sheet. Spread the blanched, shocked, and dried veggies onto a baking sheet in a single layer, with a bit of space between each piece. Place the sheet into the freezer for just long enough to freeze the vegetables through (usually an hour or more). This individual freezing process helps keep you from having to deal with a single frozen vegetable block later.
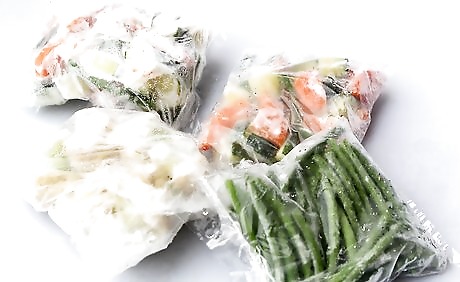
Portion the quick-frozen veggies into airtight bags. If you use freezer bags, squeeze out as much air as possible. Vacuum sealed bags are a great choice, if that’s an option for you. If you have plans for specific recipes, portion out the needed amount and mix of veggies and freeze them in a single, labeled bag. In any case, clearly label the bag with the vegetable type, amount, and freezing date. Blanched veggies can last for up to 18 months in the freezer. Even if they’re for the same recipe, it’s easier (when cooking time comes) if you’ve separated veggies into individual bags if they have different cooking times (due to size, texture, starch content, etc.).
Finished.


Comments
0 comment