views
Drop-Potting for Minor Leaf Damage
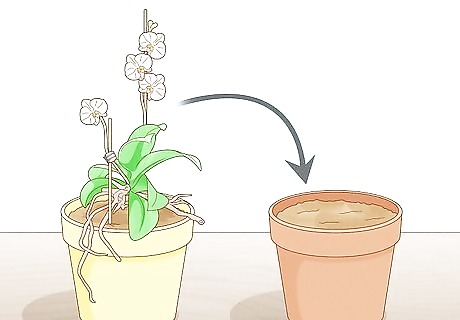
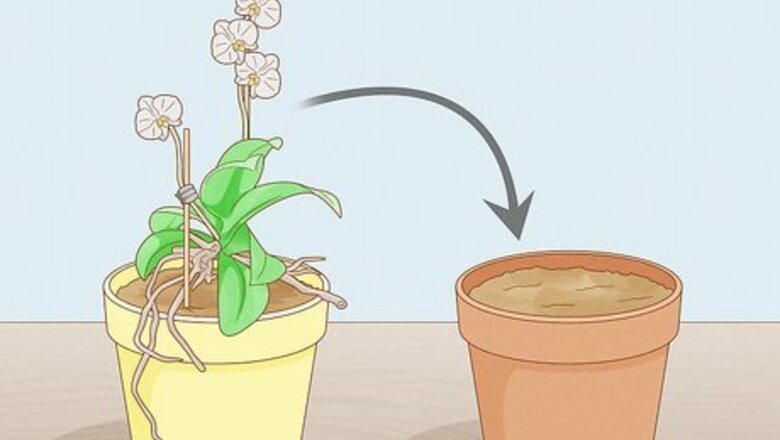
Repot your orchid if the container doesn't have proper drainage. If your orchid is in a container that doesn't have drainage holes, excess water will cause the roots to rot. To fix that, transfer your orchid to a planter that does have them. This type of transfer is called drop-potting because you're literally just dropping the plant into a new pot. In general, you should avoid repotting an orchid until after the blooms fall. However, if you suspect root rot, you must repot the plant right away in order to keep it alive. Sometimes orchids are potted in a thin plastic container that does have drainage holes, then this container is placed inside a decorative pot without drainage. In that case, you can just remove the plastic container and leave the orchid there until you'd normally repot it. If your orchid is already in a pot with good drainage and it's still developed root rot, you may be overwatering it. If that's not the problem, the potting medium may be too old. In that case, do a full re-potting with new soil.
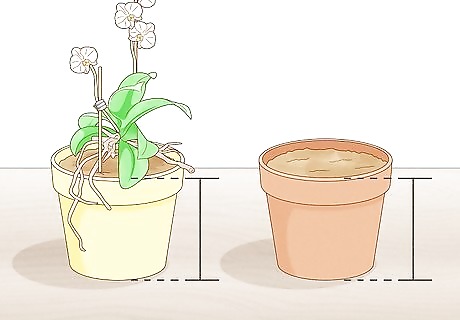
Select a clay pot that's about the same size as the old container. When you're choosing a new pot for your orchid, try not to get one that's much bigger than the one the plant is already in. Orchids typically bloom best when they're in a tight-fitting container. In addition, the more potting medium you use, the more water the plant will retain, increasing the risk of root rot. Choosing a smaller container will also allow you to retain as much of the existing soil as possible, which will help avoid shocking the plant. Clay pots are ideal for orchids because they're porous. This helps the soil dry out faster, which can help prevent root rot. If you're re-using a container, soak it for about 2 hours in a mixture of 1 part bleach to 9 parts water. This will kill any bacteria or fungi that could contaminate your plant. Let the container dry for about 2 days before you use it so the chlorine can completely dissipate.
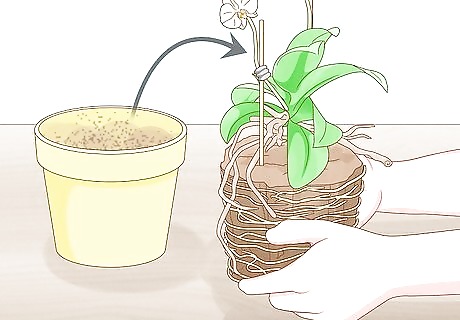
Slide the entire plant gently out of the container. Turn the planter on its side and grasp the plant near the base of the stem. Then, carefully pull the plant, roots, and dirt out of the container. Try not to damage the roots any more than they already are, so don't pull sharply or try to force the orchid out of the planter. If the plant won't come out of its container easily, try soaking the entire container in water for about 5 minutes to soften the roots. If you're still having trouble removing the orchid, you may need to break the pot.
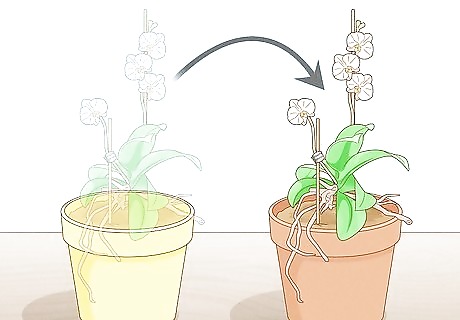
Transfer the orchid carefully into its new pot. Gently lower the roots—including as much of the original potting medium as possible—into the new planter. Don't pack the soil down firmly—the orchid needs plenty of airflow around the roots so they can dry out. However, if the plant is too loose in the new container, you can add more potting material around the sides of the pot. If the new pot is deeper than the old one, add packing peanuts or a specialized orchid potting medium to the bottom of the pot before you transfer your plant.
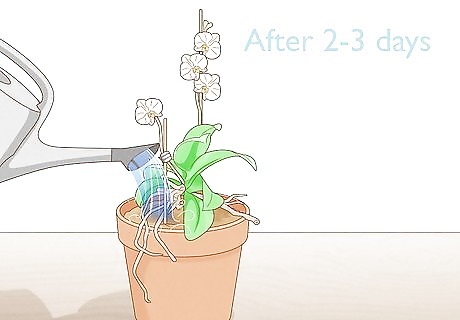
Wait a few days before you water the plant again. Since the whole point of drop-potting is to let the roots dry out, don't add any additional moisture to the plant right away. Give the plant 2-3 days to adjust to its new environment, then only water the plant when the top of the soil feels dry. There's a chance that transferring your orchid will cause the existing blooms to fall off. It doesn't mean there's necessarily anything wrong if that happens—it's likely just the shock from being transferred. However, if the signs of root rot continue, you'll need to completely re-pot the plant. Orchids thrive best if their potting medium is changed about every 2 years. Even if you drop pot your plant, you should still re-pot it when you normally would.
Trimming Back Extensive Damage
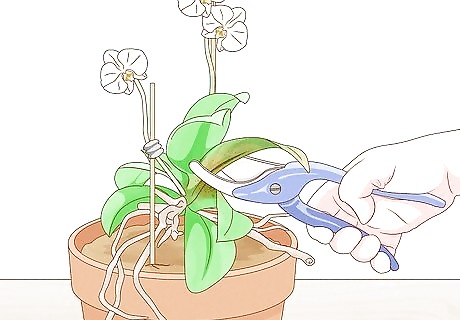
Cut back any rotted leaves that you see. Wipe down a razor blade or sharp pruning shears with alcohol to sterilize the cutting edge. Then, carefully trim away any leaves that feel soft or that don't seem firmly connected to the stem. Make the cut as close to the stem as possible—try not to leave any rotted tissue attached to the plant. By cutting off any affected leaves, you may be able to prevent the damage from traveling up the rest of the plant. Try to save any leaves that don't seem affected. Unfortunately, if all of the leaves have rotted or fallen off of your orchid, you may not be able to save the plant. If the majority of the roots are rotted, you may need to cut off the bloom, as well, since the plant won't be able to support the flower.
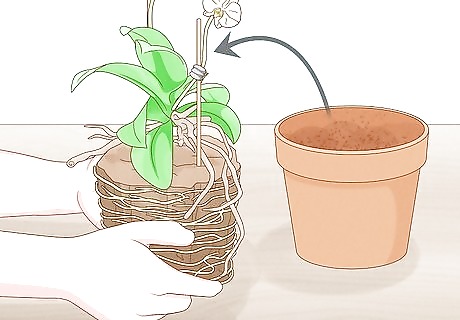
Remove the plant from its container. Turn the planter on its side, then grasp the orchid at the bottom of the base and carefully pull the whole plant—roots, soil, and all—out of the planter. Try not to damage the roots by pulling roughly, since the plant will need as much healthy tissue as possible in order to recover. If the roots have outgrown the planter, it might be difficult to remove the plant. Try soaking the container in water for about 5 minutes to see if that helps loosen it. If it doesn't, you may have to break the planter to get the orchid out.
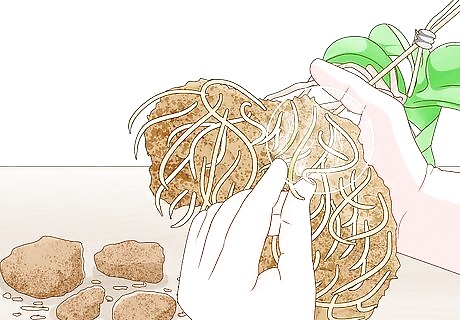
Slice away any dead or damaged roots. Sterilize your razor blade or pruning shears again to kill any bacteria or fungi leftover from trimming the leaves. Brush away as much potting material as possible, then carefully cut away any dead or rotted places from the roots. If the entire root system is rotted, take off the whole thing. You can tell a root is dead if it's blackened, mushy, wiry, or hollow. Live roots will be firm and white. If you have to cut away all of the roots from the plant, it may not survive. However, it definitely won't survive if you leave the rotted tissue, so this will give it the best chance of recovering. If you see any black mold on the healthy roots, wipe it away with a cotton swab.
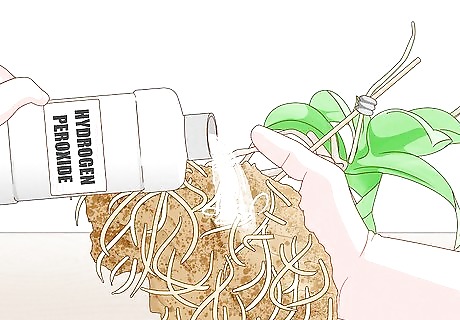
Pour 3% hydrogen peroxide over any cuts you made. If any bacteria or fungus remains on the roots, it could continue spreading, infecting the healthy roots that are left after you trim the plant. To avoid that, pour a little hydrogen peroxide over the cuts you made on the leaves and roots, which will disinfect them. The peroxide will bubble up, which is normal. Some gardeners prefer dipping the cut roots in cinnamon to disinfect them.
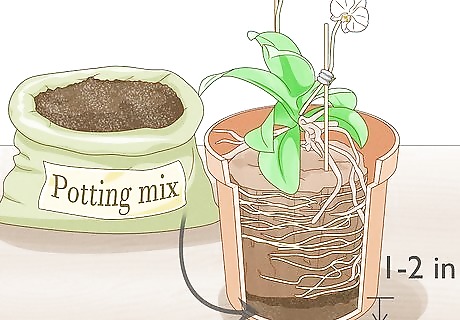
Repot the orchid in new potting medium. Once you've trimmed away the dead leaves and roots, put about 1–2 in (2.5–5.1 cm) of potting medium in the bottom of the new container. Lower the root ball into the pot, then loosely fill the rest of the planter with your potting soil. Choose a potting medium designed for orchids, like a combination of bark, coconut husks, perlite, or sphagnum moss. These will allow for plenty of air flow around the roots, which will help prevent root rot in the future. Opt for the smallest pot that your orchid will fit into, since orchids prefer to be somewhat constricted. It's best to use a new pot for this—the old one might have bacteria or fungus that could recontaminate the plant. You can disinfect the old planter with a mixture of 1 part bleach and 9 parts water, but it needs to air out for about 2 days before you can use it again.
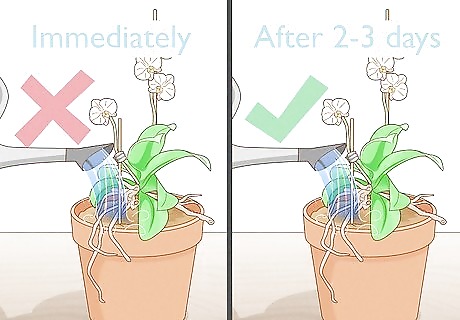
Don't water the plant for at least 2-3 days. Any remaining roots need to dry out as much as possible so they can start recovering from the root rot. Give the orchid a few days to adjust to its new container before you water it at all. It may take a while before you see any signs of recovery in your plant. Just be patient and keep caring for it the way you normally would.
Preventing Root Rot
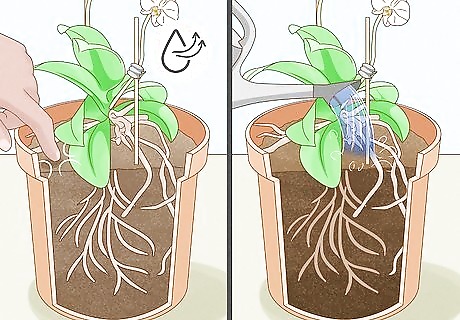
Wait until the orchid is dry to water it. Your orchid doesn't need to be watered every day—in fact, overwatering is one of the main causes of root rot. Every 2-3 days or so, feel the surface of the potting medium. If it feels a little moist, wait another day or so. When it's completely dry, it's time to water your orchid. You can also insert the tip of a sharpened pencil into the pot. If the potting medium is moist, the tip of the pencil will look dark when you pull it out. Over time, you may be able to tell when it's time to water your orchid by how heavy the plant feels when you pick it up. The drier the soil, the lighter the container will be.
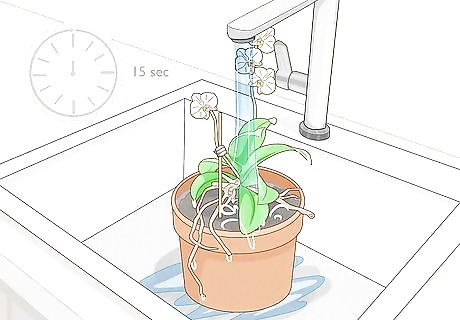
Water the orchid in the morning, then let it drain. Place the orchid in a sink, then pour room-temperature water onto the soil for about 15 seconds, or until it freely runs out of the bottom of the container. Then, leave the plant in the sink for about 15 minutes. If you water the plant first thing in the morning, it will have all day to dry out. If you water it at night, the moisture will stay in the plant overnight, making it more susceptible to root rot.
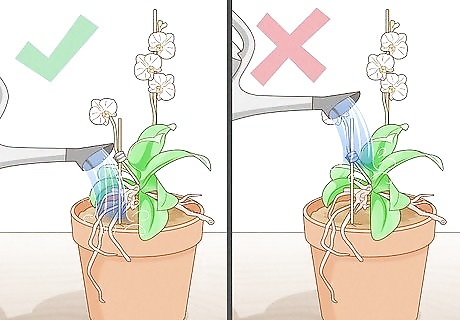
Avoid wetting the orchid's stem and leaves. Water can pool at the base of an orchid's leaves, which can lead to crown rot. Pour the water so it goes directly onto the potting medium to help prevent this. Crown rot is basically the same thing as root rot, but it primarily affects the leaves and stem of the plant, rather than the roots. If water does get onto the leaves, gently blot them dry with a paper towel. Some people mist their orchids to create a more humid environment. If you do this, mist the air around the orchid, but don't spray water directly onto the plant.
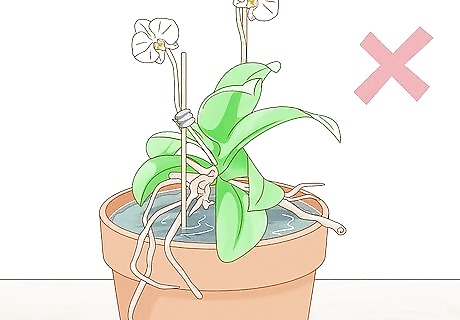
Don't let the orchid sit in standing water. Every time you water your orchid, let the excess water drain out completely. Don't leave the orchid sitting in a saucer where water is pooled—the roots will stay soaked, and they'll quickly start to suffocate and rot. Water your plant in the sink or somewhere else the water can drain freely, like outdoors.
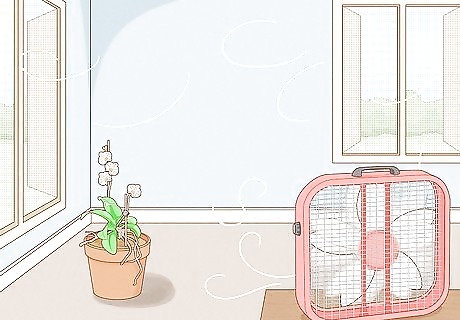
Keep your orchid in a spot with good air flow. If your orchid stays in a place with good circulation, the roots will be less likely to stay saturated. If the air around the plant is stagnant and still, water won't be able to evaporate as quickly. Your home's regular air conditioning may be plenty, but if you need to, you can open a window or place a fan near your orchid to keep the air circulating. Good circulation will help prevent crown rot, as well. This is similar to root rot, but it primarily affects the leaves and stem of the plant.
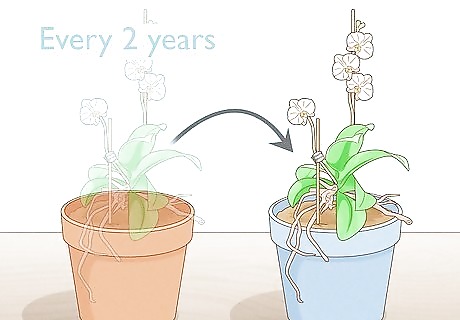
Repot the orchid in new potting mix about every 2 years. Old potting mix can become acidic over time, damaging your orchid's roots and making them susceptible to rot. In addition, the potting mix will become compacted over time, preventing proper airflow around the roots. To prevent this, completely repot your orchid at least every other year, after the blooms fall. Typically, you'll know it's time to repot your orchid when it becomes crowded in the pot or when the potting medium starts to decompose. However, some people prefer to repot them every year after the blooms fall off. Always choose a potting mix designed for orchids. These typically contain a mixture of sphagnum moss, perlite, coconut husks, or bark—the larger pieces allow plenty of air to circulate around the roots. Trim away any dead or damaged roots each time you repot your orchid.







Comments
0 comment