
Windows Printer Setup
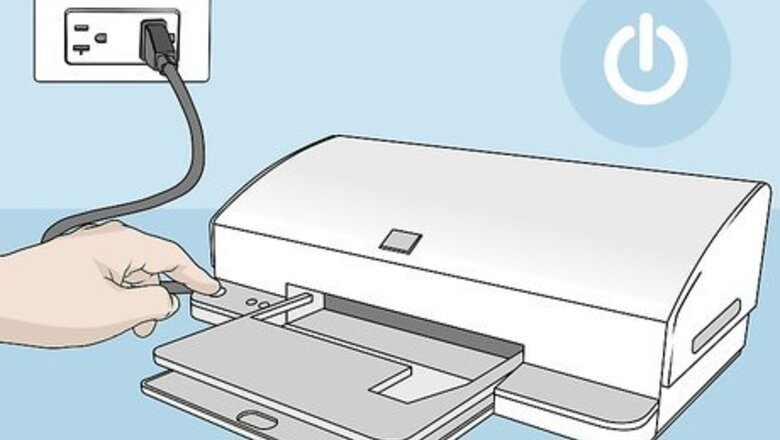
Connect your printer to a power source and turn it on. Before doing anything else, it's important to make sure your printer is plugged in and ready.
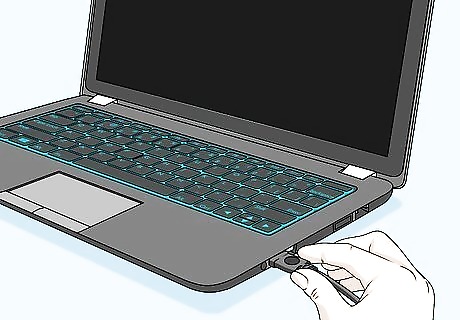
Connect your printer to your PC. Most printers have the option of connecting to a computer via USB or wirelessly (Bluetooth, installation CD, or a wireless detection setting), so be sure your printer is set to connect before proceeding with the rest of the steps.

Open the Start menu. Click the Start button in the taskbar at the bottom of your desktop screen to pull up system options.
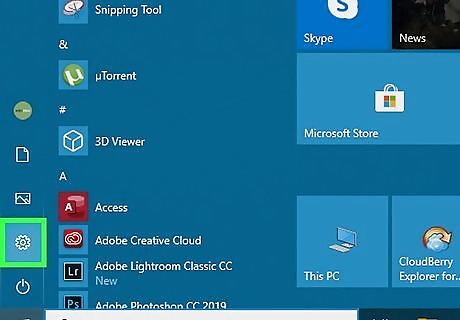
Click Settings Windows Settings. It's the gear-shaped icon near the bottom-left corner of the menu.
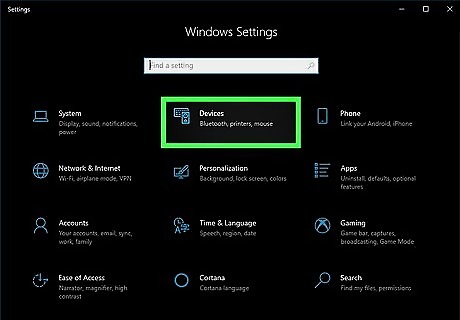
Click Devices. This appears in the Settings menu and pulls up the options for connecting devices to your PC.

Select Printers & scanners. From this menu, you'll be able to pull up the different options for searching for the printer you want to set up.

Click Add a printer or scanner. This will bring up a dialog box that will alert you to Windows scanning for any nearby printers. Your printer should pop up after a few minutes of scanning. If you don't see your printer, click The printer that I want isn't listed and follow the on-screen instructions for manually connecting your printer.
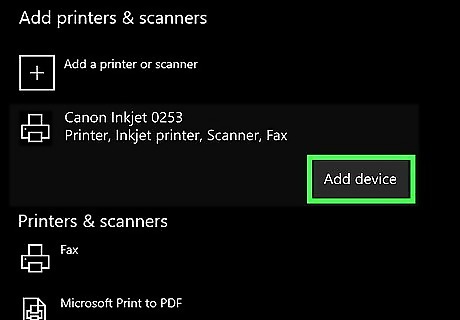
Click Add device. This will complete the process of setting up the connection between your PC and the printer.
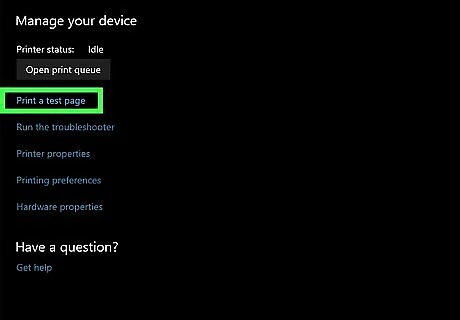
Print a test page. To ensure the devices are connected properly and that your printer is operational, you should print a test page to see if there are any adjustments that need to be made to printing settings. To do this, go into Settings > Devices > Printers & scanners, then right-click on your printer. Click on Printer Properties or Manage and select Print a test page to pull up the dialog box for printing settings. Adjust the settings for printing to your preferred options to ensure your prints don't use too much ink or print more clearly.
Mac Printer Setup

Connect your printer to a power source and turn it on. Before doing anything else, it's important to make sure your printer is plugged in and ready.

Connect your printer to your Mac. Most printers have the option of connecting to a computer via USB or wirelessly (Bluetooth, installation CD, or a wireless detection setting), so be sure your printer is set to connect before proceeding with the rest of the steps. Make sure your Mac's software is up-to-date by going into the Apple menu, selecting System Preferences, and choosing Software Update to ensure your Mac is updated to the latest software.
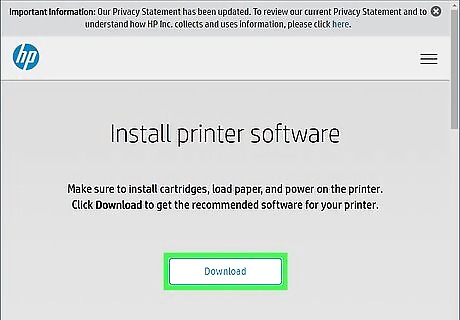
Download installation software. Once you've connected your printer to your Mac, you may be prompted to download software that will help with installing the printer. Once downloaded, follow the on-screen instructions to start the printer's installation process.

Open the Apple Mac Apple menu. This will pull up system options, which you'll need to navigate through to complete the installation process for your printer.

Select System Preferences.
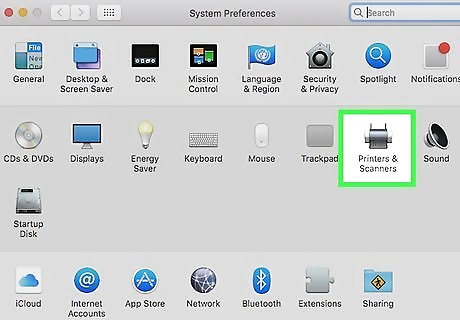
Select Printers & Scanners. This is where you'll find the settings for adding new printers or devices to your Mac's network.

Click Add +. This will pull up a dialog box for your Mac to search for the printer through USB or WiFi connection.

Select your printer. Once the scan is complete, you should see your printer in a list of available devices.
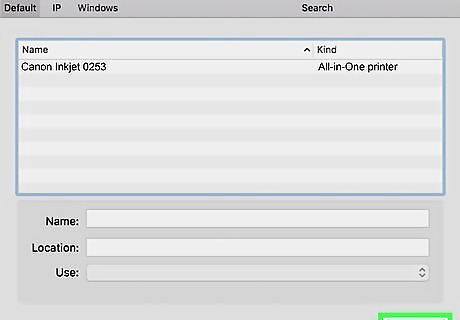
Click Add. This will complete the process of setting up your printer with your Mac and will now let you connect to that printer on your Mac. If prompted to install any software, do so and follow any on-screen instructions to finish the installation process.
Troubleshooting
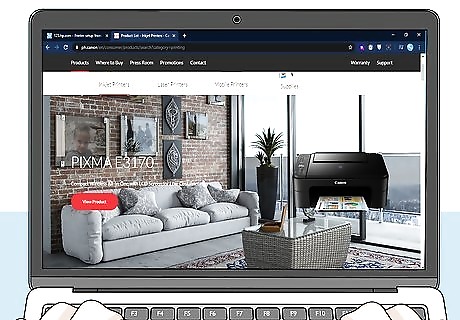
Check the printer manufacturer's website for software updates. If your printer doesn't connect with your computer right away, it could mean that there's an important software update not installed in your system. Going to the manufacturer's website and checking your printer model should pull up any software needed to set it up with your computer.
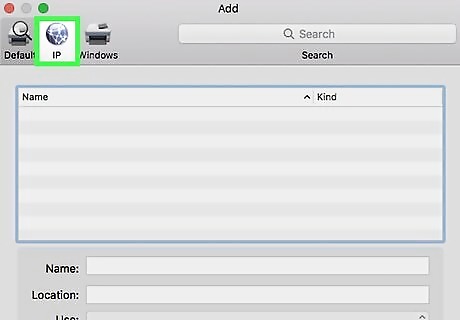
Add your printer by IP Address. When a printer you want isn't listed in the menu for adding a printer on Mac, you may have to manually add it using the printer's IP address. You can usually find this in the printer's manual or in the printer's settings in the Printers & Scanners menu. Once you have the IP address, go into the Printers & Scanners menu in System Preferences and click on the plus sign (+), then select IP and enter the printer's IP address.

Connect your printer to your WiFi network. If you find yourself unable to access your printer's WiFi printing feature, double-check that the printer is connected with your network. Most printers come with software that makes this process relatively straightforward and can be configured when the printer is connected to your computer via USB.


Comments
0 comment