
Adding Sew-on Snaps
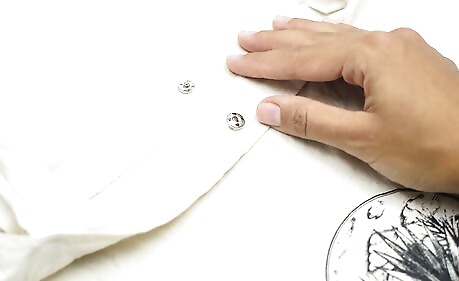
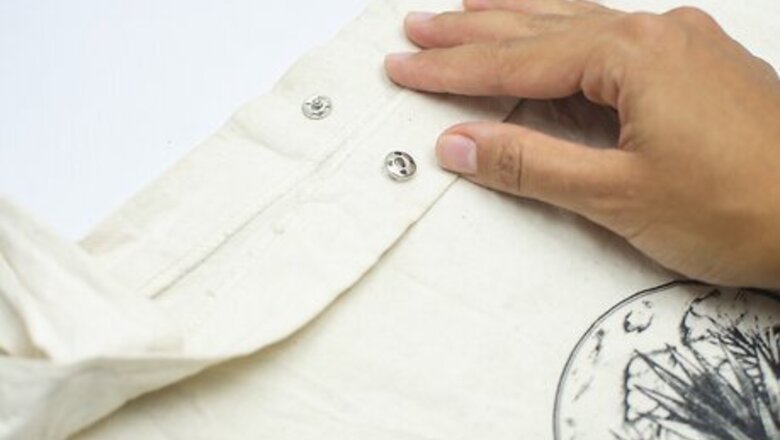
Overlap the edges of your project and mark where you want to put the snaps. Fold or stack the layers of your project and stick a pin through both layers where you want to put the sew-on snap. Then, use a fabric marker to make a small dot on the bottom layer where the pin comes out. Carefully lift up the top layer and mark the underside of the material where the pin is at. For example, if you're adding 3 sew-on snaps to a onesie, overlap the edges of the fabric and stick the 3 pins through the fabric an even distance apart before you mark them. This can help you visualize where the snaps go.
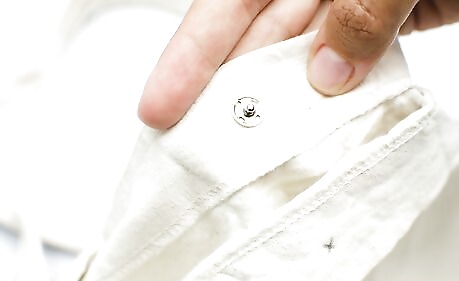
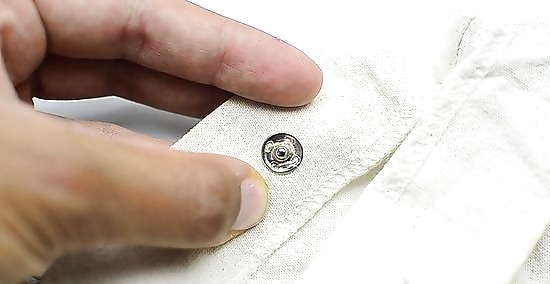
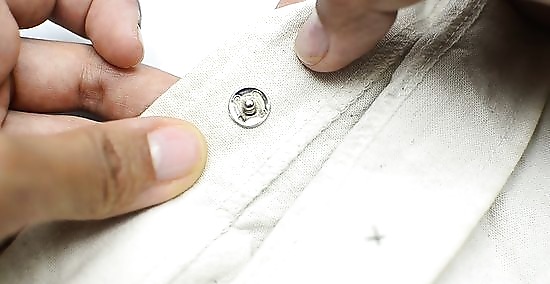
Press the ball-sided piece on the bottom mark. Pull apart the sew-on fastener so you have a bumpy ball-sided piece that goes on the bottom of your project. Press the flat side of the piece on the bottom mark that you made. Set aside the top socket piece somewhere where you won't lose it.
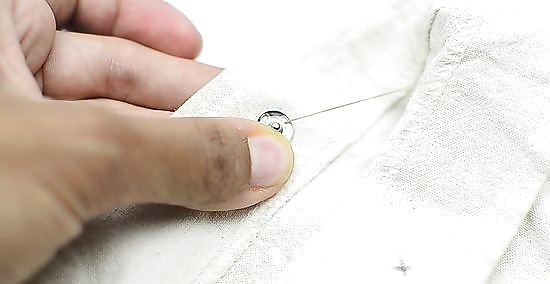
Thread a needle and pull it up through one of the holes. Pull off a 1 foot (30 cm) piece of thread and tie a knot in 1 end. Push the other end through the eye of a sewing needle. Then, insert the needle under the bottom layer of fabric and bring it up through one of the holes on the ball-sided piece. Keep pulling until the knot rests on the back of the fabric. Use any color thread you like. If you'd like the snap to blend in, use thread that matches the color of your project. You could also choose a fun, contrasting color if you want the snap to stand out.
Sew around each hole 5 times to secure the ball-sided piece. Push the needle down on the other side of the snap to make a loop over the side of the piece. Pull the needle up through the same hole and go back down over the side of the snap to make another loop. Sew around the edge of the same loop 5 times before you repeat this for each loop of the snap. If you're not going to be using the snap on a heavily-used garment, you can sew the hole 3 times instead of 5. Try to slide the ball-sided piece to ensure it's fixed in place. If you can still slide it a little, make a few more loops around each hole.
Flip the material over and tie a knot in the thread. Turn over your project and slide the needle underneath a stitch on the back of the ball-sided snap. Stop pulling once you see the thread form a loop. Bring the needle through this loop and pull until a knot forms. Then, trim off the thread. Make an extra knot if you'll be pulling on the snap a lot.
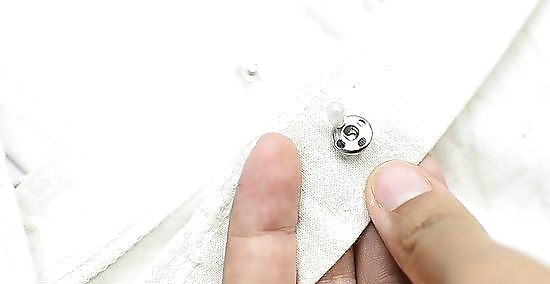
Position the socket piece on the material and stick a pin through it. Lift up the top layer of material so you can see the mark you made on the underside. Put the socket piece on the mark and hold it in place with your finger. To stop the piece from sliding as you sew, push a sewing pin through the center. The socket piece will still wobble a little, so try to keep your thumb on the piece as you sew it in place.
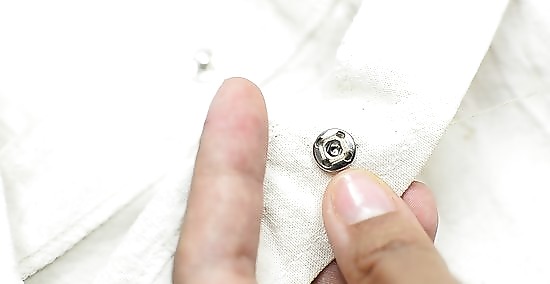
Sew 5 loops into every hole around the socket piece. Insert your needle from the back of the material into a hole on the socket piece. Draw it over the side of the piece and down through the material to make 1 loop. Bring the needle back up through the same hole. Repeat this to make 5 loops for every hole on the socket piece. It's important to make the snaps really secure since you'll probably be pushing and pulling on them a lot.
Turn over the material and make a knot in the thread. Flip the top layer over so you can see your stitches. Slide the needle under one of the stitches and pull until the thread makes a loop. Then, insert the needle through the loop and pull it to form a knot. Cut off the excess thread and begin using your snap! Create another knot if you want to make the snap extra sturdy.
Stitching Hook and Eyes
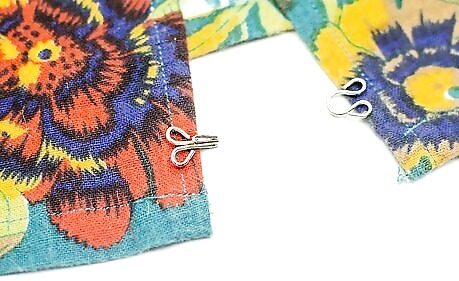
Position the hook ⁄8 inch (0.32 cm) from the edge of the fabric. Lay your fabric pieces wrong-side up and decide where you want to put the hook on the left piece. Place the hook ⁄8 inch (0.32 cm) from the edge of the fabric. It's important to put the hook on the underside of the fabric so it's not visible when you fasten the edges together. The eye goes on the right piece.
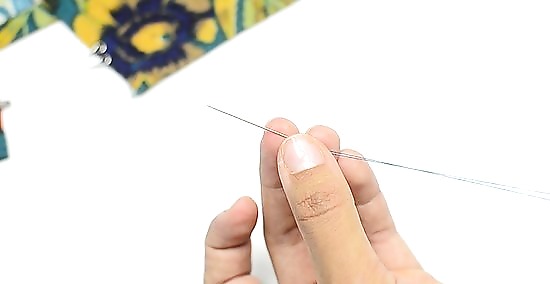
Push a double strand of thread through a needle and tie a knot. For extra strength, cut a 2 ft (24 in) piece of thread and fold it in half. Gather the ends and insert them through the eye of a sewing needle. Pull the thread until you see loop. Then, put the needle through the loop and pull to form a knot at the base of the needle. Make another knot at the end of the threads. The knot at the end keeps the thread from slipping through your fabric as you sew. Choose a small, flexible needle so you can easily stitch around the tiny hook and eye pieces.
Make 1 to 2 anchor stitches where you want to put the hook. Set the hook aside for a moment and draw your needle and thread through the top loops of the fabric where you want to put the hook. Pull the needle until the knot catches and insert the needle through the same spot on the fabric to make a loop with the thread. Pull to finish the anchor stitch. You can make another anchor stitch for extra stability if you like. Ensure that you don't sew through the fabric to the pattern side or the thread will be visible.
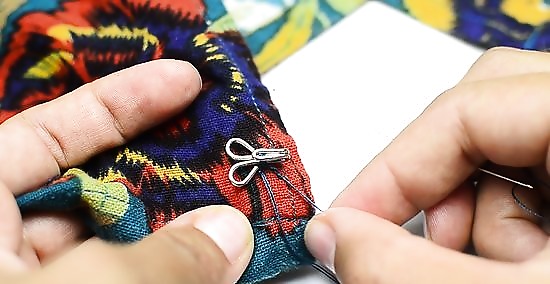
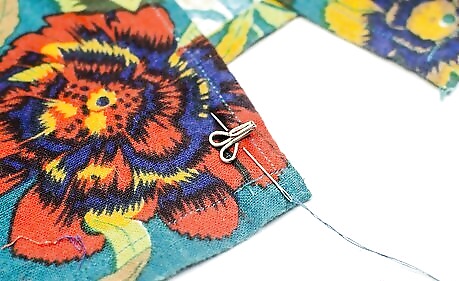
Place the hook on the anchor stitches and stitch around the head. Position the hook piece so the curved head is on the anchor stitches you just made. Wrap your thread around the head counterclockwise and insert the needle through the fabric that's next to the head. Pull tightly and repeat this another 2 times. Sewing the head to the fabric prevents it from slipping or swinging after you've finished sewing the fastener.
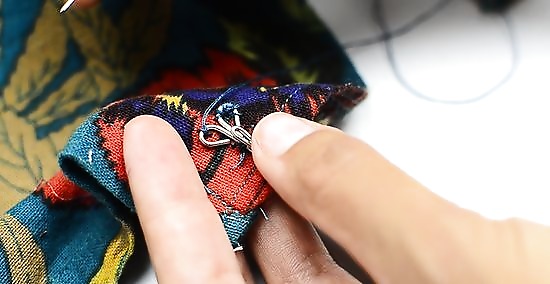
Sew 2 to 3 loops around each of the hook's rings. Bring the needle up through 1 of the rings and pull the thread over the hook's edge. Draw the needle under the ring so it comes back out in the center of the ring. Pull the needle to tighten the thread around the ring and repeat this at least 2 more times before you sew 2 to 3 loops around the opposite ring. Then, tie off the thread. You can tie off the thread and re-thread your needle before sewing the rings or slide the needle under the fabric so it comes up out through 1 of the rings. Don't sew completely through the fabric or your stitches will be visible on the right side of your fabric. Instead, stitch just through the top few loops of the fabric's fibers.
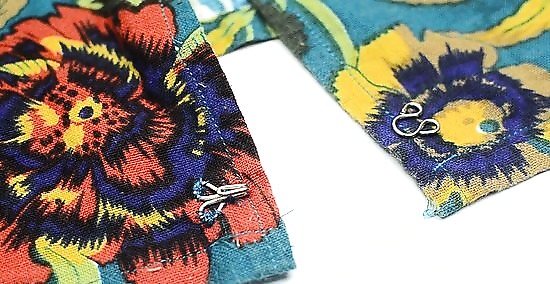
Position the eye ⁄8 inch (0.32 cm) from the right fabric piece. Line up the edge and put the eye piece directly opposite from the hook you just sewed. Move it so the loop is ⁄8 inch (0.32 cm) from the edge. This means that the eye's rings are farther away from the edge. Remember to position the right fabric piece so the pattern is facing down. Tape the widest part of the eye piece to the edge of the fabric if you don't want it to slide around while you sew.
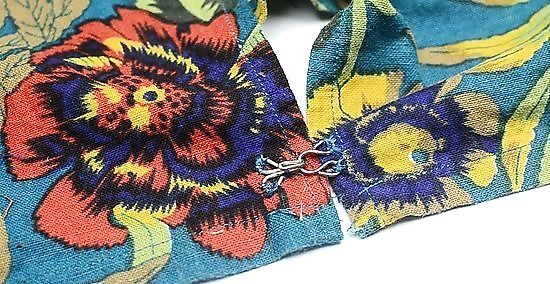
Sew 2 to 3 loops around each of the eye's rings. Pull your needle up through the middle of 1 of the rings and pull so the knot catches. Bring the needle over the side of the ring and under it before you draw it back up through the center of the ring. This makes 1 loop. Create another loop before you sew 2 to 3 loops on the opposite ring. Then, tie off the thread so your eye piece is secure. Keep checking the position of the eye piece as you sew to ensure that it doesn't shift and end up crooked.
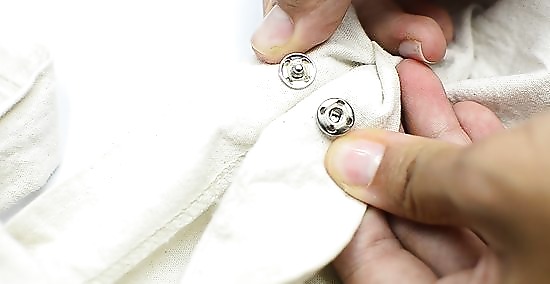
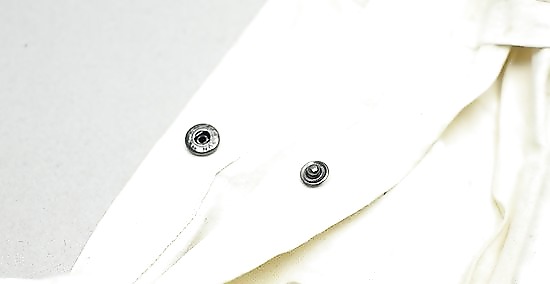
Attaching Press Studs
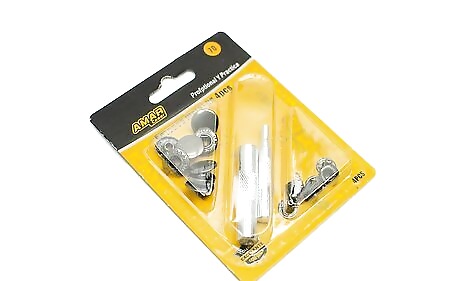
Get out 2 rings, a stud, and a socket for each fastener you're attaching. If you don't like sewing on snaps, buy a package of snap fasteners that contain rings with sharp prongs. These cut through your fabric and attach to a stud or socket. You'll need 2 pronged rings, 1 flat socket piece, and 1 bumpy stud piece to make 1 snap fastener. If you've never bought no-sew snap fasteners before, buy a package that also contains a setting tool. This makes it easier to center the pieces and hammer them in place.
Press 1 ring into the top layer of your fabric so the prongs go through. Decide where you want to place your snap and work on the top layer of fabric first. Put a ring with the prongs facing down where you want the snap to go. Then, push the ring down and keep pressing so the prongs poke through the fabric. If you need a little help, use your fingernail or a pencil eraser to push through the ring.
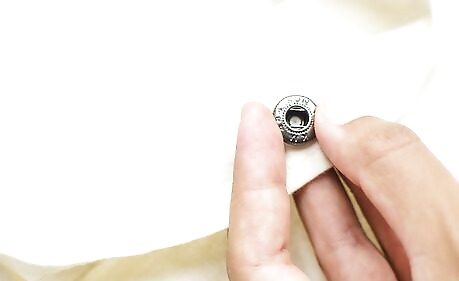
Flip the fabric over and press the bumpy stud on the prongs. Turn your fabric over so the wrong side with the prongs faces up. Set the bumpy stud so the flat side rests on the prongs. Ensure that the stud is centered on the prongs.
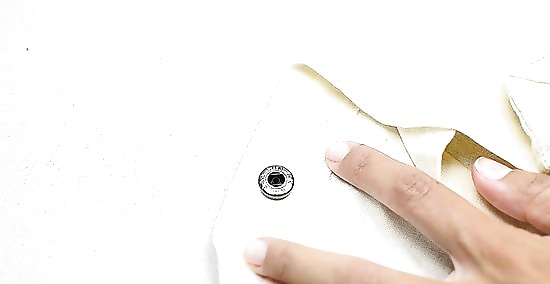
Put the hammering tool on the stud and hammer the snap to the fabric. Get out the setting tool that came with your fasteners and place the wide, flat end on the stud. Then, take a hammer and carefully hammer down on the post 5 to 10 times to drive the stud onto the prongs. It's important to work on a sturdy, flat surface so your hands don't slip while you're hammering.
Push a pronged ring on the underside of the opposite fabric. Overlap the pieces of your fabric so you can see where you want to put the other side of the snap. Put a pronged ring on underneath the lower piece of fabric and push it so the prongs poke through the fabric.

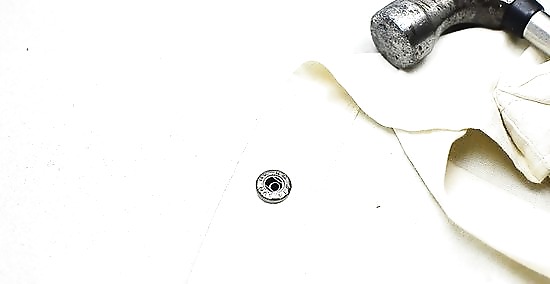
Set the flat socket on the prong and hammer it in place. Take the flat socket piece and press it onto the prongs. Then, take the setting tool and center it on the socket. Hammer onto the tool 5 to 10 times to drive the socket onto the prongs. If the snap doesn't feel level, put the setting tool back on the socket and hit the area that feels slightly raised.


Comments
0 comment