views
Using a Slab Roller
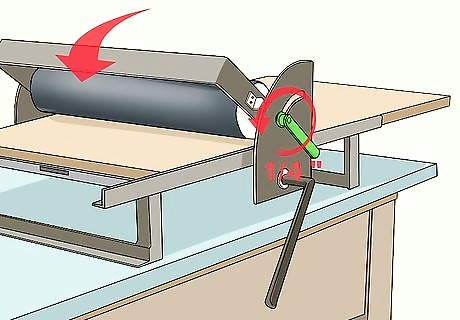
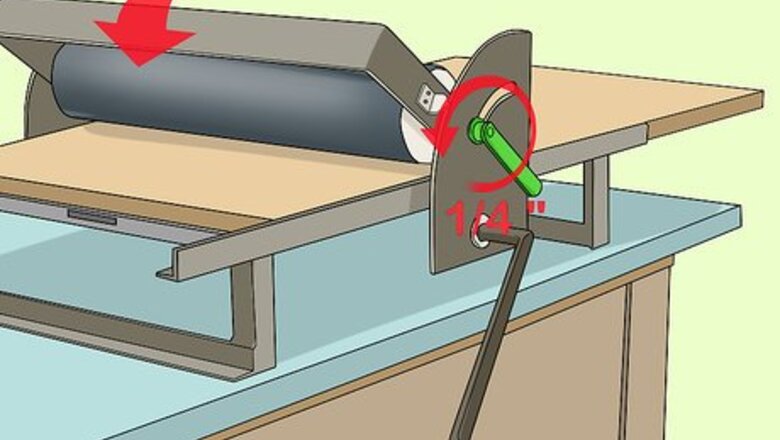
Set the thickness on the slab roller. You can adjust the thickness of the slab roller. In most instances you will want to create a slab that is at least a ⁄4 inch (6.4 mm) thick. This way the slab will be sturdy and easier to work with. Read the instructions on your slab roller to determine how to adjust the thickness.
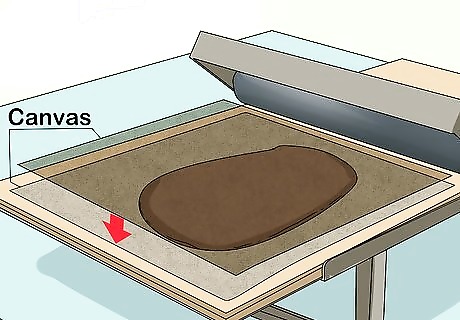
Place the clay between two pieces of canvas. Covering the clay with canvas will protect the clay while it is being rolled out. The pieces of canvas will prevent the clay from sticking to the table or getting marked by the surface or roller. Make sure the canvas covers the entire piece of clay and that there is some extra canvas in front of the clay. This will prevent the canvas from slipping off during the rolling process.
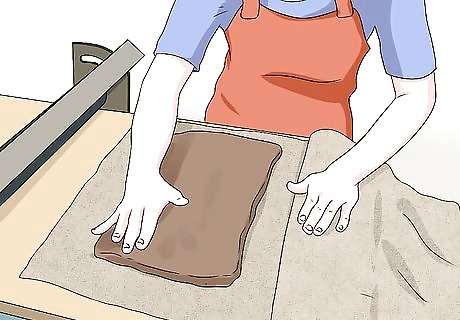
Ensure the clay will fit through the roller. Before you use the slab roller, make sure that the clay slab is no more than three or four times thicker than the desired result. If the clay is too thick, it will not fit under the roller. To compress the clay slightly, you can use a rolling pin or your hand. Remember to roll the clay down incrementally. Don't take giant steps, or you may damage your slab roller.
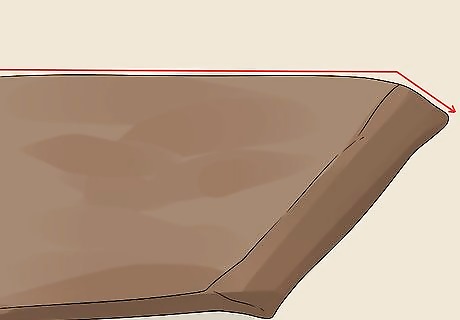
Taper the edge of the clay. To make it easier for the clay to fit under the clay roller, you can use your hand and pat one edge of the clay so that it tapers. Then, position the clay next to the roller so that the tapered edge fits until the roller.
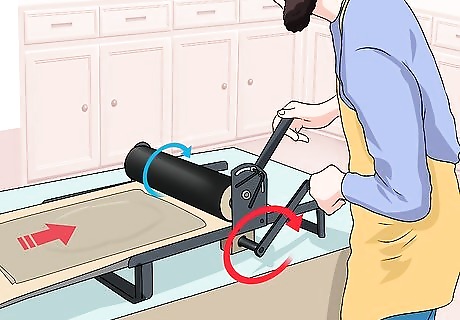
Roll the clay using the slab roller. Before you begin rolling, make sure that the canvas lead is under the roller. Then, spin the large wheel on the side of the table to move the roller over the clay. You can turn the wheel back and forth so that the roller moves over the clay in both directions. This will help to create an even slab.
Creating a Slab with a Rolling Pin
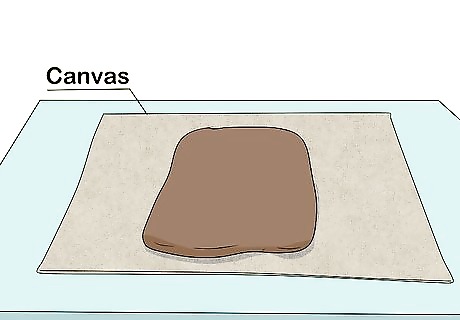
Cover your work table with canvas. Canvas creates a smooth surface and will prevent the clay from sticking to the table. Working on a textured surface may cause unwanted marks to develop on your clay. Canvas will help you avoid this problem. Using a canvas will also reduce the dust generated, making the clean up easier later.
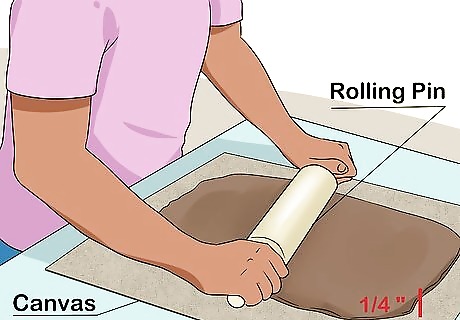
Use a wide rolling pin. If you don't own a slab roller, you can roll out your slab with a wide rolling pin. A wide rolling pin will help to ensure that you create a slab with a consistent thickness. You want your slab to be no less than a ⁄4 inch (6.4 mm) thick so that it is sturdy enough to use without breaking. If your rolling pin is too thin, you may end up with ridges in the middle of the clay. It should be wide enough to fit across the entire slab of clay.
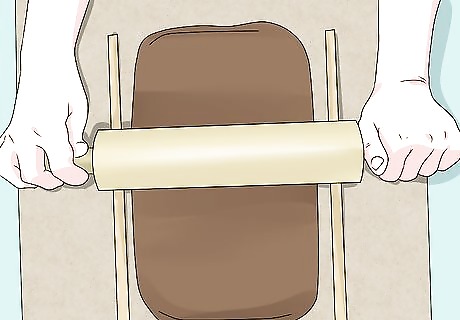
Place flat wooden sticks on either side of the clay. To ensure that you achieve an even thickness, you can also place flat wooden sticks on either side of the clay. The rolling pin will lay across the sticks which will cause the clay to roll out to the exact thickness of the sticks. In some instances, you may need to place two sticks on top of each other on either side of the slab to create a thicker slab of clay.
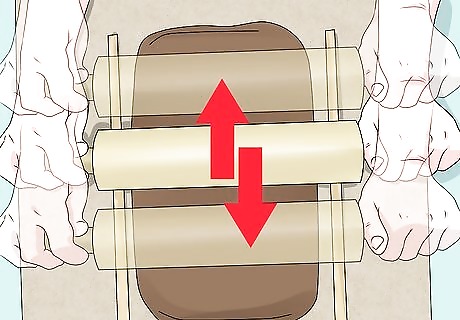
Roll in multiple directions to create a slab. Position the rolling pin so that it sits on top of the two sticks with the clay in the middle. Press down firmly and roll out the clay. Roll in multiple directions to make sure the clay is an even thickness across the entire slab.
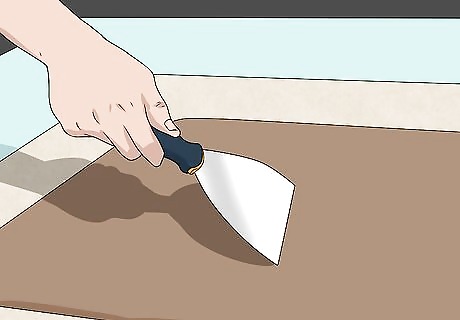
Smooth out the clay using a drywall knife. Once you have finished rolling out the clay, use a drywall knife and gently run it across the surface of the clay. This will help to smooth out any indentations or marks that may have resulted from the rolling process. Complete this process on both sides of the clay.
Cutting Slab Clay
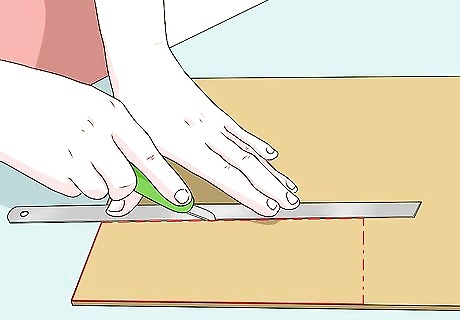
Create a template using cardboard or paper. Once you have rolled out your slab of clay, you may want to cut the slab into smaller pieces to create a cup, urn, or box. Draw out your template on a piece of cardboard or thick paper. For example, you may want to create a cup using a long rectangle and square template. You can also purchase patterns for slab clay to help you with your project.
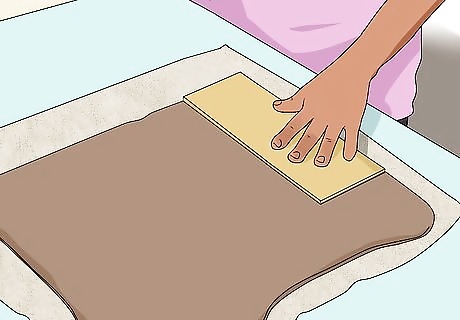
Place your template on the clay. Position the template near the edge of the clay so that you do not waste clay in this process. This way you will be able to cut out multiple pieces from the same slab of clay.
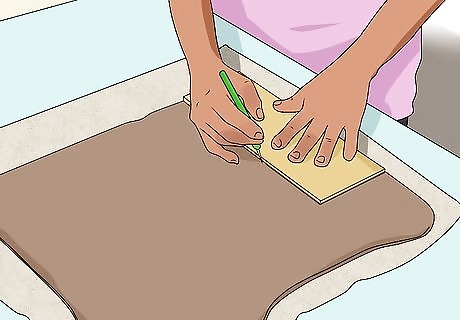
Use the pin tool to cut around the template. Trace around the pattern using your pin tool to mark the clay. It is best to create line indents on the clay and then cut them out after you have traced the entire pattern. To cut the clay, firmly press down using the same pin tool that you traced the pattern with.
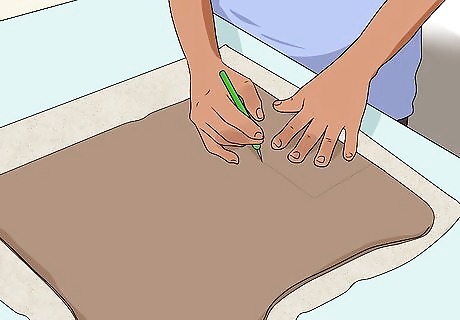
Cut the clay without a template. If you don't have a template, or feel that you can cut the clay evenly without the use of a template, then simply draw the shape directly onto the clay. This can be done freehand. Then, cut out the shape using a pin tool. For example, you may not need a pattern if you are creating something using a simple square or rectangle. Freehand patterns will also allow you to create unique, one-of-a-kind pieces.
Attaching Pieces of Slab Clay
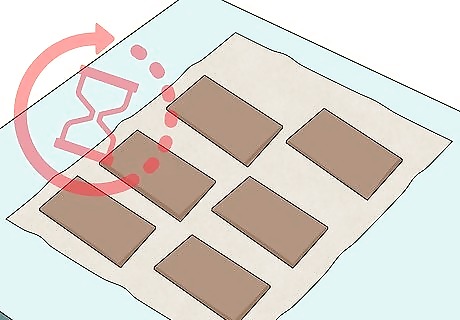
Wait for the clay to be firm but malleable. Before you begin molding your clay, you want it to be firm enough so that it can support itself while still being moldable. Typically this is described as leather hard. You can work with clay that is softer than this, but you need to be extra careful because it can break easily. The length of time it takes for clay to dry will vary depending on your location and climate. If you live in a humid environment the clay will take longer to dry than an arid climate. Check the clay regularly because it could take over a day to dry.
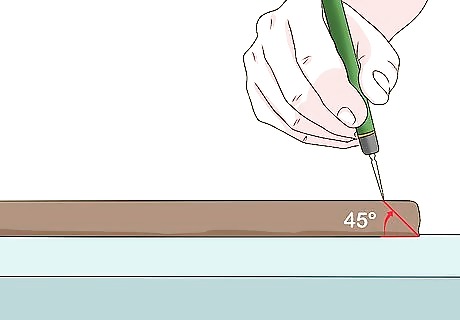
Taper the edges of the clay. Use your pin tool to cut the edges of the two pieces of clay on a 45 degree angle. That way when you attach them they will fit together almost seamlessly. Using a pin tool rough up the edges of the clay where you wish to attach it to another piece of clay. You'll be basically carving shallow scratches into the clay. For example, if you are making a mug, you can begin with a rectangular slab of clay. Taper the two short edges of the rectangle. Then curve the rectangle and attach the two ends together so that you have a cylinder shape.
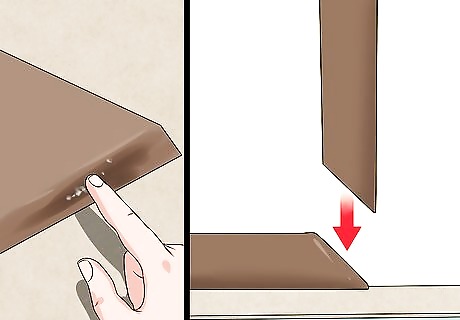
Wet the edges with water or Slip (watery clay) and press them together. In order to attach pieces of slab clay together, you need to wet the edges and then push them together. Use your finger to rub over the seam and attach the pieces together. You can also using a rolling tool to gently glide over the seam. You don't want to push too hard because this could change the shape of the piece.




Comments
0 comment