
Getting the Proper Materials

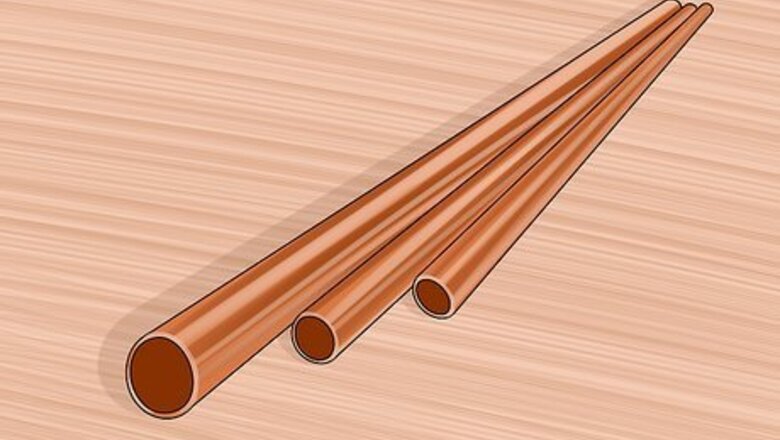
Get copper tubing of appropriate diameter. Copper tubing used for plumbing piping is available sized nominally, meaning that the outside diameter of the tubing is 1/8" (0.125 inches) larger than its stated size. In other words, 1" nominal copper tubing measures 1.125" inches in diameter. If you need to cut the pipe for your project, make sure that you use a tube cutter, clamping the pipe firmly and rotating the cutter around the pipe. It should take about 8 turns.

Make sure the tubing is of the proper wall thickness for your project. Most nominally-sized copper tubing is available in four weights, or wall thicknesses, which is color-coded. Typically, though, residential projects will involve copper tubing of either Type L or M. Type L tubing is marked with a blue tag and is typically the most commonly used in commercial/residential installations. Type M is marked red and has the lightest wall that can be used for a pressurized system.

Get the proper connectors and joints for the system you are building. Depending on your project, you'll probably need some combination of the following: Male/Female adapters, which are used to join a solder pipe to a threaded pipe. Reducing adapters, which are used to go from a larger size pipe to a smaller size. Elbow joints, which are used to turn corners, typically 90 degree bends, but also available in 45 degree bends. Tees and crosses, which are used to join a branch tubing to the main tubing, using a tee, or two branches in the case of a "cross."
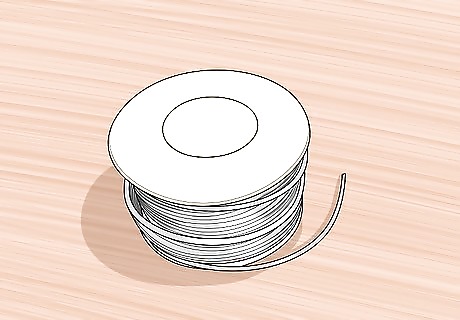
Select solder. For potable water systems, lead-free solid core solder must be used. It is typically 95/5 (95% tin and 5% antimony), or an alloy of tin and a small amount of copper and/or silver, commonly sold in one pound rolls of 1/8" diameter wire. Solder with lead must not be used for potable water systems.

Obtain the appropriate solder flux. This is typically a jelly with a zinc chloride or rosin cleaning component used to cover the cleaned surfaces of the copper to be soldered before assembly and heating. It is the function of the flux, upon heating, to facilitate further cleaning, exclude atmospheric oxygen, prevent re-oxidation, and to aide in wetting out the solder.
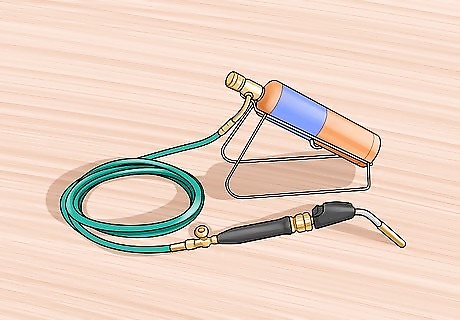
Get a heat source. Typically, a traditional electric soldering iron won't be hot enough to work with copper tubing. You'll need a heat source of sufficient output capacity to heat the assembled fittings and tubing to a temperature above that required to melt the filler solder, typically 400 to 500 °F (204 to 260 °C). For this reason, a propane/air, or acetylene/air torch fitted with a tip of appropriate size is most often used. Clean, dry cotton rags and a spray bottle full of water will complete the necessary soldering materials.
Step Two: Soldering
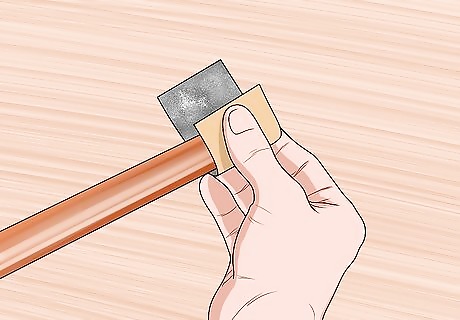
Prepare the pipe. Remove the copper oxide coating on both the outside of the tubing in the area to be inserted into the fitting, and the inside of the fitting itself. For this, you can use sandpaper, emery cloth, or specialty devices sold in stores for this purpose. All copper oxide must be thoroughly removed from both surfaces until they are both completely clean, with no dirt, grease, oil or other impediment which will interfere with the wetting out of the solder. If you don't, this will result in a leaky joint somewhere down the road. Any small drips of water through the joint being soldered will prevent the process from working, resulting in a leaky fitting. If the system valves will not stop the drip completely before you start working, stop up the pipe with a piece of white bread, inserted in the tubing as far as possible away from the heated area. This will temporarily dam the water flow and will dissolve easily during the flushing operation suggested at the end of the job.
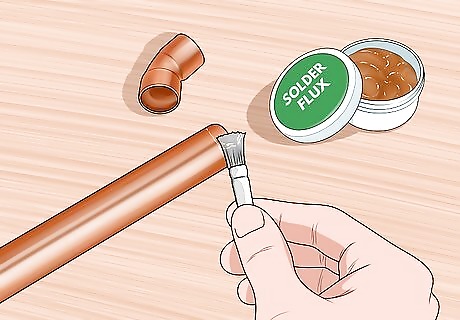
Brush the cleaned surfaces with the solder flux as soon as possible after cleaning, and assemble the fitting and tubing. Apply flux to the inside and outside of the copper tubing.

Light the torch and adjust it so you have a blue flame. Move the end of the blue flame against the assembled fitting and tubing, moving it all around the components in the area into which solder must be placed. With constant movement at all times, heat slowly and uniformly while testing the melting point of the solder by touching the tip of the solder wire to the joint. This will take some practice. Try holding the flame in your non-dominant hand and the solder in your writing hand. Remember, you're using the flame essentially to heat up the solder and melt it. You accomplish this by applying the flame to the copper tubing and then touching the solder to the joint. The heated tubing will draw the melted solder into the joint by capillary action. Use the flame sparingly.
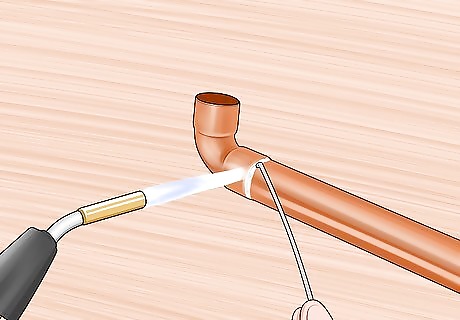
Melt solder into the joint. Move the solder and flame to the side opposite the melted solder, continually feeding small amounts of solder and moving the torch until the solder has circled the fitting. The solder will seem to run toward the heat. The purpose is to allow the solder to completely fill the area between the fitting and the tubing by letting it run into the cracks. On larger fittings, concentrate the heat slightly ahead of the wetted solder to allow this to occur. Be careful not to overheat the copper. Keep the torch moving constantly to prevent blackening the copper. If the joint is overheated and blackened, you'll need to disassemble it and re-clean the pipe, otherwise you'll risk a leaky fitting.

Wipe excess liquid solder from the hot surfaces using a clean, dry cotton rag. Spray a mist of water on the area soldered to freeze the solder and prevent movement of the joint which would create a leak.

Flush the piping thoroughly. Use fresh potable water to remove any excess flux, dirt, or loose solder beads inside the tubing after all soldered connections are completed. This will also help you check for leaks when the job is done.


Comments
0 comment