views
Enable "sync everything" on the old Chromebook.
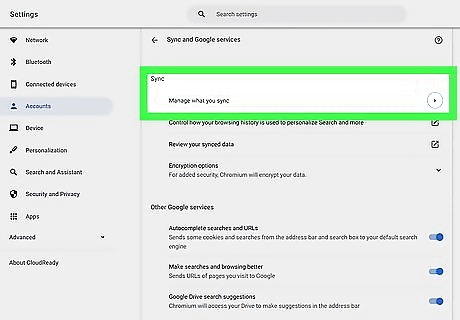
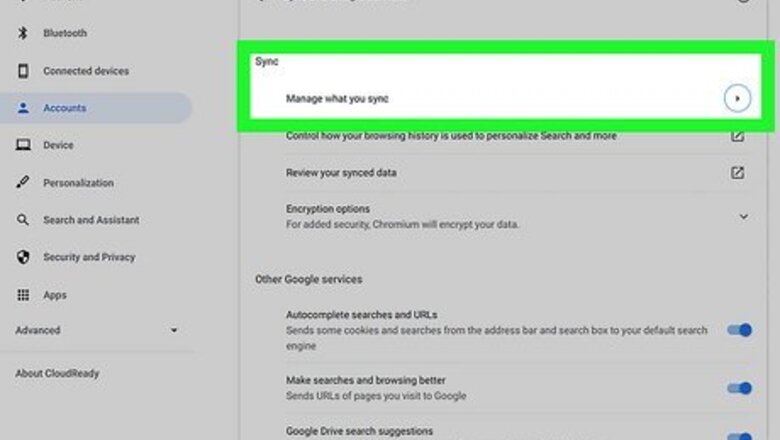
Choose which information you want to sync. By default, all of the settings, apps, saved passwords, bookmarks, themes, payment info, history, and virtually everything else on your Chromebook (except your downloads and Linux data) is automatically synced to the cloud. Just in case anything changed, double-check your sync settings to make sure you have everything you need: Click the time at the bottom-right corner of your old Chromebook. Click Settings (the gear icon). Click Sync and Google services. Click Manage what you sync. Choose Sync everything to ensure that all of your data from this Chromebook will be available on your new Chromebook. Alternatively, you can select Customize sync and choose to leave some things out.
Copy your downloads to Google Drive.
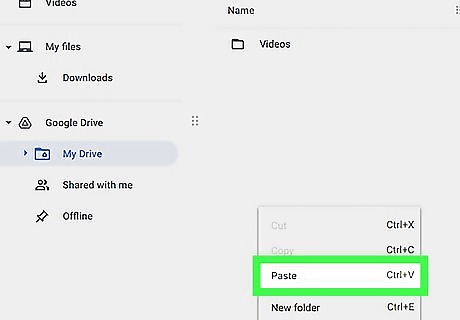
If you've downloaded files to your Chromebook, back them up. Because your downloads (and any files saved in My Files) aren't synced to the cloud, you'll need to upload them to your Google Drive so they'll be available on your new Chromebook. Here's how: Open the Files app on your old Chromebook. Open the Downloads folder in the left panel. Hold down the Ctrl key as you click the name of each file you want to keep. Press Ctrl + C to copy the selected files. Click Google Drive in the left panel. Press Ctrl + V to paste the copied files. Click My Files in the left panel and check to see if there are any other files you need to add to Google Drive. If so, select those files, press Ctrl + C to copy, and then paste them into Google Drive as well.
Back up your Linux files and apps.
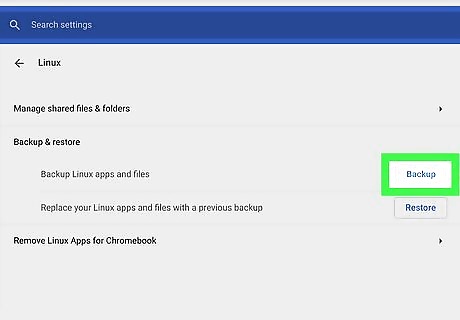
If you use Linux on your Chromebook, create a backup. You can skip this step if you didn't enable Linux. As long as your new Chromebook is the same architecture (e.g., ARM or x86), you'll be able to create a backup, upload it to Google Drive, and then restore the backup onto the new Chromebook. To back up your Linux data: Click the time at the bottom-right corner of your old Chromebook. Click Settings (the gear icon). Click Advanced. Click Developers. Click Linux. Click Back up and restore. Click Back up. Choose a location to save the backup in My Files. Enter a name for the backup and click Save.
Sign in to your new Chromebook.

When you sign in with the same Google account, all of your data will sync to the new computer. Once you sign in, follow the on-screen instructions to set up your new Chromebook. Although you might need to sign in to some apps again, especially any Android apps you've installed, everything else should be the same.
Find your backed-up files in Google Drive.
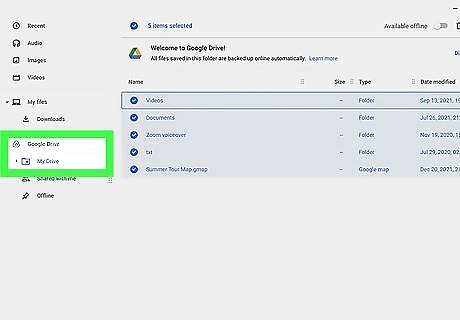
If you backed up your downloads or Linux data, you'll find them in your Google Drive. You can keep them there or download them to your Chromebook using these steps: Open the Files app on your new Chromebook. Click Google Drive in the left panel. Hold down the Ctrl key as you click each file you want to download. Right-click the highlighted file(s) and select Download. The downloaded files are now in your new Downloads folder.
Restore your Linux backup.
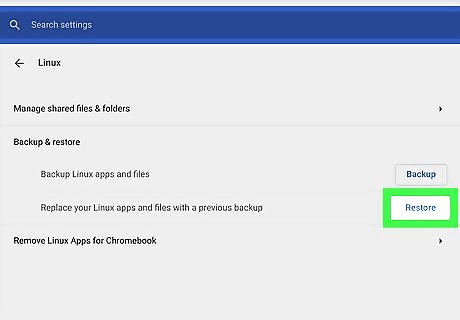
If you backed up Linux data, restoring the backup is easy. You'll need to turn on Linux first, which you can do in Settings > Advanced > Developers. Then, follow these simple steps to restore your Linux backup: If you haven't already, download the Linux backup from your Google Drive—it's the file that ends with *.tini. Click the time and select Settings. Go to Advanced > Developers > Linux > Backup and restore. Select Restore, and then Restore again to confirm. Select the Linux backup file and choose Open.



Comments
0 comment