
views
Writing the Transcript

Block out time to transcribe. Transcribing will probably take you longer than you imagined. On average, it takes 4 to 6 hours to transcribe one hour of a recorded proceeding. The time will vary based on your typing skills as well. It may also take longer to transcribe if there are multiple voices on the recording or you are an inexperienced transcriber. Do not wait until the last minute to transcribe something.

Listen to the recording. Listen to the recording once through before you begin transcribing. This can refresh your memory about the content of the recording, understand the flow of the conversation, and identify all of the voices on the recording. You can also compare the recording to the notes that you previously took.
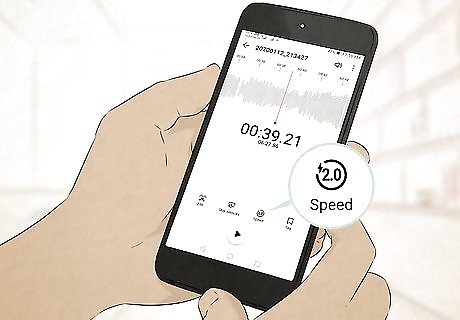
Change the speed of the audio recording if necessary. Audio can be slowed down, stopped, and paused so that you can better understand the recording. Consider purchasing a foot pedal which will allow you to stop and start the recording with your feet. This will free up your hands and make the transcribing process quicker.
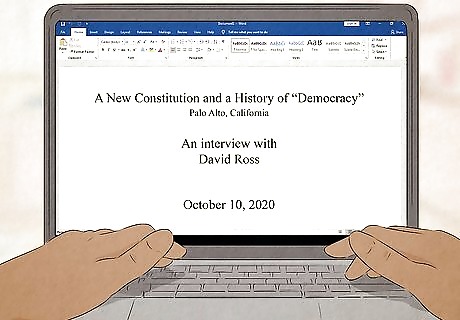
Format your transcript. Your transcript should include page numbers, a title, and the date. It's also a good idea to include an abbreviated version of the title and date in a header or footer on the page. You also need to identify the different voices on the recording. You can use the first letter of each person's name or a nickname. A new paragraph should be started when there is a new voice, a new topic is introduced, or when someone is quoting what someone else has said. Your transcript should not be one long block of text.
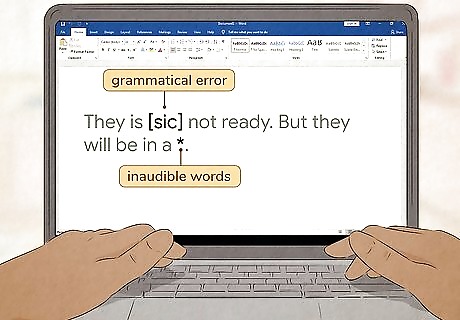
Transcribe every single word. Transcriptions should be exactly the same as the recording. Do not add any words and do not omit any words with the exception of "ums" and "uhs." Do not correct grammatical errors in your transcript either. "[sic]" is used to denote a grammatical error in the transcript. If someone says, "They is not ready." You would type "They is [sic] not ready." instead of correcting the grammar in the sentence. If a word is inaudible, type "(inaudible)" or use a symbol (e.g. *, ***) to denote that a word is missing. Also, add the time in the recording where the inaudible word is. This can help you when you go back to try to figure out what was said.
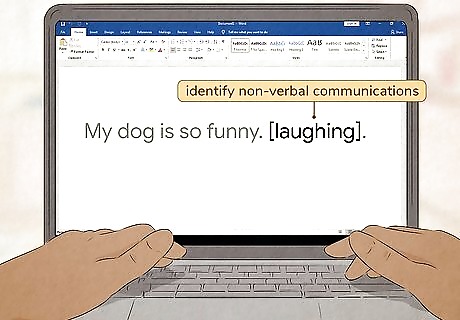
Identify nonverbal communication. Conversations are filled with more than words. People often laugh, sigh, etc. during conversations. If someone laughs after they say something, put "[laughing]" after what he or she said. For example, "My dog is so funny. [laughing]" is appropriate. Never add your interpretation to nonverbal communication. For example, "[sighing with relief]" is incorrect. Simply typing, "[sighing]" is appropriate.
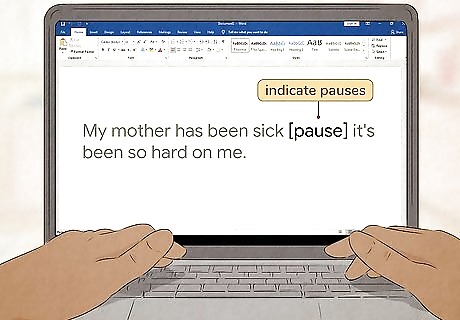
Indicate pauses in the conversation. Conversations have ebbs and flows. Your transcript should reflect this. If someone pauses after he or she has said something, include this in your transcript using either ellipses or the word "pause." For example, "My mother has been sick...it's been so hard on me." or "My mother has been sick [pause] it's been so hard on me." Whatever method you use, be consistent.

Proofread the transcript. Use a dictionary or spell check on a computer to make sure everything has been spelled correctly. However, be sure not to edit the transcript for other errors, such as improper word usage or grammar. The transcript should reflect the exact language used in the proceeding. Re-write your transcript if necessary, to adhere to any form or format deemed necessary. This is also a good time to check for correct punctuation as well.

Listen to the recording and read your transcript simultaneously. This process is done to ensure that you transcribed correctly and can help you fill in any of the inaudible words. Again, your transcript should reflect the recording verbatim.
Preparing to Transcribe
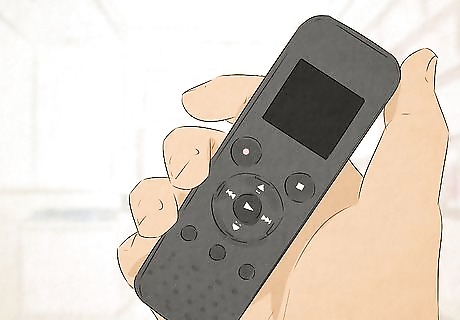
Choose a recording device. While you may be listening attentively, it is still possible for you to miss or even misunderstand words or sentences. Having an audio recording will make the transcribing process much easier. The type of device you use will depend on your budget and your recording needs. If you can afford to, it is better to buy a digital recorder instead of using a smartphone due to poorer sound quality. If you have an iPhone or an iPod touch, you can record using the Voice Memo app. For Android users, download the Smart Voice Recorder app or the Easy Voice Recorder app. Both of these apps are free. A good quality digital recorder can be purchased for $100 or less.

Prepare yourself to take down notes. Make sure that you are sitting in a comfortable position and have everything you need for note taking. This may include a computer, paper, pens, and pencils. Developing your own shorthand will allow you to shorten words or even summarize phrases without losing their exact wording or meaning.

Set up a recording device. This is a crucial component of any transcription. The recording device should be positioned as close possible to the voices you are trying to capture. If possible, try to do a test recording in the same room. You should also have a second recording device in case something happens. Although, this is not always possible. If your recorder is battery operated, make sure that it is fully charged and ready to go. Also, bring an extra set of batteries. If you are using a smartphone, make sure that the phone is adequately charged and be prepared to recharge your phone if you need to.

Take good notes during the proceeding. Although you are recording the proceeding, it is important that you remain focused an attentive. Take notes on what is being discussed, body language of the people talking, and any thoughts or reactions you have to what is being said. These notes will help provide context when you are transcribing the document. Write down everyone who is speaking and any characteristics of these people as well.
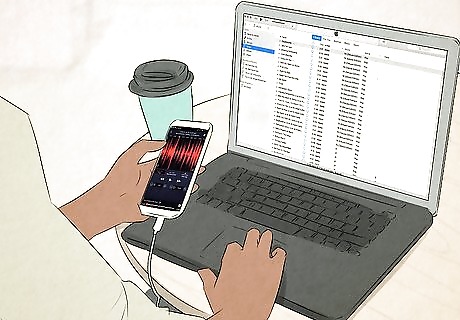
Transfer the recording to a computer. Digital recorders come equipped with software that will allow you to upload the recording to your computer. If you are using a smartphone, you will need a USB cable to transfer the recording to your computer. Recordings done on Apple devices can be downloaded to your computer using iTunes. When given the option to sync music, select "Include Voice Memos." Apple users can also purchase DropVox for $2. This app will automatically upload your voice recordings, and you will not need a USB cable.


Comments
0 comment