views
Using PCmover by Laplink on Windows
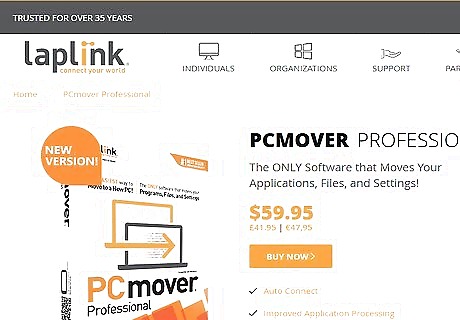
Go to https://web.laplink.com/product/pcmover-professional/#tabs2. Laplink is Microsoft's most recommended software to migrate your data from one computer to another. The Windows-only software costs a one-time fee of $59.95 per license. If you are moving data to multiple computers, you'll need to buy more licenses. With PCmover, you can migrate applications, programs, files, and settings as soon as you have PCmover installed on both computers and are connected to the same network.
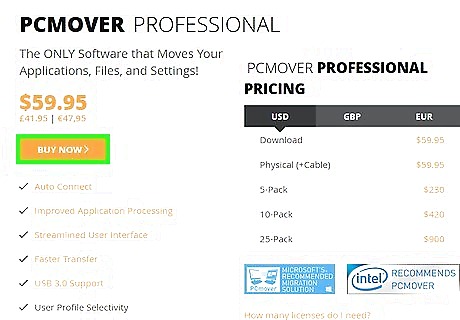
Click Buy Now. You'll be notified that the item is in your cart and see a suggested item. Scroll down and click No thanks, just proceed to cart with my existing order if you don't need to add anything.
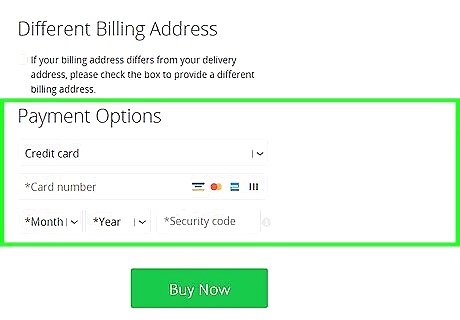
Enter your delivery and payment information. Even though your order is a digital purchase, you still need to provide your delivery information. You can also opt to receive a box with a cable in the mail with your purchase if you can wait for shipping.
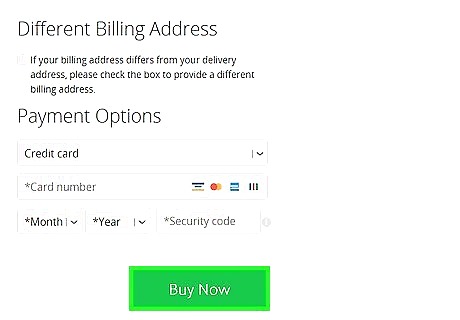
Click BUY NOW. You'll be directed to a confirmation page where you'll see that Laplink has sent you an email containing the license for PCmover.
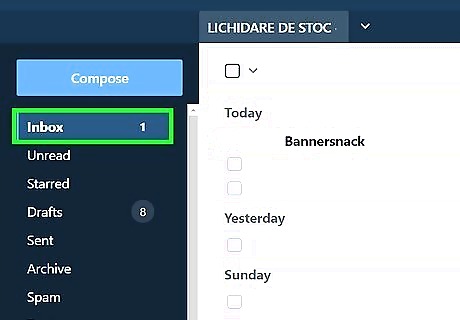
Navigate to your email and open the email from Laplink. If you don't see the email from Laplink in your Inbox, check your Spam folder. You'll see the serial number that you can use to get a copy of PCmover as well as the option to create a profile with Laplink.
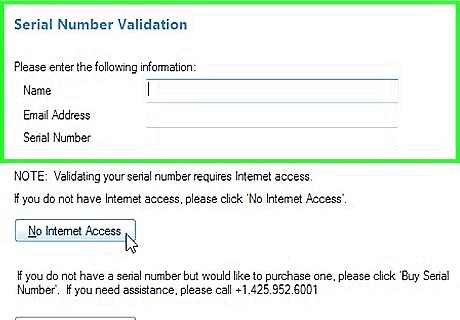
Go back to Laplink and enter your serial number to download a copy of PCmover. You'll need to do this on both the old and new PC. The single serial number you purchased will work for both computers. Refer to the email for any links or instructions it may provide. Double-click the installed EXE file to run the installer and install PCmover on both your computers.
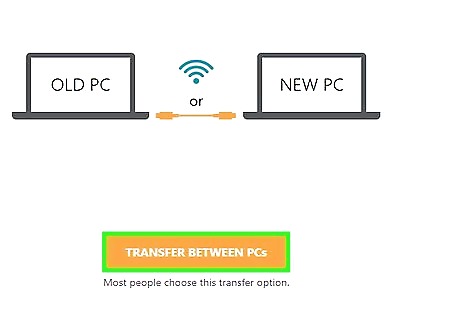
Click Transfer between PCs. If the button is greyed out, one of your computers does not have PCmover open or is not connected to the same network. You can connect to the network wirelessly or with a cord. If you see a Windows Security Alert, click Allow or Yes to continue. You should see both your computers in PCmover. Click Scan again if not.
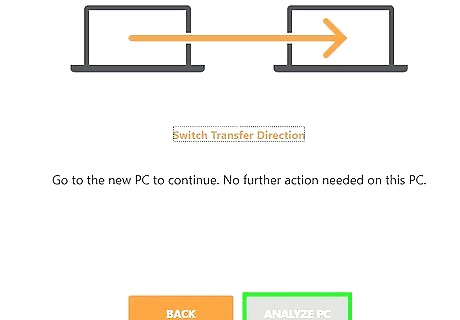
Click Analyze PC from your new computer. If the window shows the wrong computer as the new computer, you can click Switch Transfer Direction.
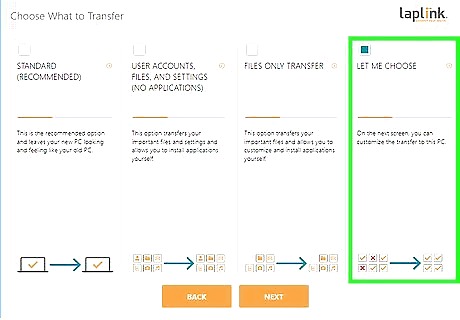
Click to choose what to transfer. If you just want to transfer applications, choose "Let me choose" and select the programs you want to transfer.
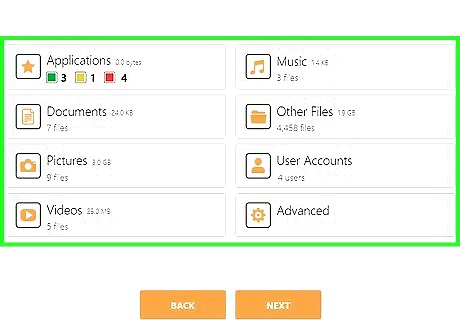
Click to specify what you want to transfer. If you click Applications, you'll see all the eligible programs you can move to your new computer. Click to make selections, then click Done to proceed.
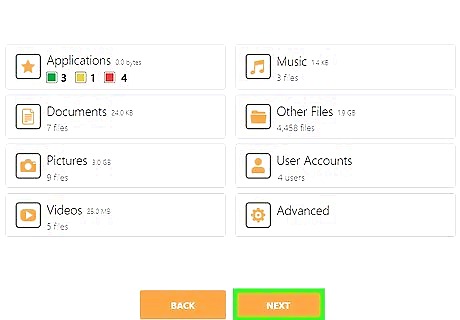
Click Next and Done. Continue through the on-screen process to select what you want to move to the new PC. When you click Done, the transfer will begin. The transfer time will vary depending on your connection type and how much you have to transfer. You may need to click OK to continue. If the transfer is interrupted, you'll need to restart the transfer.
Using the Migration Assistant with Mac
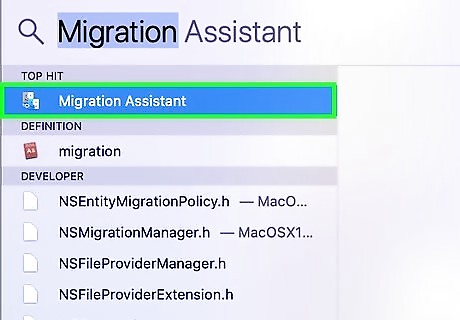
Launch the Migration Assistant tool. Press Cmd + Space bar on your keyboard and type "Migration" and click the first result. You can also find it in the Utilities folder inside your Applications folder in Finder. You can use this Migration Assistant if you're transferring your programs from another Mac or from a Windows PC.
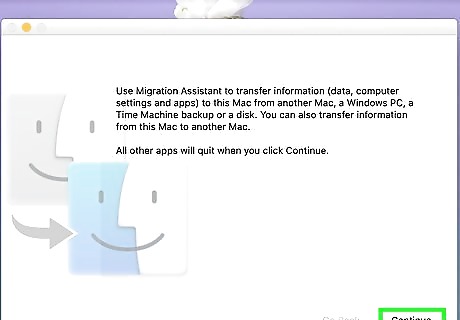
Click Continue. All other applications on your Mac will close.
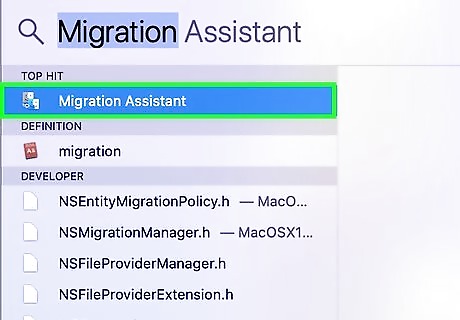
Start your new Mac. When you have a new Mac and start it up for the first time, Migration Assistant will automatically launch. If not, you can find Migration Assistant in Applications > Utilities in Finder.
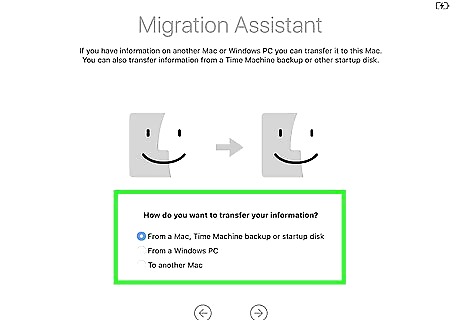
Click to select the appropriate transfer method. If you're transferring from a Mac to a Mac, click From a Mac, Time Machine backup, or startup disk. If you're transferring from Windows to a Mac, click From a Windows PC, and if you're using this as the old computer, click to another Mac.
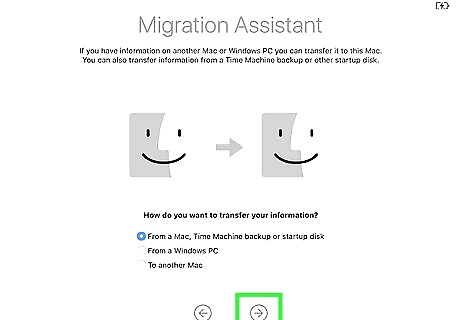
Click Continue. You'll see this at the bottom of the Migration Assistant window. Enter your administrator name and password if prompted.
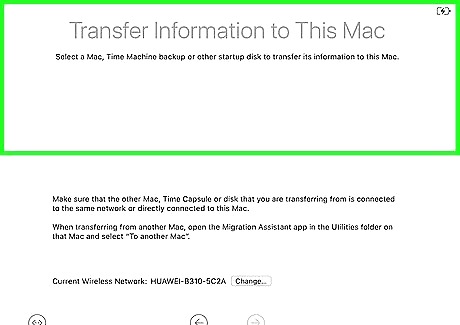
Click to select your old computer on the network. If your old computer is not showing up on the list, make sure you have your computer on the same network and that it isn't hidden.
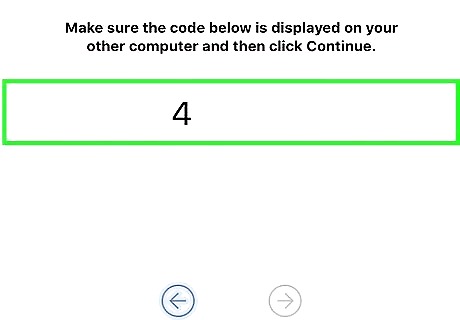
Check the code that displays on your other computer. You should have the same code displaying on both your new and old computers. If not, you'll need to click Back from your new computer's Migration Assistant window.
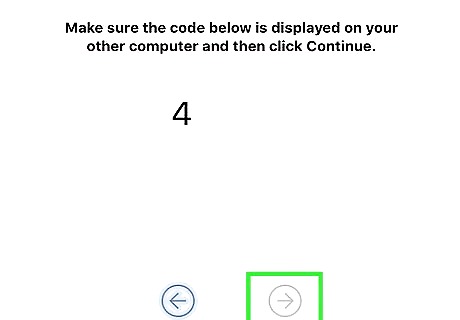
Click Continue on your new Mac. Only continue if both your computers display the same code.
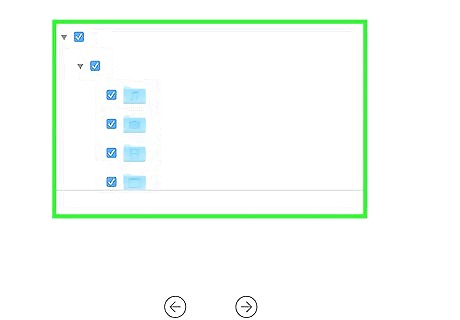
Click to select what you want to transfer. When you continued from the previous step, Migration Assistant starts working to display what is on your old computer that you can transfer to your new computer. Click to check the box next to the folder or file you want to move to your new computer.
Click Continue. You'll see this under the box that displays all the information you can transfer between computers. You'll see how much space is selected as well as how long you can expect the transfer to take. The transfer speed will vary depending on the number of items you selected, how big those items are, and what your connection is like (are other people on the network playing video games, for example).


Comments
0 comment