views
Install the die.
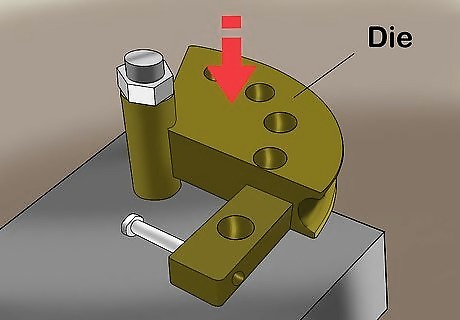
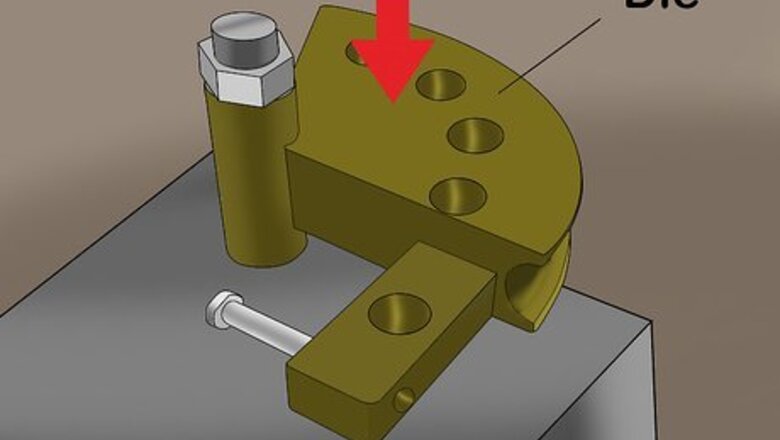
Choose a die according to the size of the pipe that you wish to bend. Remove the die pivot pin. Insert the die into the die slot and insert the pin into the die to secure it.
Install the follower block.
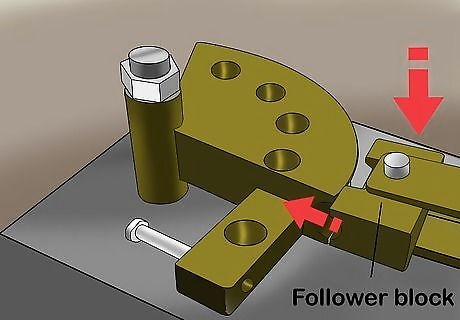
The size of the follower block has to correspond with the die. Place the block near the die with sufficient space for the tube. Then take the follower block pin and insert it into the main bender arm and the follower block.
Prepare the pipe.
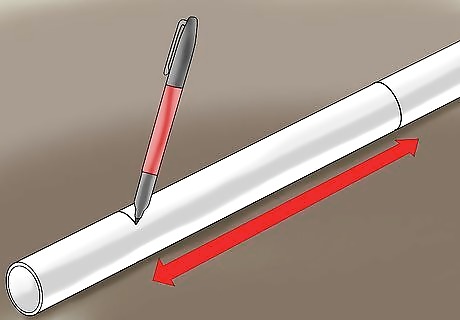
Take a pipe with a size corresponding to that of the die and the follower block. Using a pen or marker, make a random mark at the point where you want to start the bend.
Insert the pipe.
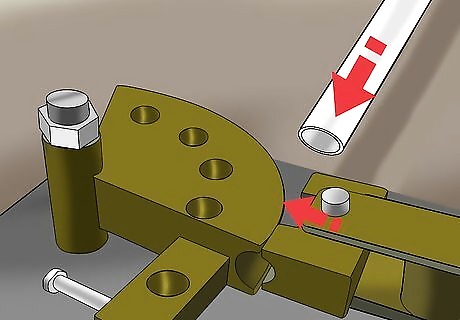
The follower block is kept loose so as to adjust the height when inserting the tube. Hold the pipe in between the follower block and the die. Vertically align the block to the pipe, and then insert the pipe into the machine. The die will rotate outwards as you insert the pipe. Once the pipe is in place, rotate the die back into the correct position.
Install the U-strap.
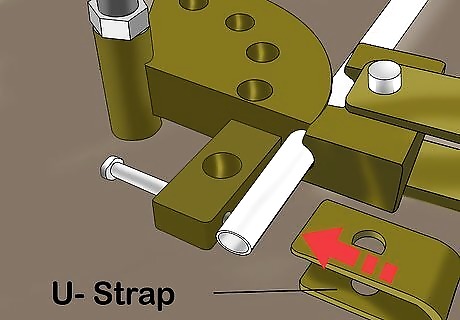
The U-strap holds the pipe in place with the lug. It consists of a pin that corresponds to the size of the pipe and the follower block. Remove the strap pin. Slip the strap over the pipe and reinsert the pin.
Fix up the drive pin.
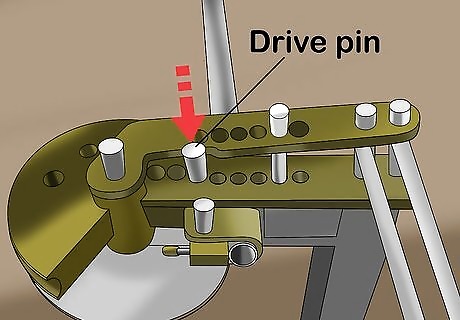
The drive pin locks the pivot arms to the die, thus facilitating the bending process. Take the pin and drop it into the gap between the arms and the die.
Align the pipe.
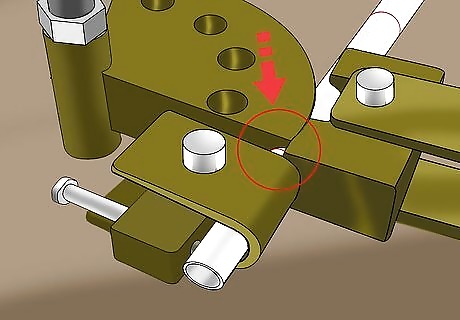
Adjust the pipe so that the random mark that was previously made lines up with the leading edge of the die. You can accomplish this by looking through one of the drive pin holes until the mark is visible.
Create tension in the pivot arms.
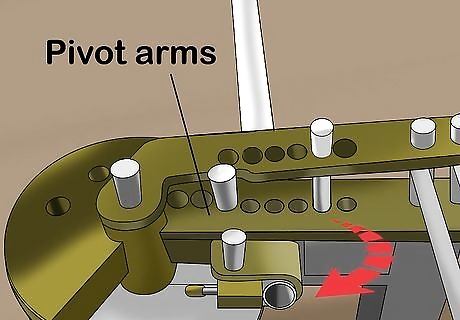
The pivot arms are usually loose. Place a little tension on the pivot arms by pulling on them.
Install the degree pointer.
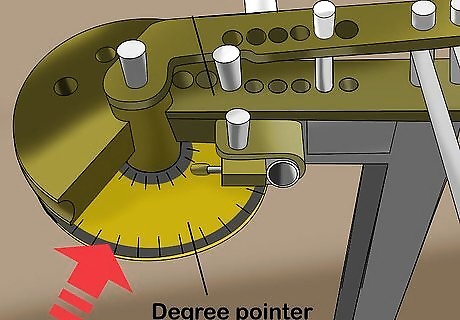
Take the pointer and place it on the end of the lug. The pointer consists of a thumbscrew. Use it to anchor the pointer to the lug. Ensure that the pointer is resting on the degree ring and is aligned to zero degrees. At this point, you need to tighten the tensioner bolt, which is located next to the die.
Engage the drive rack.
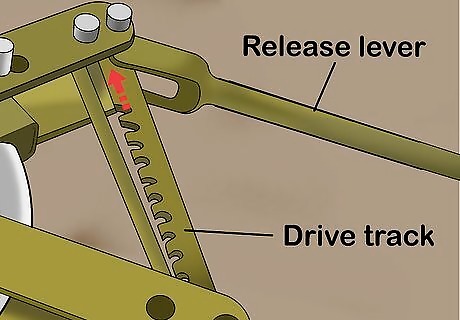
Engage the first notch of the drive rack into the sleeve at the end of the pivot arm.
Start the bending process.
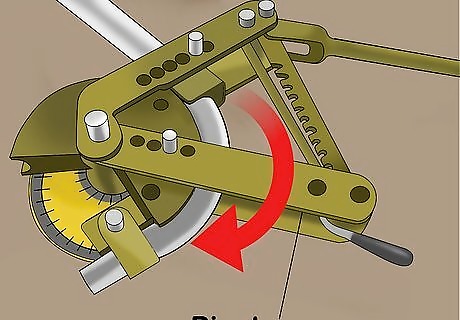
Pull on the handle and the pivot arms will begin to open. The die will rotate and bend the pipe. At the same time, the pointer will begin to indicate the curvature measurement. As you bend the pipe, engage the subsequent teeth of the drive rack and work your way down to the last notch.
Reset the bender.
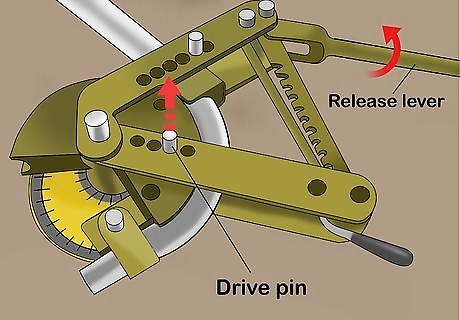
Once you have reached the last notch in the drive rack, you need to reset the bender. Complete the last half-turn of the handle and hold it in the closed position. Keep a little pressure on the handle and detach the release lever of the anti-spring back kit. Then release the drive pin, allowing the pivot arm to become loose. Put a little pressure on the release lever and reset the pivot arms. Place the drive pin in the next drive hole while keeping the arms in their reset position. Then you can continue the bending process.
Remove the pipe.
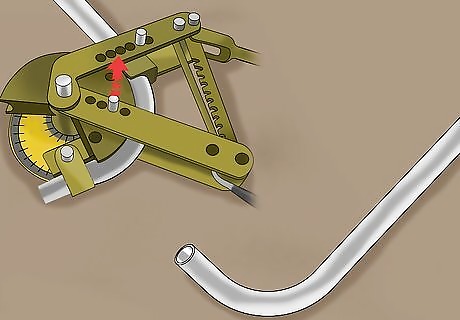
Once you have got the bends you need, it is time to remove the pipe. Keep a little tension on the handle and detach the spring back kit. Swing the drive rack and the handle out of your way. Remove the drive pin and close the pivot arms. Loosen the tensioner bolt, remove the U-strap pin, and take out the pipe from the machine.


Comments
0 comment