
views

Plan the initial design of the cover. Before getting into the low tech method of creating the book cover, a plan, an idea should already be laid out and carefully set for the cover graphics and design. How it will look, placing of the words and any images to be incorporated into the book cover. Be prepared. Have all of the images or different designs picked out and ready to use. Waiting to get images while creating book cover bogs down the process and can create confusion – there should be a set plan in motion, changes can be added later but only after you already accomplished your plan. The most important program necessary to accomplish this is Microsoft’s PowerPoint presentation program. MS Word and MS Paint or another image editing program will also be required.
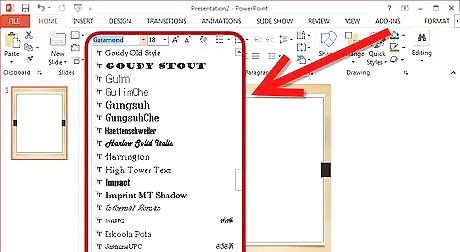
Choose text fonts and sizes from the options provided. What type of font will be use for the text portion of the cover. The title of the book should have already been decided upon and a desired look by now is established through a trial and error staging process. All that needs to be done is to use the text tools to make the vision a reality. It may take some "playing" and tweaking to make it look exactly as envisioned. Remember to change the PowerPoint panel from its landscape view to portrait view to get the desired look. This will help with the next few steps in creating the book cover.
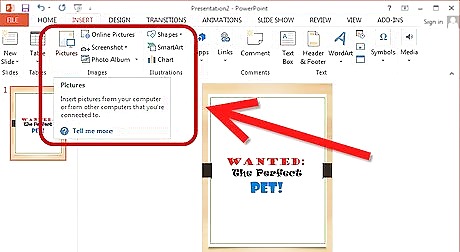
Add images for flare. Also add to the cover interesting images, depending on the over all look would be helpful but remember not to overwhelm the appearance of cover. Adding images can be done by simply using the insert function of MS PowerPoint to insert images easily. Images should be formatted in the GIF form in order to utilize the transparency feature in the image editing program or in the MS PowerPoint program. Edit the image(s) to achieve the optimal look. This is where a bit of editing knowledge will come in handy. Most image editing programs have a feature that allows you to make the background of images transparent. (So does the MS PowerPoint program.) With a bit of practice you can incorporate images seamlessly into the cover.
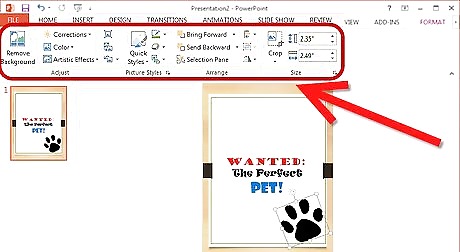
Clean finish and minor changes. Once you’ve accomplish the look you want for your book cover you can clean up the image as a whole or make minor changes to improve the finished look of the cover. Try to avoid making too many changes and be smart – create a copy and alter copy so if an error occurs, nothing is lost.
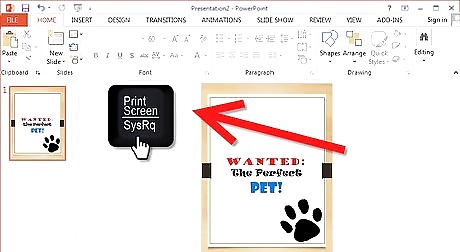
To finish the cover, simply open the PP to full screen, make sure that the PP transparent function box disappears and then copy the screen by using PrtScn. Then open MS Paint and paste the image to MS Paint. All that is needed to do now is to crop the picture to desired look and to save as a PNG file. After the image is saved it can be opened in any image editing program. Change the resolution of the image to 300 DPI. This will ensure the needed print quality and will reduce fading when printing.
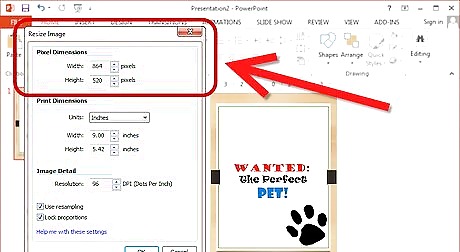
Edit the image size to work well with your cover design. The final step for book cover creation is to edit the size of the image to fit your book. For example, if the book size is 6.2" X 8.28", then that is the size the image should be formatted. Doing so will help when you go to publish your book and it has to fit in a standard format to match the book print size. Save the file in the format specified by your publisher. Some companies only accept certain file formats for uploading a book cover image.






Comments
0 comment