
Gathering Materials
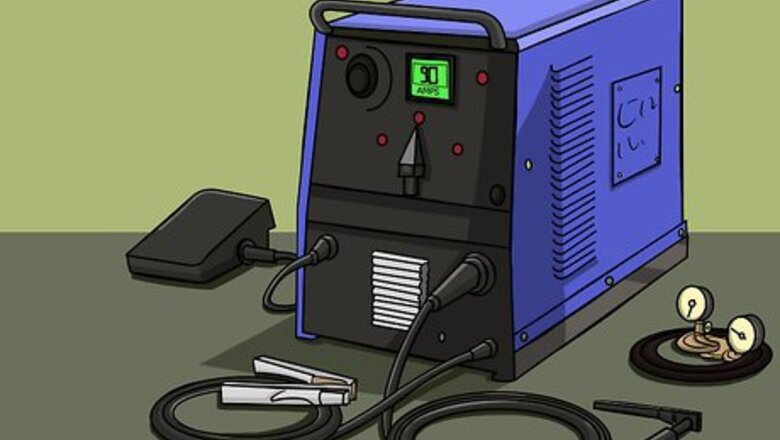
Get a TIG welder. This is an arc welder. It uses an electrical current to weld. Your machine should have a tungsten electrode and a chamber for shielding gas. These can be found at local hardware stores. Oxyacetylene torches are an option for producing a weaker weld in the process known as brazing, which shouldn’t be confused with welding. It follows the same steps as TIG bronze welding but melts only the filler rod, not the surface metal.

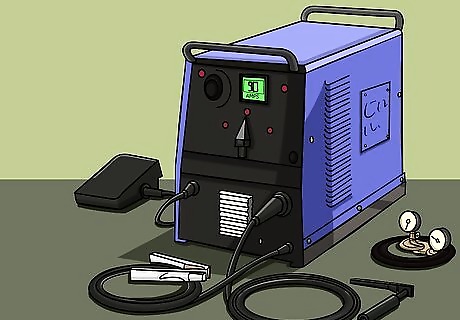
Find argon gas. The shielding gas is what protects the material you are welding from the environment. Oxygen and water vapor getting into your project will weaken the weld. The gas you’ll use is argon, possibly combined with some amount of helium depending on the depth of the weld. The cylinder that contains the gas fits into the chamber on your welder. Pure argon is used for welds up to two millimeters thickness. The thicker the weld, the more helium you’ll want in the gas.
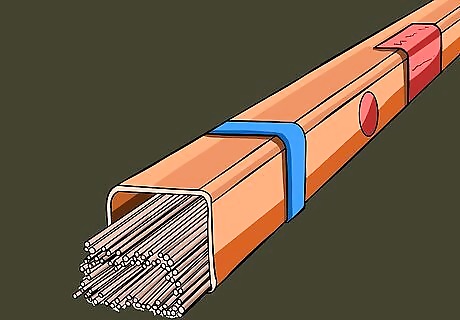
Get filler rods. The filler rods are what you’ll use to create the weld. For bronze welding, you’ll use a bronze rod, but these rods come in varieties with differing amounts of copper, aluminum, and other metals. Ideally, you want to match the composition of the rod you use to the metal you’re welding and the thickness of the weld you need. For example, a bronze rod with 10% aluminum is good for close-fitting joints, but a bronze rod with 7% tin is good for welding dissimilar and unknown metals. Welding rods are thicker than brazing rods. Brazing rods look very narrow because they’re used to leave only a line of bronze on metal.

Choose the right flux. Flux is a substance that cleans metal, protects it, and facilitates heat transfer. When using a TIG welder, flux isn’t necessary to do the welding, but you may still wish to use it for cleaning. Choose a flux that matches the metals in the objects and rods you are welding. If you are using an oxyacetylene torch, you’ll need flux to protect metal against oxides.
Initiating a Weld

Take safety precautions. Welding should only be started once your skin is protected. Wear a mask to avoid acids, welding odors, sparks, and stray fragments. Underneath, wear a welding suit that covers your arms and legs. Put on gloves before starting any torches. Weld in a well-ventilated area to avoid fumes coming from the gas, heat, and metal.
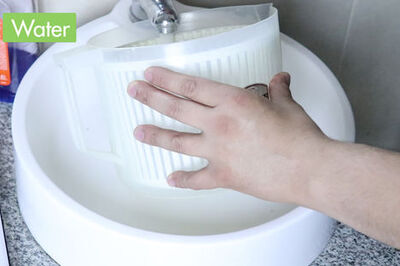
Clean the metals. To get a good weld, the surface of the metal you’re using has to be free from substances such as oxides, grease, and oil. Use a degreasing solution first from a local hardware store to remove the grease and oil first. Rust and scale can be removed by pickling, soaking the metal in a compatible strong acid such as hydrochloric acid. Use an abrasive such as an emery cloth to remove dirt. Rinse the metal in warm water to remove leftover acid and debris before you weld.

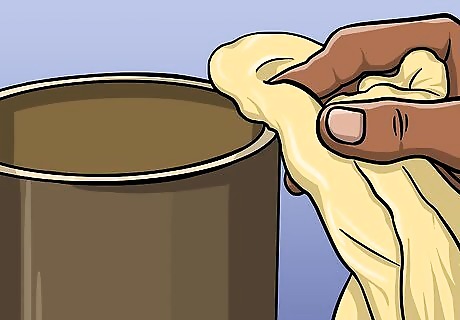
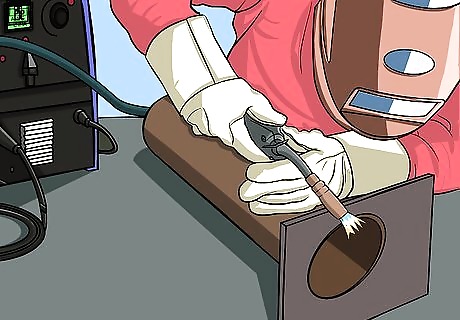
Flux the parts. If using flux, use a brush to coat the spot where the weld will happen. The flux looks like a paste and should be spread evenly along the surface. Coat the filler rod too or dip it into the flux. Cover it completely with the flux. The bigger the welding piece and rod, the more flux you’ll need in order to get more heat.

Start your welder. If you’re using a TIG welder, set it to a low current, about 80-95 amps. Halve the current for brazing. An AC (alternating current) setting is good for keeping the oxide out when using aluminum bronze, but otherwise a DC (direct current) is a common choice. A DC current heats up faster and needs to be restarted less.
Completing the Weld
Heat the welding surface. Start your torch or welder and bring the heat close to the surface. The metal will have a higher melting point than the filler rods, but still avoid pointing the heat directly at the surface. Keep the torch or welder moving, causing the metal to heat up evenly. Look for the metal to change colors, such as to a dull red or orange. Metal expands in heat. This makes the filler material join to it more completely.

Lower the rod to the heat. Hold the torch or welder at an angle so that it strikes the bottom of the rod. A little heat should reach the metal you are welding in order to keep it warm. Move the rod along the surface as the filler material pools and forms the weld. Monitor the surface for an even distribution of heat. If you used flux, the flux will change colors and disappear when it gets hot. Your filler will move towards the hottest areas.
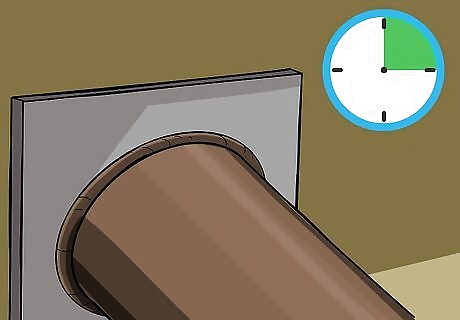
Allow the weld to cool. Turn off your torch and put away what’s left of your filler rod. Let the weld set. The weld should be solidified before you attempt to clean it.
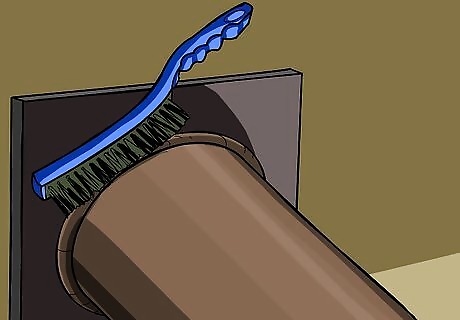
Clean the weld. If you used flux, you need to make sure all of it is gone or else it will corrode the metal. Rinse the welded metal in hot water while it is still hot, if you can. Use a wire brush to remove stubborn scales. For oxide formed during welding, repeat the process of pickling the metal in an acid bath, such as hydrochloric acid. Rinse off the acid when done. Remember to keep wearing protective gear to shield against damaging acid.


Comments
0 comment