views
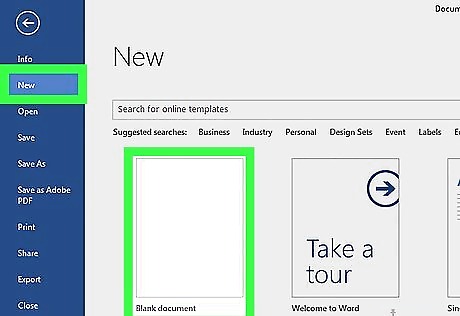
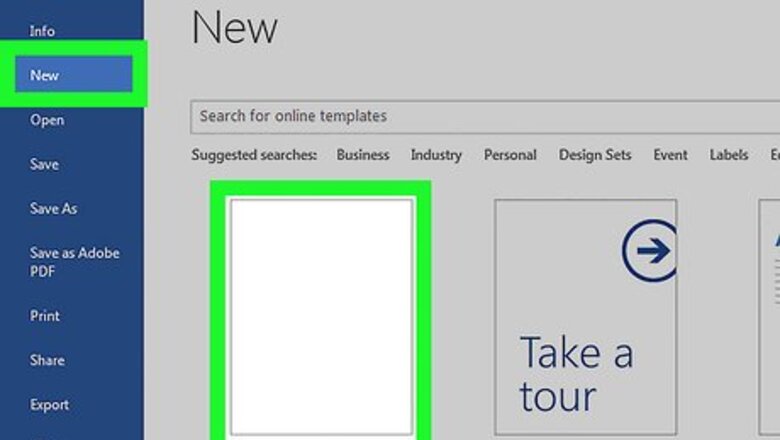
Open a new file in Microsoft Word. Do so by opening the app shaped like a blue W. Then click on File in the menu bar at the top of the screen, and click on New Blank Document.
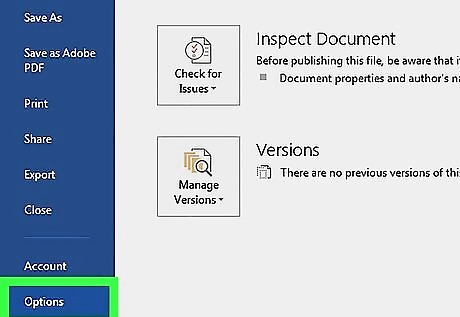
Click on File in the menu bar and then Options in the menu. On Mac, click on Word in the menu bar and then Preferences… in the menu.
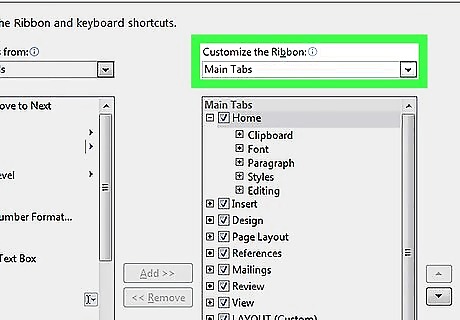
Click on Customize Ribbon and then Main Tabs in the "Customize the Ribbon:" drop-down menu." On Mac, click on Ribbon & Toolbar in the "Authoring and Proofing Tools" section of the dialog box, then click on the Ribbon tab at the top of the dialog box.
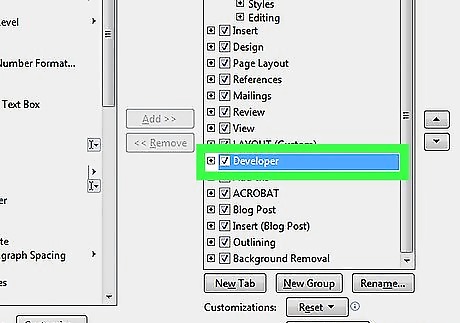
Check "Developer" in the "Main Tabs" pane.
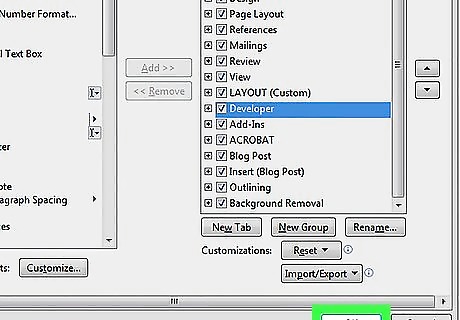
Click on Ok.
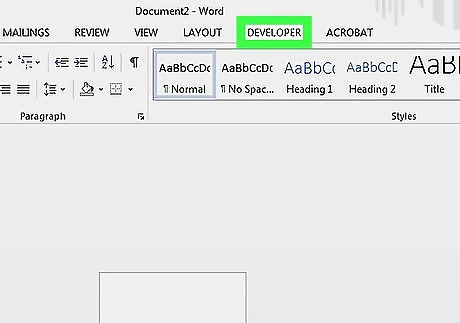
Click on Developer. It's a tab in the upper-right part of the window.
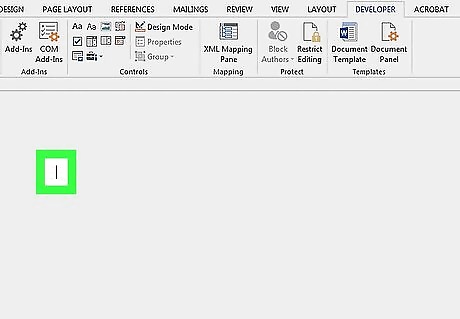
Position the cursor where you'd like to insert the check box.
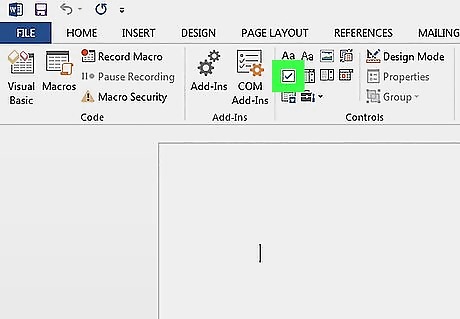
Click on Check Box. It's in the menu bar at the top of the window.
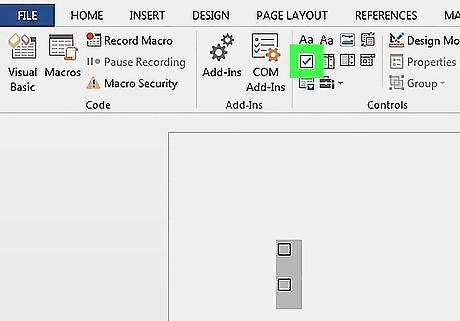
Add additional check boxes and text as needed.
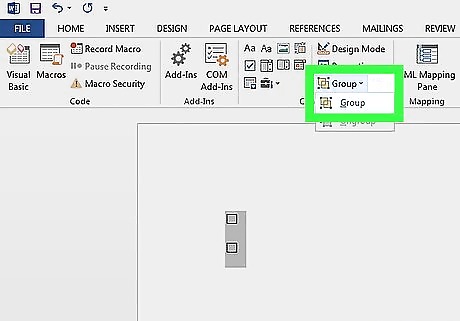
Lock the form. To do so, select the entire list, to be found in the Controls section on the Developer tab, then click on Group and Group. On Mac, click Protect Form in the Developer tab toolbar.


Comments
0 comment