
Disassembling an Airbrush Gun
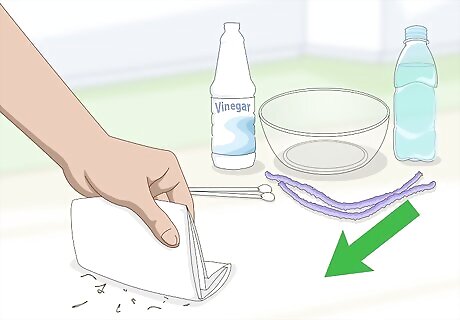
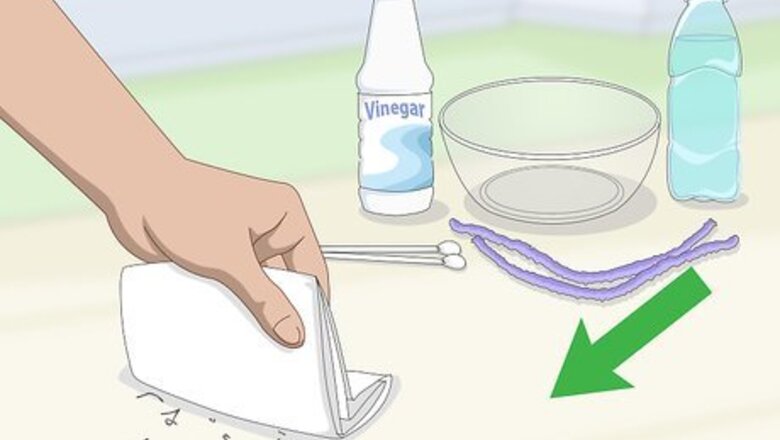
Create a clean workspace. You will have to take the airbrush gun apart to clean it thoroughly. Clear a space where you can set the parts as you take the airbrush apart. Place all the cleaning supplies near you.

Dump out any paint that is inside the airbrush gun. Turn it over and shake out the gun over a waste container. You want to get rid of all the excess paint from the gun.

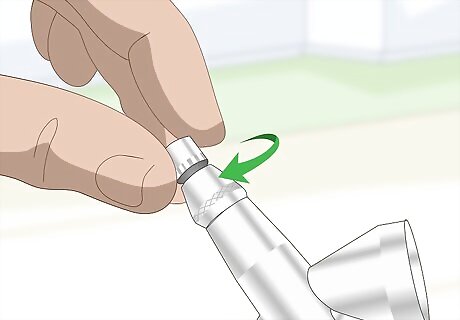
Unscrew the needle cap, then remove the nozzle cap. They are both on the front of the gun covering the needle point. The needle cap is a small, round piece of metal at the end of the gun. The nozzle cap is slightly bigger and flares out from top to bottom. Turn to remove them. If you have trouble turning the caps with your fingers, use pliers but clamp down as lightly as possible. After removing the nozzle cap, the point of the needle will be exposed. Pick up the airbrush gun from the middle to avoid getting stuck by the needle.

Detach the nozzle. It will be exposed after you remove the nozzle cap. Use the small wrench that came with the airbrush. If you don’t have the wrench, you may be able to remove it with your fingers or with needle-nosed pliers. The nozzle is very small and easy to lose; carefully place it with the other parts.
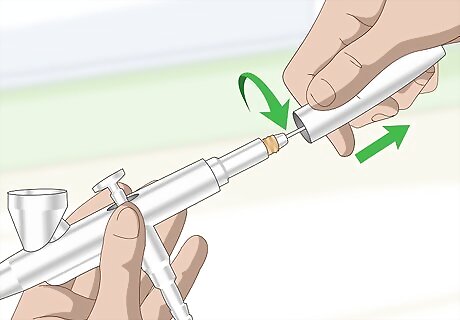
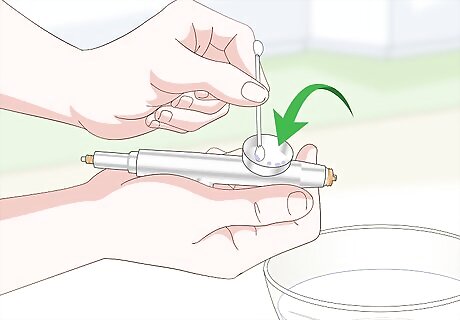
Take off the handle. Grasp the back part of the gun and turn to remove the handle. Taking it off exposes the needle assembly. Set the handle aside with the other parts.
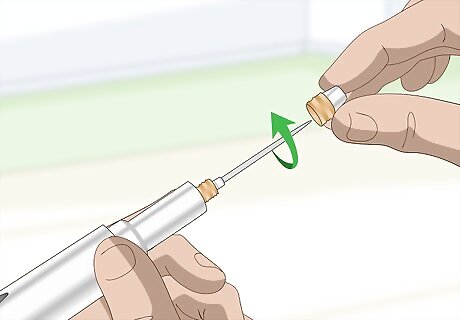
Remove the needle chucking nut. After you remove the cover, you'll find the chucking nut threaded part of the way on the needle. It has threads on the front end to make it easy to grip, then it narrows toward the back of the gun. After the nut is unscrewed, the needle will feel loose.

Pull out the needle. You can pull the needle out in either direction, but you may want to pull it out of the front end of the gun. Pulling the needle out the back can spread paint into the middle of the airbrush gun and clog it.
Cleaning the Airbrush Gun Parts

Place the parts into a glass bowl. Select a bowl that is large enough to hold all the parts. Don’t use a metal bowl, as the cleaning liquids could react with the metal and damage the airbrush parts.
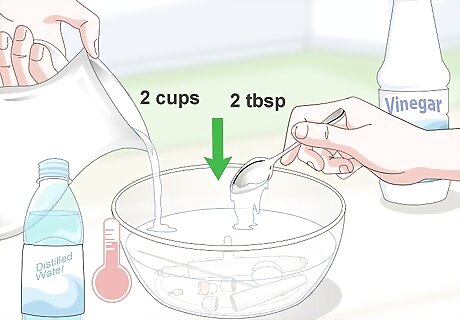
Fill the bowl with 2 cups of warm distilled water mixed with 2 tablespoons of white distilled vinegar. Let the parts soak for 5 minutes; they don’t need to sit in the cleaning liquid very long. It’s best not to soak them overnight, prolonged exposure to the cleaning fluid can wear away lubrication inside the airbrush that helps it perform well. You can use a commercial airbrush cleaner or even rubbing alcohol, but the vinegar and distilled water mix usually works well.
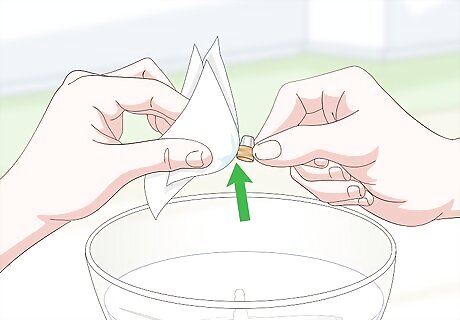
Wipe the airbrush parts with a damp paper towel. Carefully clean all the visible surfaces on each piece. Use a cotton swab to get into corners or tighter spots. The needle is very sharp, so clean it carefully. Wipe from the back of the needle toward the front to prevent getting stuck.

Clean the channels inside the gun with a small pipe cleaner. Pick a size that just fits inside. Move it back and forth inside the airbrush and turn it a few times to clean thoroughly.
Use a cotton swab to clean the paint cup. Wipe it around to clean all the inside surfaces. Don’t forget to clean inside the narrow funnel where the paint flows out. If you are cleaning a siphon-feed airbrush, you may need a slightly wider pipe cleaner for the inside of the channel where the paint feeds into the airbrush.

Rinse all of the parts with warm distilled water. Once all the parts have been cleaned, rinse them thoroughly to remove traces of the cleaning liquid. Warm distilled water works best.

Set the parts on a towel to dry. Gently shaking off excess moisture can help the parts dry more quickly. Allow the parts to dry completely before putting the airbrush gun back together.
Reassembling an Airbrush Gun
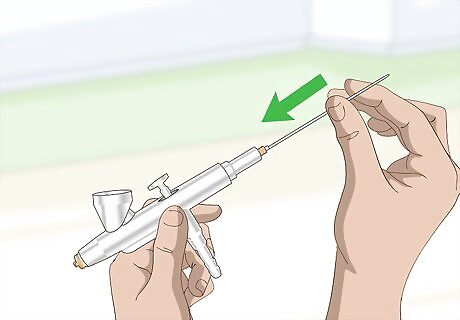
Slide the needle into the chucking guide. Start from the back of the airbrush and push it forward with the pointy side going in first. Slowly and gently push it toward the front of the gun. It will get harder to push as it gets near the front. Stop pushing when the tip just barely sticks out of the front. If you feel resistance as you first push the needle in, pull the needle back out a little bit, press and hold the trigger down, then push the needle through again. The needle might be bumping into the trigger.

Insert the nozzle and tighten. Because the nozzle is so small, it may be easier to insert it by using needle-nosed pliers. Tighten the nozzle using the small wrench that came with the airbrush. The nozzle is tight enough when it's no longer easy to turn it.

Screw on the needle chucking nut. Slide it over the needle until it reaches the threads. The narrow end should face toward the back of the gun. Turn to tighten it.
Replace the nozzle cap and the needle cap. Slowly place the nozzle cap over the needle point with the narrow end pointing away from the gun. Turn to screw it tightly in place. Carefully place the needle cap over the nozzle cap and turn to tighten it. If you can’t tighten the caps with your fingers, use pliers. Grip the cap gently and turn to screw into place.

Attach the back cover. Slide the cover over the needle assembly. Turn to screw it tightly into place.
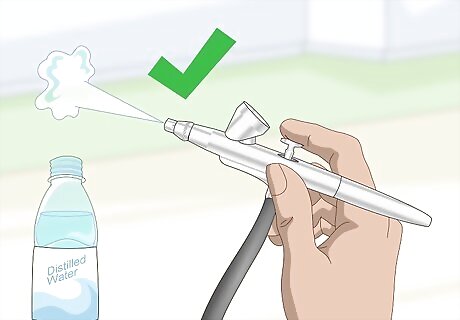
Test the airbrush gun to make sure it works correctly. Add some water to the color cup and spray it to make sure the gun is working properly.


Comments
0 comment