views
Deleting Apps to Clear Up Storage Space
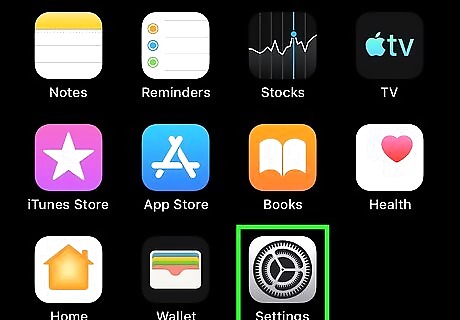
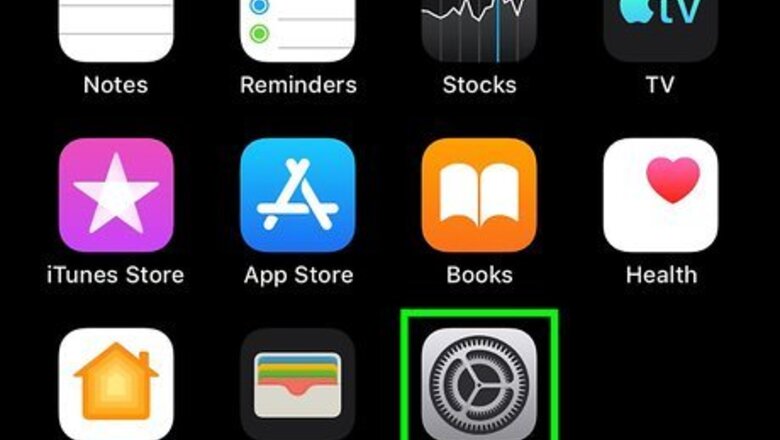
Open the Settings menu iPhone Settings App Icon. It's the silver icon that resembles a gear on the home screen of your iPhone or iPad.
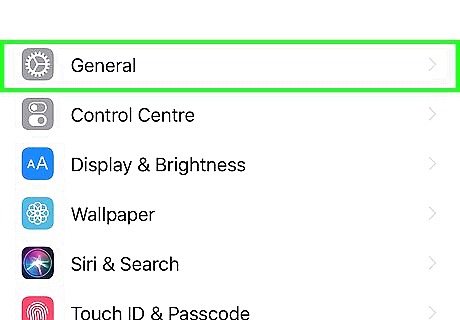
Tap General. It's next to an icon that resembles a gear in the Settings menu.
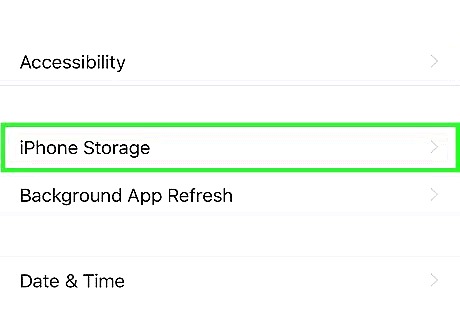
Tap iPhone Storage. It's about halfway down the General menu. This displays a list of all the apps you have installed on your device.
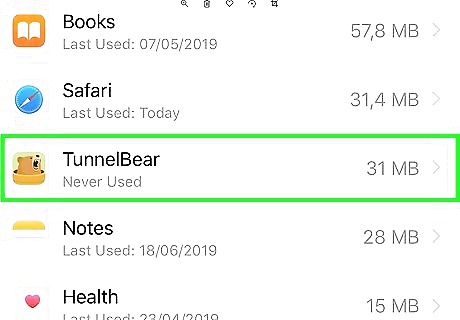
Tap an app you don't use. Look for any apps you don't use very often in the list of app and then tap the apps name. This displays the info screen for the app.
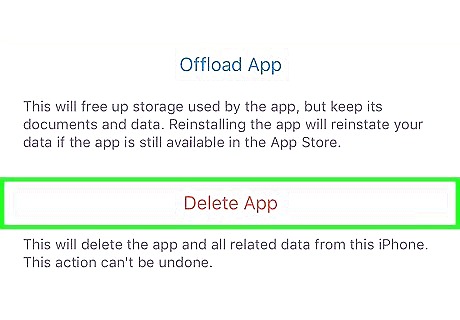
Tap Delete App. It's the red text at the bottom of the app info screen. This displays a confirmation pop-up. Alternatively, you can tap Offload App on the app info screen. This deletes the app but keeps all the app data in case you want to reinstall it again at a later date.
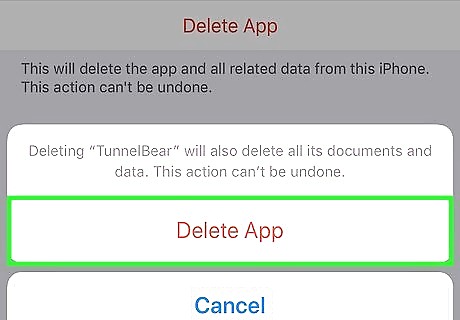
Tap Delete App. It's the red text in the confirmation pop-up. This confirms that you want to delete the app and deletes it. Do this for all apps you no longer use to free up as much storage space as possible.
Deleting Photos and Videos to Clear Up Storage Space
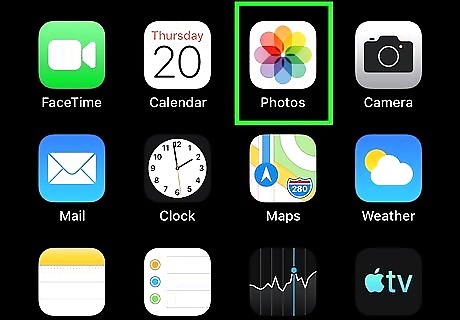
Open Photos. It's the app that has an icon that resembles a flower with different colored pedals.
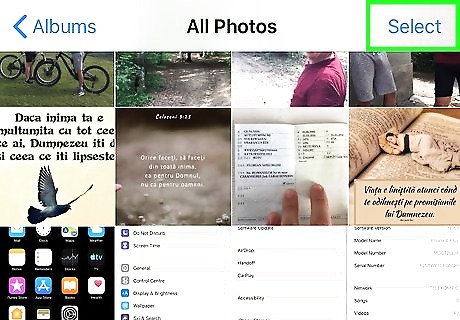
Tap Select. It's in the upper-right corner of the Photos apps.
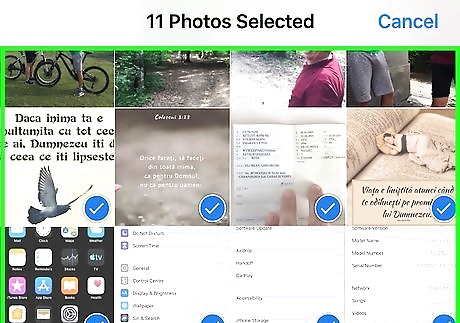
Tap all the photos and videos you want to delete. A blue checkmark icon will appear in the lower-right corner of the image thumbnail. This indicates that the photo or video has been selected. Alternatively, you can tap Select next to the date. This selects all the videos and photos that were added on that date. You can also tap the "Albums" tab at the bottom of the screen and browse images by folder or media type.
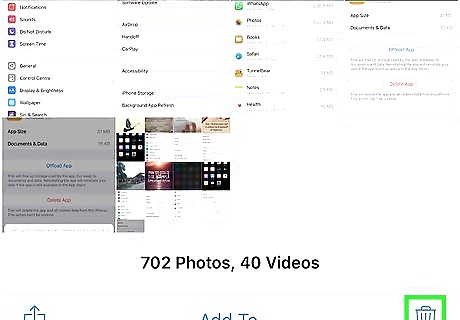
Tap the icon that resembles a trashcan. It's in the upper-left corner of the photos app. This displays a confirmation pop-up.
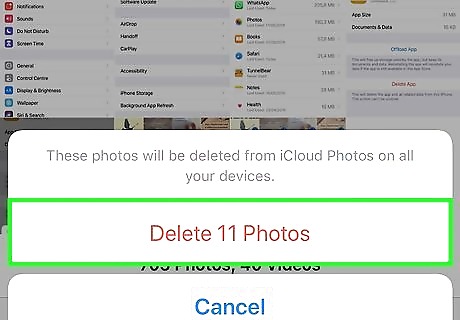
Tap Delete Items. It's the red text in the pop-up.
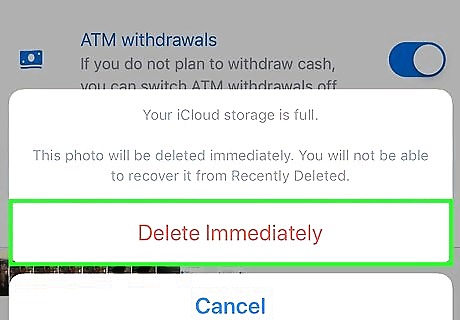
Tap Delete Items Immediately. It's the red text in the pop-up. The pop-up warns you that you will not be able to recover these items once they are deleted. Tapping this button permanently deletes all the photos and videos you selected.
Deleting Music and Podcasts to Clear Up Storage Space
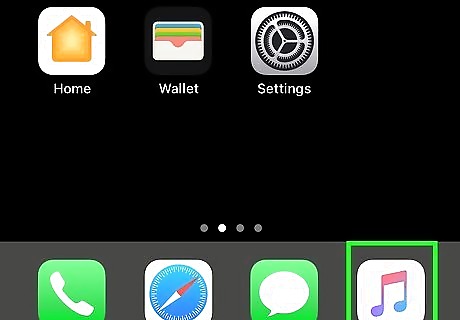
Open the Music or Podcast app. Both apps have a very similar layout. The Music app has a white icon with a multicolored music note. The Podcast app has a purple icon with an icon that resembles a microphone.

Tap the Library tab. It's the first tab at the bottom of the screen. It has an icon that resembles a stack of papers.
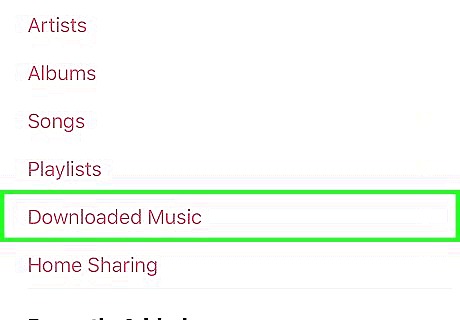
Tap Downloaded Music or Downloaded Episodes. It's the last option in the Library menu. This displays a list of songs and apps you have downloaded on your iPhone or iPad.

Tap and hold a song or podcast episode. This displays pop-up menu over the song or episode.
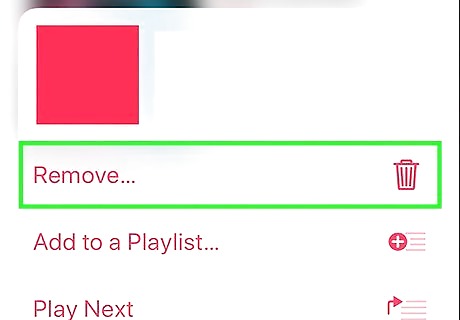
Tap Remove. This displays a list of confirmation pop-up.
Tap Remove Download. It's the first option in the pop-up. This removes the downloaded song or episode from your iPhone or iPad. Repeat for all songs or podcast episodes you want to delete.
Deleting Files to Clear Up Storage Space
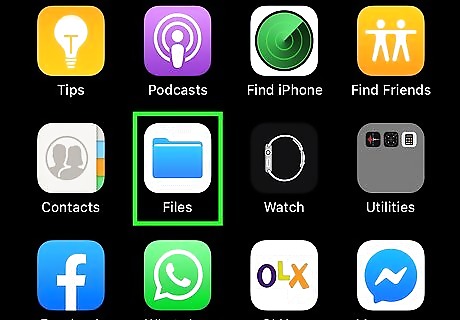
Open Files iPhone Files App. It's the app that has an icon of a blue folder. It's usually found in the Dock at the bottom of your home screen.
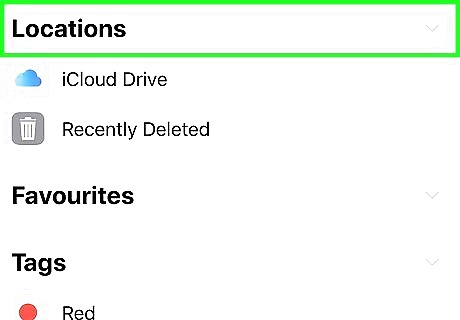
Tap Locations. It's the button in the upper-left corner of the Files app. This displays the Locations menu to the left.
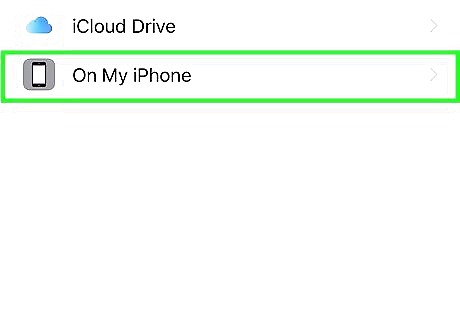
Tap On My iPhone. It's the second option in the Locations menu. This displays your iPhone's internal storage.
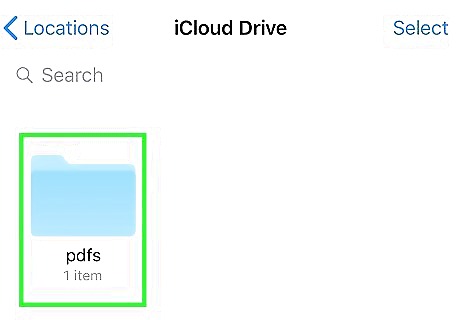
Tap an app folder. The apps you have on your iPhone or iPad have their own folder. Tap the folder for the app that has files you want to delete. Media players and video editor apps are likely to have the largest files. Some apps have a sub-folder called "Files" or "Downloads". If you see either of these folders, tap them to open them.
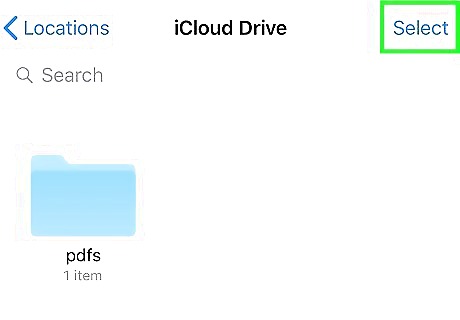
Tap Select. It's the blue text in the upper-right corner. This displays a circular checkbox next to all the files and subfolders in the folder.
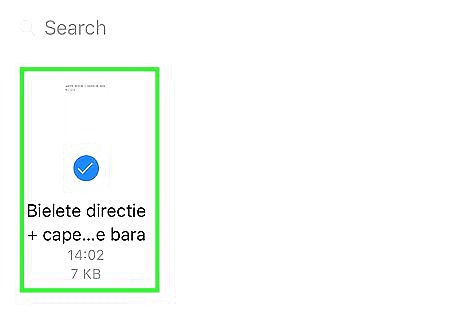
Tap all the files and folders you want to delete. This displays a checkmark icon in the radial button next to the file or folder. This indicates the file or folder is selected.
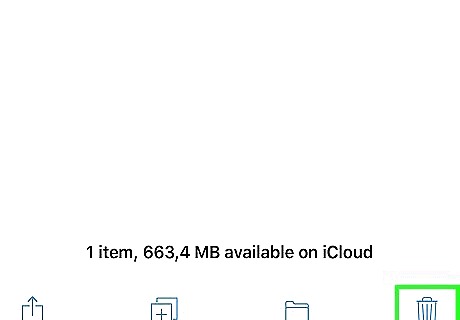
Tap Delete. It's the blue text in the lower-right corner. This deletes all files and folders you selected. Go through each app folder in your iPhone or iPad storage and use this method to delete any files you do not want.
Clearing the iPhone’s Storage Space
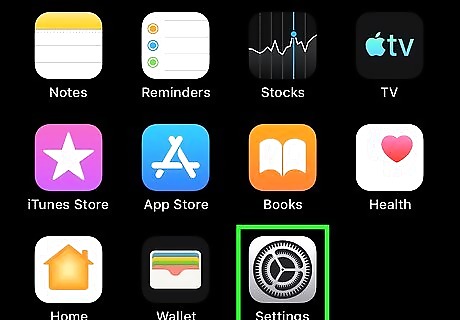
Go to your iPhone’s Settings menu iPhone Settings App Icon. From the home screen, tap the gear icon application to open iPhone’s general settings menu. This is where all the customizable options can be found. Warning: This will erase everything on your iPhone, including your apps, app data, photos, videos, and audio files. Make sure your phone is backed up and only use this as a last resort.
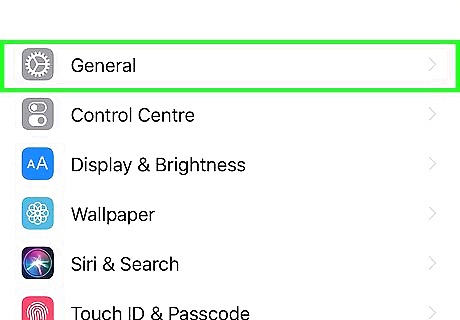
Tap General. It's next to an icon that resembles a gear. This displays your iPhone's General menu, where you can adjust the general settings.
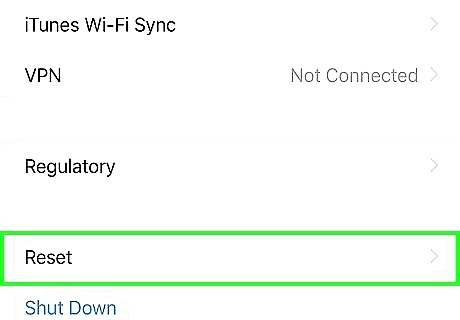
Tap Reset. It's the second option from the bottom of the General menu.
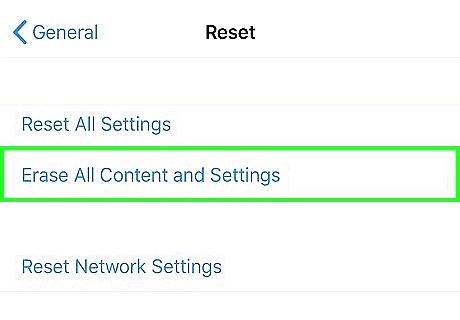
Tap Erase All Content & Settings. It's the second option in the Reset menu. This displays two options.
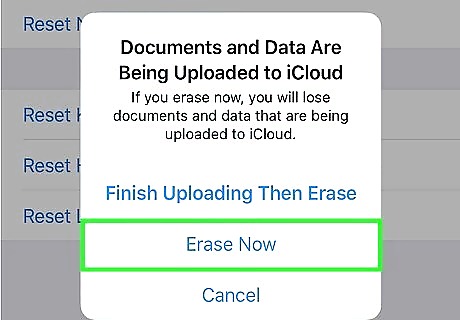
Tap Backup Then Erase or Erase Now. If you want to back up your iPhone or iPad so you can restore it later on, tap Backup Then Erase. It may take a while for your iPhone to backup. If you just want to erase your iPhone, tap Erase Now.
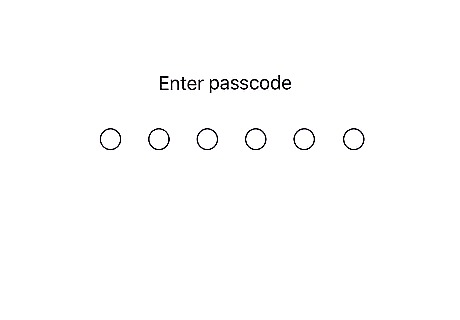
Enter your Passcode. Before you erase your iPhone or iPad, you need to enter the passcode for your iPhone or iPad.
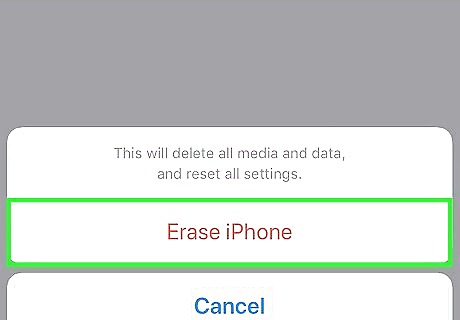
Tap Erase iPhone. It's the red text at the bottom of the screen. This confirms that you want to erase your iPhone or iPad and erases all the content on your iPhone.
Clearing your iPhone's RAM
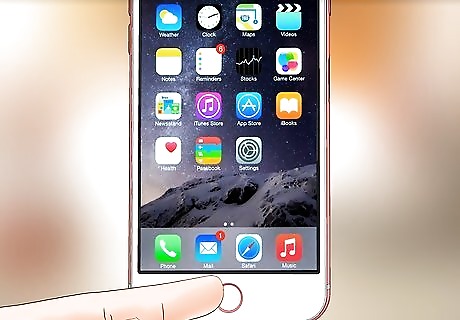
Unlock your phone. To unlock your phone, press the home button below your screen. Then enter your passcode or Touch ID. You should see your home screen or an app that is running.
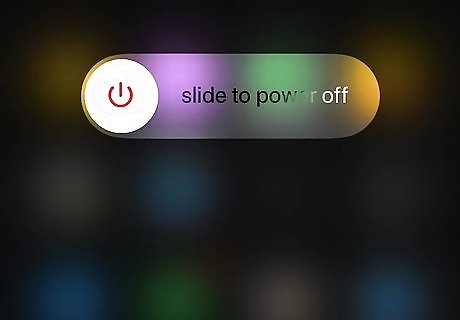
Press and hold the power button. It's on the upper-right shoulder of your iPhone or iPad. Press and hold the button for a few seconds to display the "Slide to power off" screen.
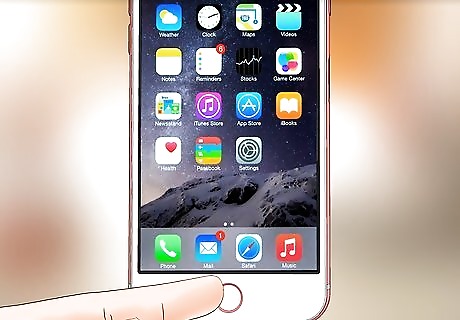
Press and hold your home button. When the "Side to power off" screen appears, press and hold the home button below your screen. After about 5 seconds, the screen will flash and return to your home screen. This clears your iPhone's RAM. To prevent you your phone's RAM from getting full, you can prevent apps from refreshing in the background.




Comments
0 comment