
Painting Your LPS Toy
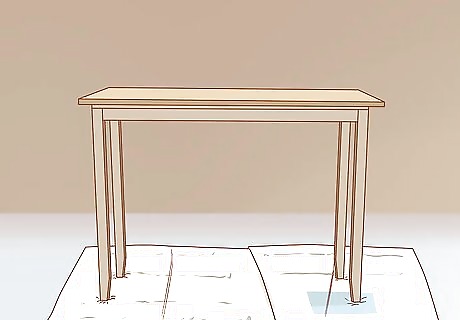
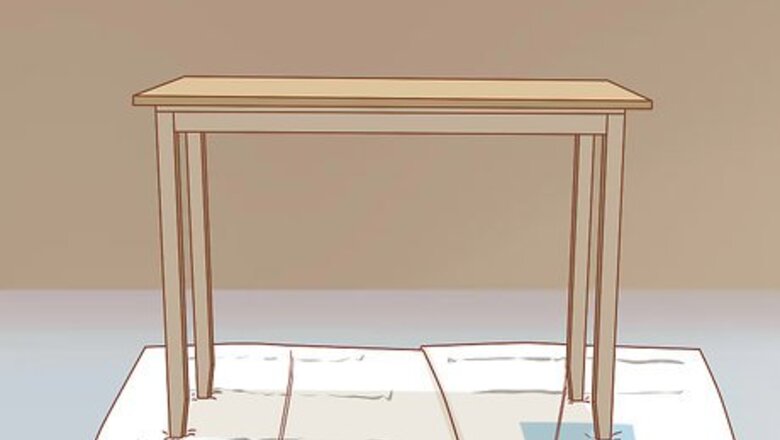
Set up your painting station. Lay down 2-3 layers of newspaper on a flat surface, like a table, and set out your painting supplies. You want to keep your crafting area protected, since acrylic paints can stain.
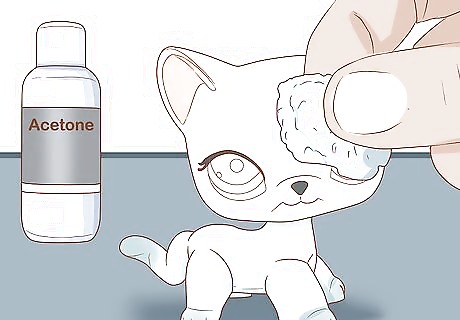
Remove any existing paint with acetone. Pure acetone is the best way to remove your LPS toy’s current paint and give you a blank canvas to start customizing. Wet a cotton ball or one corner of a washcloth with it and rub it against your LPS toy, pressing down firmly. Continue wetting your washcloth and removing the paint until your LPS toy is down to its plain base coat. You can also paint the LPS in white acrylic paint if you don't have acetone but this will take a bit longer. Always wash the pet before continuing, as the acetone can also ruin the paint. Wear a mask to prevent breathing in any dangerous fumes. Don’t try to take the paint off with nail polish remover. It will smear the paint instead of taking it off. Don't use acetone on McDonald's LPS. They're made of a type of plastic that dissolves in acetone.Warning: Acetone is highly flammable. Only use it with adult supervision and never put it near heat, like a microwave or oven.

Squirt out some acrylic paint in your desired color. Acrylic paint won’t smear and is easy to find in most craft stores! Pour out a small, coin-sized amount onto a paper plate or napkin. You’ll only be applying in thin layers, so you don’t want to pour out too much. You can use a matte color for a solid look, or try metallic for a bit of shine. Don’t use sharpie markers or nail polish to paint your LPS toy. Sharpies can smear and stain, while nail polish will flake off after a few weeks.
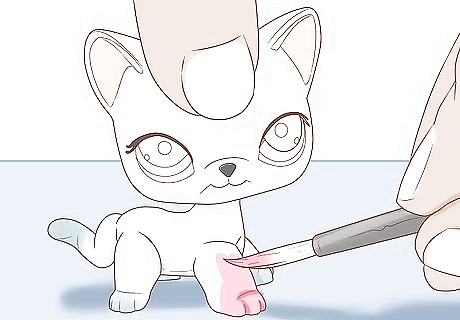
Start painting at the bottom of the toy with a thin paintbrush. Dip a small, thin paintbrush into your paint, getting just a little on the bristles. Hold your LPS toy by the top and start painting on the feet and legs, going from front to back. Use smooth brush strokes and paint in thin coats so it doesn’t clump and takes less time to dry. Starting at the feet will help them dry first, so you can set down the toy to paint the head. Cool LPS Toy Paint Designs to Try Stripes Rainbow pattern Polka dots Cute designs, like flowers or vines A life-like style, like a real dog, cat, etc.
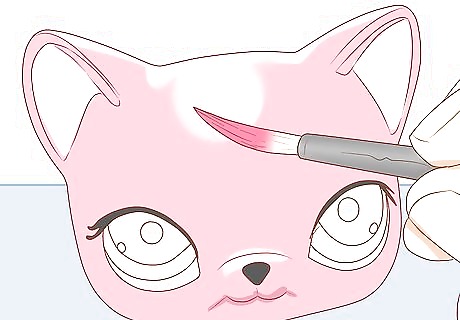
Continue to your toy’s head, then let it dry and paint a second coat. Continue painting in a smooth, thin layer until you get to the top. Let the paint dry for as long as the instructions specify, then paint on a second layer to neaten up and make the color bolder. If you’re painting with different colors, feel free to switch while you’re painting your first and second layers! Just try to use a different paintbrush for each color, or wash the brush thoroughly with water before using it for a new color. If your paint still isn’t as neat or bright as you want it, add a third layer.
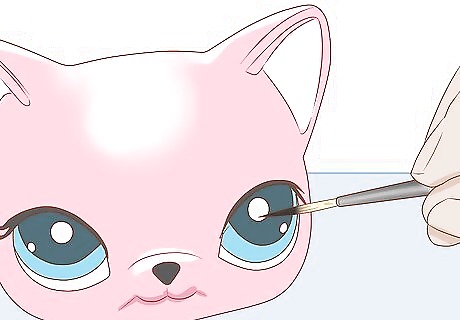
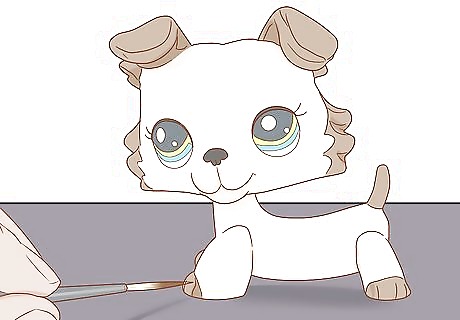
Paint small details and designs last. Once you’ve completed the base layers of your paint, go back and add any last decorations. You might want to outline the eyes, eyelashes, lips, nose, paws, or tail in black or another color. This is also the time to add fun decorations like polka dots, tiger stripes, or anything else you want to try! Don’t worry if you smeared into any unwanted areas. Simply wait for it to dry, then paint over it with the correct color. Acrylic paint is thick enough that the bottom color won’t show through.
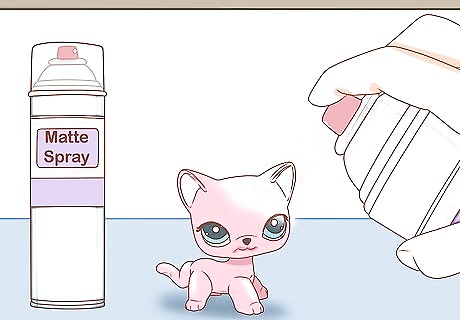
Use a spray sealant to make your LPS toy’s custom look last. Once you’re happy with your LPS toy’s new paint job, let it dry fully for as long as the instructions say. Then, lay it flat on your newspaper base and spray it with a clear sealant product. Let it dry as specified in the instructions, then turn your LPS toy over and spray the back as well. For a flat finish, choose a matte spray. If you want a shinier look, go with a glossy spray. Do not use a nail polish clear coat for a sealant or it will smear the paint rather than sealing it.
Adding Fun Decorations
Paint over nail art stencils for cute, easy designs. Nail art stencils are tiny, making them the perfect tools to add cute details to your LPS toy! Choose a stencil from a nail art kit and stick it onto your toy, then use a small paintbrush to paint over the design in a thin layer. Let it dry, then carefully peel off the stencil. Use acrylic paint, which will last the longest and look the best on your toy. You can find nail art kits in the beauty aisle of most big stores, or online.

Stick on small stickers to give your LPS toy a little extra detail. If you have a blank spot on your LPS toy and don’t want to do any more painting, stickers are a great option! Choose a tiny one in any design you want, then carefully stick it on. Make sure you know exactly where you want to put it, since you probably won’t be able to peel it back off once it’s on. You can use regular crafting stickers or nail stickers, which are even smaller.

Sprinkle or paint on a little glitter for a pretty shine. Try sprinkling on just a bit of glitter while your paint is still drying for a playful, random look. You can also place little sparkles on one by one in small areas, like around your LPS toy’s eyes or paws. For even more accuracy, try using a glitter paint or glue.
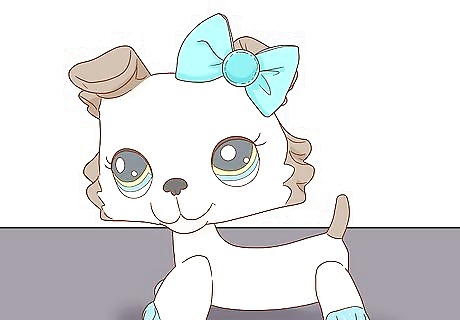
Add little bows on your LPS toy’s ears with colorful ribbons. You can tie a small bow with a pretty ribbon, then use super glue to attach it to your LPS toy’s ears or head. You can also tie on the bow directly, but it might look a little messier and shift around over time.
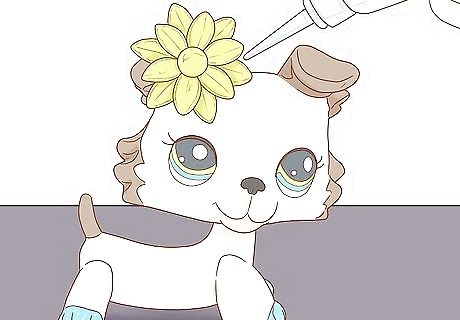
Give your LPS toy little props for a fun, unique addition. What else can you do to customize your LPS toy? The sky is the limit! Look around your house and see what kind of small accessories you can give your toy. You can attach them right to your LPS toy with superglue or lean them up against it on your shelf. Unique Prop Ideas for Your LPS Toy Glue pretty beads onto your LPS toy, like buttons. Make a witch or wizard LPS toy with a little twig as a wand. Make a school LPS toy by cutting out a small sheet of paper and making a pencil from a couple of toothpicks. Give your LPS toy a doll crown to help it become a prince or princess.

Make custom accessories like tails with epoxy clay. Tools like epoxy clay are a great way to get creative with colorful, permanent accessories. You can make cool additions like hats, earrings, or even tails! Choose a clay color and mold away, attaching it to your LPS toy when you’re done and letting it sit for 24 hours to dry. To create a unique mermaid tail for your LPS toy, first ask your parents to help cutting off the back legs with a sharp knife. Mold your epoxy clay in a swooping tail, about 1 in (2.5 cm) long. Let it dry for 24 hours, then mold a little mermaid fin for the end. Let it dry afterwards. If you want wings for your LPS toy do the same thing!!


Comments
0 comment