views
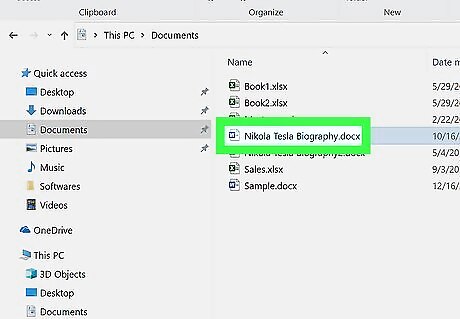
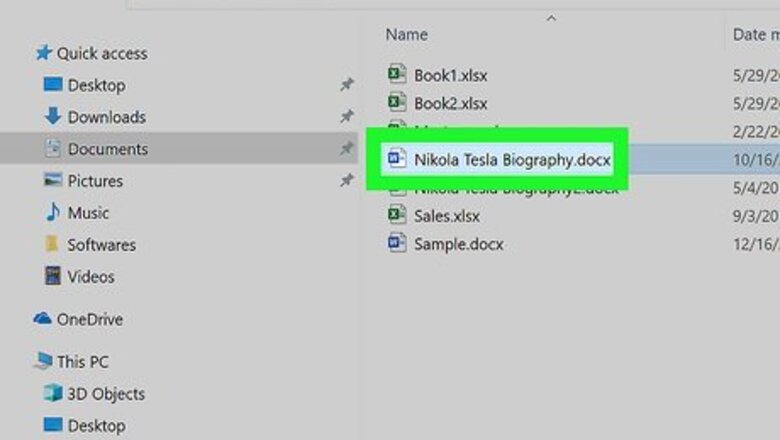
Open the document you want to edit. Find and double-click the document to open it in your word processor program. If your document has a lot of complex formatting, you may want to save a recovery version of it before you start deleting section breaks
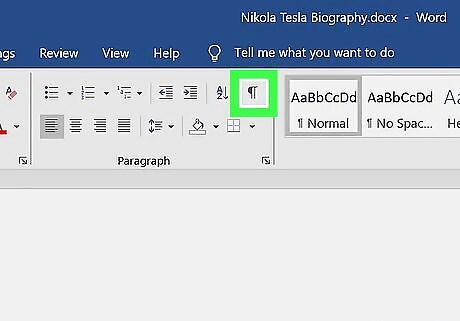
Find and click the ¶ button on the toolbar. You can usually find this button on the toolbar at the top of your document in any word processor. It will show the non-printing characters on the document. This will only enable the non-printing characters in the document, such as paragraphs marks, page breaks and section breaks. This punctuation will not print out. In Microsoft Word, you can find it on the Home toolbar.
Place your cursor before the section break. A section break is usually shown as a horizontal line. Make sure you do this above the correct section break. Don't delete any page breaks you do want by mistake.
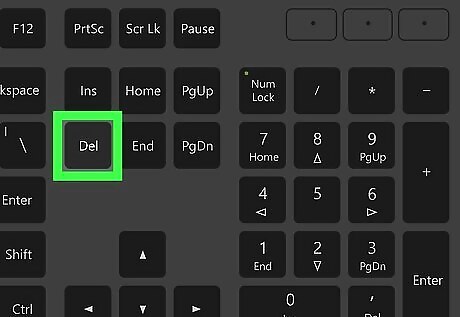
Press the Delete key on your keyboard. This will delete the selected section break from your document.




Comments
0 comment