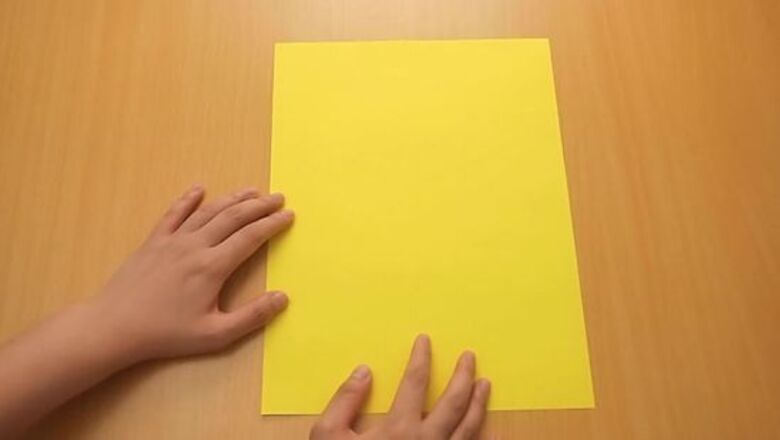
views
Steps
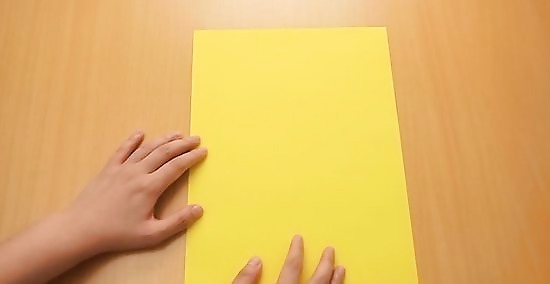
Orient the paper into portrait alignment. You can also find a range of square origami paper on Amazon.
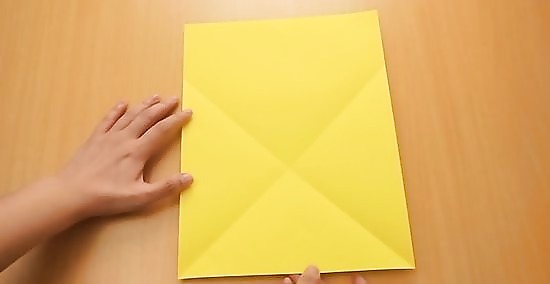
Fold the bottom right corner upward so that the bottom edge is aligned with the left edge, and unfold. Then, repeat for the left corner.
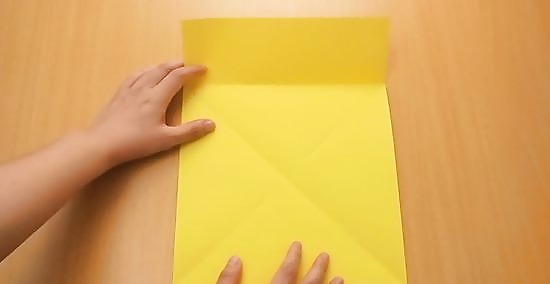
Fold the top section of the paper down along the horizontal line formed by the tops of the Step 2-3 creases, and unfold.
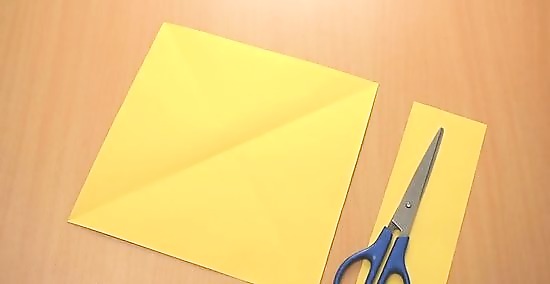
Cut along the Step 4 crease. Alternatively, lightly lick along the Step 4 crease and then carefully tear. You will not need the long rectangular strip.
The Water Bomb Base
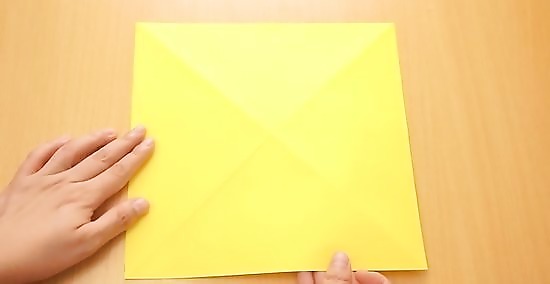
Flip the paper over so that the Step 2-3 creases from the previous section are facing down and the paper is somewhat convex.
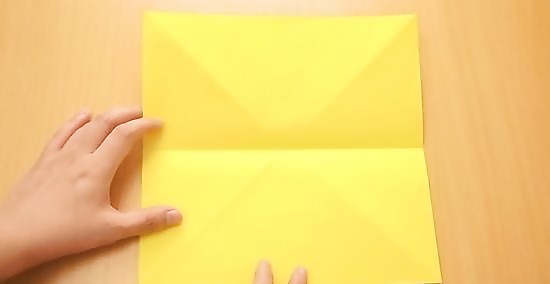
Fold the bottom edge to the top edge, and unfold.
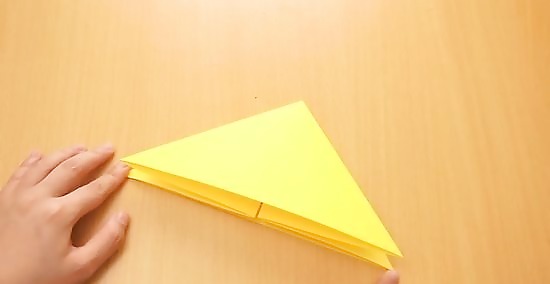
Push the left and right edges toward the center until they meet, forming a tent-like shape. Flatten the tent-like shape along the existing creases.
The Compressed Cube
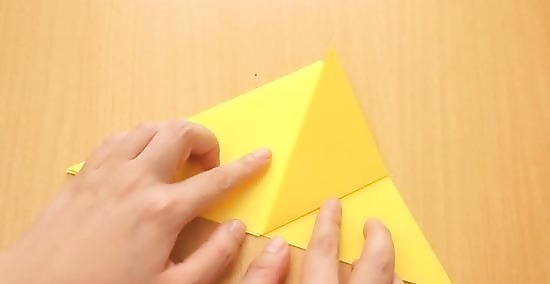
Fold the right vertex to the top vertex.
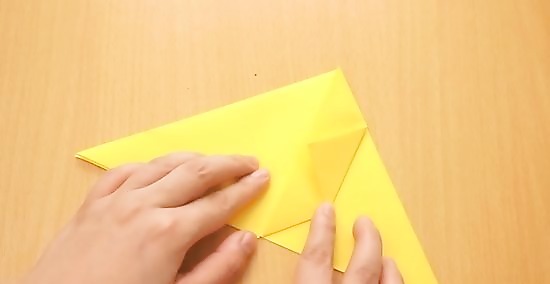
Fold the right vertex of the resulting triangle to the center line.
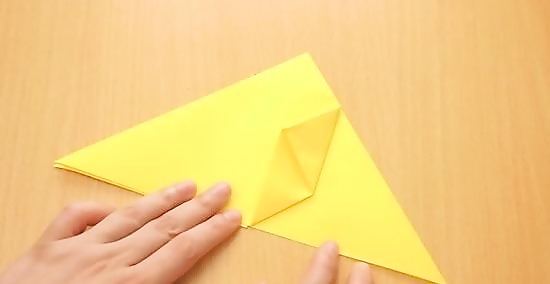
Insert the flap near the top vertex into the pocket along the top edge of the triangle formed in Step 3, and fold to secure.
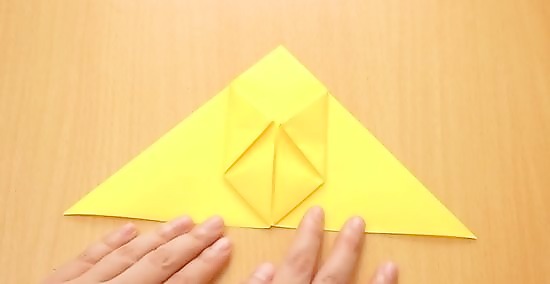
Repeat Steps 2-4 for the left side.
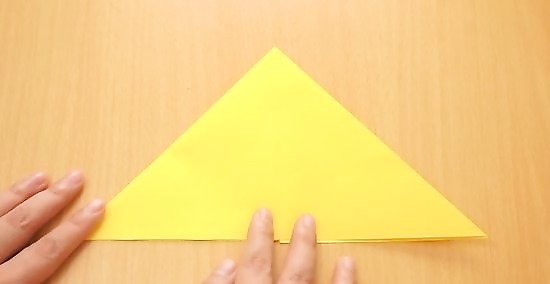
Flip the paper over.
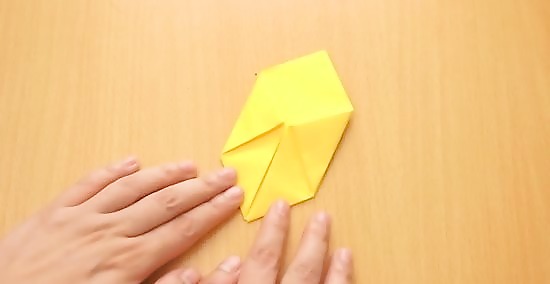
Repeat Steps 2-5 for the now-front face.
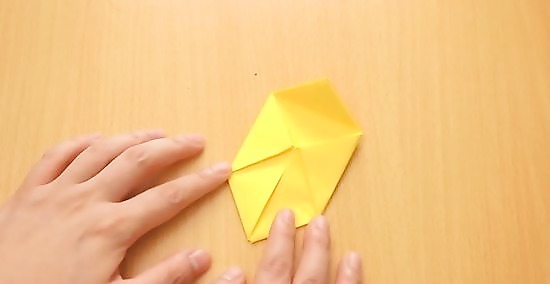
Fold the top triangular section down, and unfold.
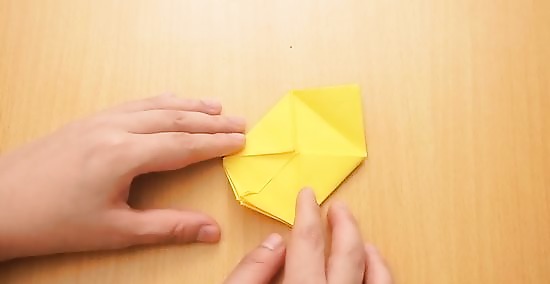
Fold the bottom triangular section up, and unfold.
The Magic Final Steps
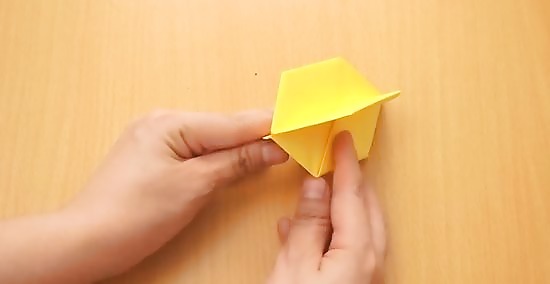
Hold the paper's bottom vertex and spread out the four edges so that they are perpendicular to each other.
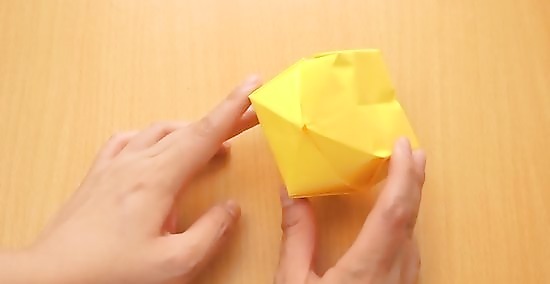
Blow into the hole at the bottom vertex until the cube takes shape.
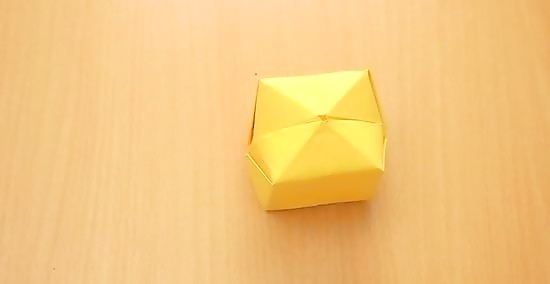
Finished.






Comments
0 comment