views
Choosing Concealer and Foundation
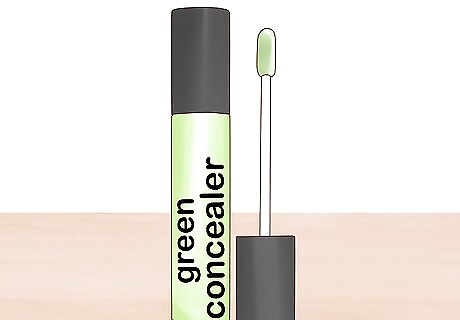
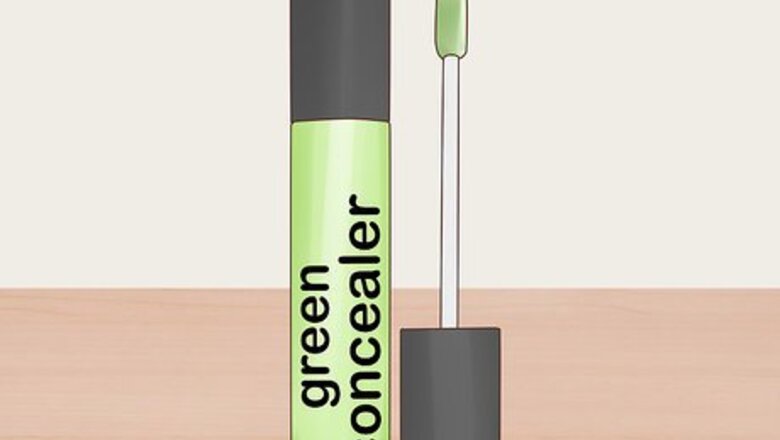
Choose a green-undertone concealer to neutralize redness. If your scars are red or pink, selecting a concealer color on the opposite end of the color wheel will make them look less inflamed. The concealer may look very green in the packaging, but it will turn into a flesh tone when applied. Most concealers of this type will advertise that they are “redness reducing.” Similarly, if your keloid scars are more yellowish, look for a concealer with violet undertones. If they're blue or purple, use a yellow- or orange-based concealer.
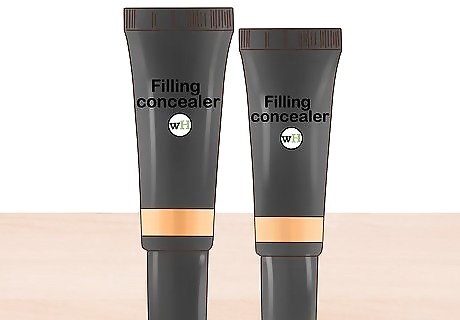
Go with a filling concealer if your keloid scars are heavily pitted. Unlike standard concealers, a filling formula is usually very sticky and slightly heavier in texture. It is designed to even out your skin to create a smoother surface. Filling concealers also come in green-undertones, so you can address any redness issues as well.
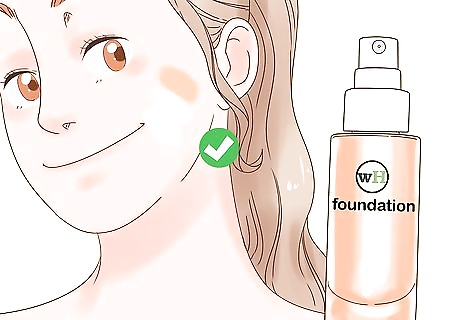
Select a foundation that closely matches your skin tone. It's very tempting to use a foundation that is lighter in tone, but that will only draw attention to the scarred area and make it stand out. Instead, test out a variety of foundations until you find one that blends seamlessly in with the surrounding skin. Test the color of a foundation on your jawline in natural light to select the best shade.
Applying Makeup to the Scarred Area
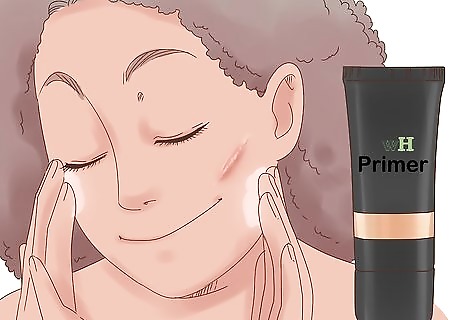
Rub a moisturizer then primer onto your clean skin. Wash your skin and then apply an oil-free lotion to any scarred skin and the surrounding area. This will help to keep your concealer in place and will smooth out any uneven skin. If your scar appears slightly shiny after you've applied the lotion, take a tissue and dab at it a few times. This should lessen any surface sheen. Apply a dime-sized amount of primer after your moisturizer to make your skin makeup ready.
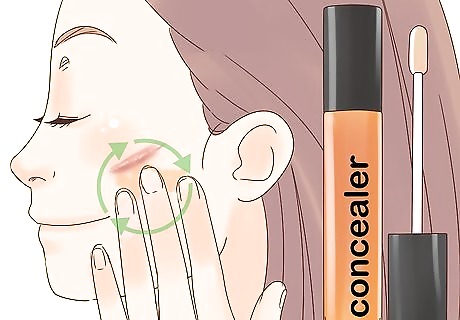
Use your fingertips to apply the concealer. Place a few drops of concealer into your palm and allow it to warm up for 1-2 minutes. Then, dab small amounts of the concealer on top of the scar. Feather your finger movements outward to spread the concealer to the surrounding skin. Patting the concealer into place will give you better coverage than if you wipe it over your skin. The heat from your fingertips can actually help to liquefy the concealer, creating a more unified look.
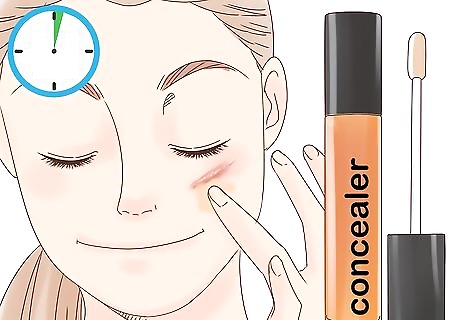
Apply another layer of concealer after 1-2 minutes. Keloid scars are often slightly pitted, so it may take a number of layers of makeup for them to fully even out. This is normal. After each drying period, assess the scar to see if there are any visibly pitted areas or uneven patches. Then, apply a bit of concealer on your fingertips to these areas.
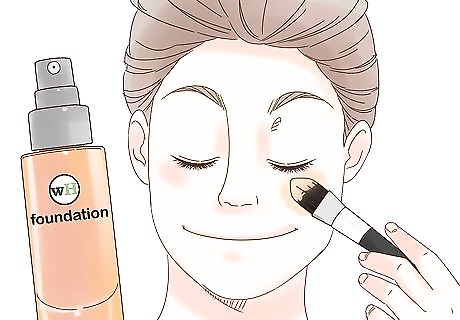
Apply a general coating of a foundation using a brush or sponge. Lightly touch your concealer to ensure it is dry to the touch. Dip your foundation brush into the liquid until just the tip is coated. Then, dab over the scarred skin and the surrounding areas. Continue re-coating the brush and dabbing until the skin is lightly and evenly covered.
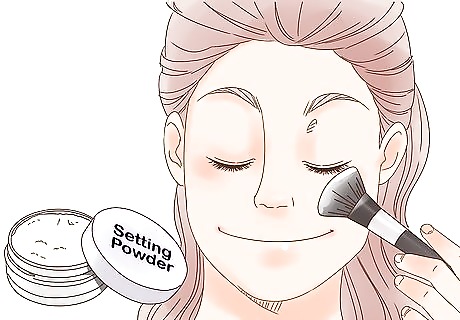
Press a puff firmly into your setting powder. This will let the powder evenly attach to the puff. Then, press the powder directly over the scarred area. The powder will help to set your concealer and keep it from fading away. An even application of powder also reduces the tonal differences between your scar and the surrounding skin. Many people like to use a large brush to apply setting powder. However, the powder doesn't always attach as well to uneven or scarred areas.
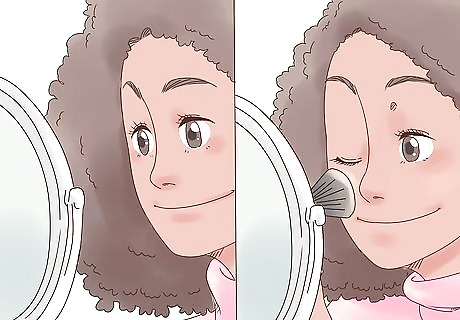
Check your makeup and reapply throughout the day. If your makeup appears to be fading away a bit or revealing too much of your scar, take a few moments to apply another layer of foundation and powder. If the makeup has faded away entirely, go ahead and start with concealer. If this is a problem, you might also consider testing out a few long-lasting makeup products.
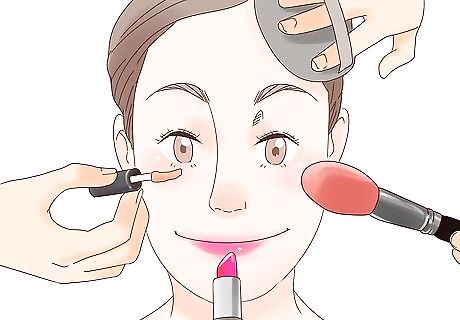
Keep practicing your makeup techniques. Test out using brushes, sponges, puffs, or your fingertips for makeup application. Experiment with different products in varying skin tones. When you have the time, add on extra makeup layers to see if the result looks better. Remember that you can always use makeup remover to take everything off and start fresh!
Exploring Other Options to Minimize Your Scars
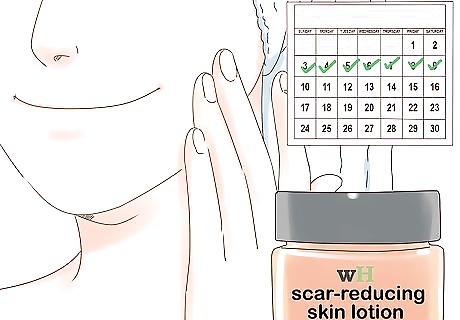
Apply a scar-reducing skin lotion at least once a day before bed. Look for one that contains vitamin C, quercetin, and petrolatum, as these ingredients help to heal skin quickly. It's even better if the lotion is designed to specifically reduce the redness of keloids or other scars.
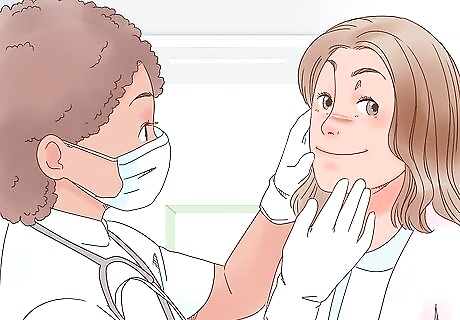
See a dermatologist. Make an appointment with your dermatologist to discuss your keloid scars and how to cover them up or remove them entirely. Your doctor might suggest a particular type of skin lotion or makeup products. They might also give you options for removal, such as surgery.
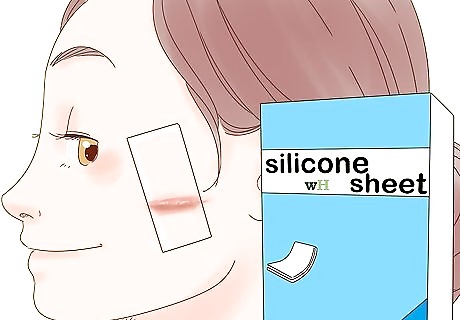
Cover the scarred area with a silicone sheet, gel, or liquid. The silicone in these products helps to lower collagen production, while moisturizing your skin. You can usually buy these over-the-counter, although it's a good idea to talk with your doctor before using them. You'll generally apply the silicone overnight for a series of weeks. Silicone treatment works best if you start using it as soon as you notice the scars forming.
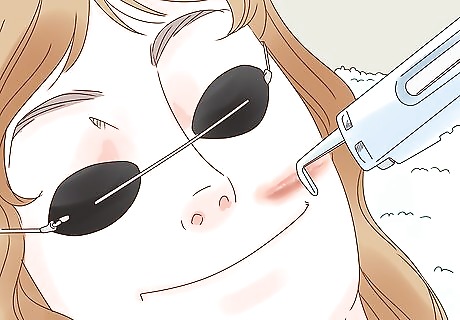
Agree to pulsed dye laser therapy for a quicker, more permanent solution. Your dermatologist performs this procedure by targeting a laser to the scar and surrounding skin. This application helps to minimize redness by reducing blood flow to the area. Most people require 2 or more treatments to fully remove a scar. The cost is also something to consider as each treatment can cost upwards of $250.


Comments
0 comment