views
What do I use to install a shelf in a shower corner?
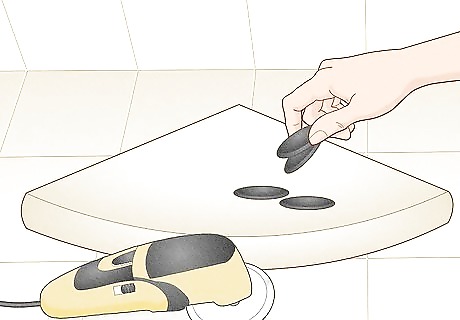
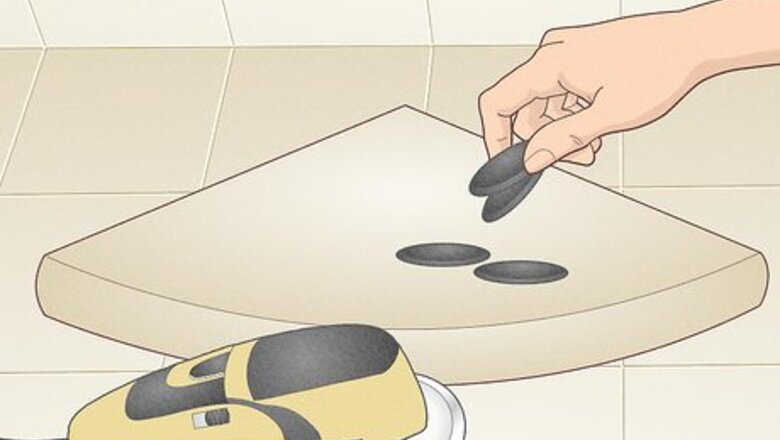
You’ll need a shelf, 4 anchors, and an angle grinder with a tile-cutting blade. Choose a floating shelf that’s cut to fit into a corner of your shower. Select at least 4 flat, disc-shaped anchors so they can help support the weight of the shelf. You’ll also need an angle grinder, which is a hand-held cutting tool with a rotating disc for a blade. Connect a blade designed for cutting tile, such as a diamond-tipped blade. You’ll also want safety glasses for when you use the angle grinder. Go with a corner shelf that’s cut and designed for showers. You can choose a tile, ceramic, or even a tempered glass shelf.
Where do you place a corner shower shelf?
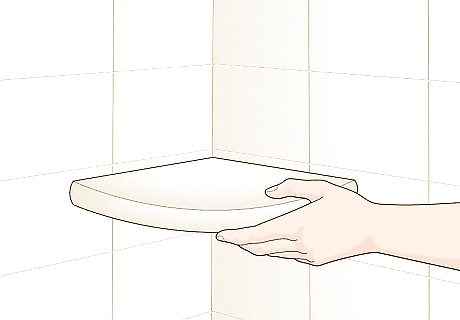
Choose a corner that will be most useful for you. Since you’ll likely be using your shelf to hold shower items such as shampoo, soap, and conditioner, use practicality to help guide your choice. Go with a corner that will make it easier to reach the items whenever you need them. For instance, if the corner to the left of the shower nozzle is most convenient for you, then that may be a good choice.
How high should a corner shelf be in a shower?
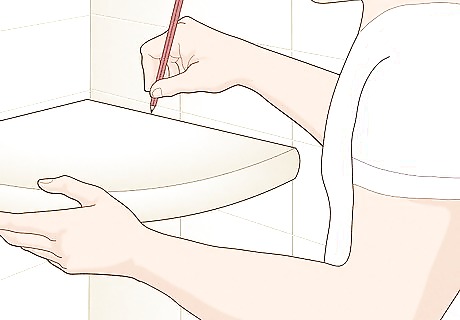
Your shelf should be at about chest-height. A good rule of thumb for choosing shower shelf height is to place it right around the chest level of the average user of the shower. If everyone in your home is tall, you may want to place it so it’s easy for everyone to access, for instance. However, you can also install a lower shelf about 1 foot (0.30 m) or so from the shower floor, which may be useful for items such as shaving cream and razors.
How do you attach a corner shelf to an existing tile shower?
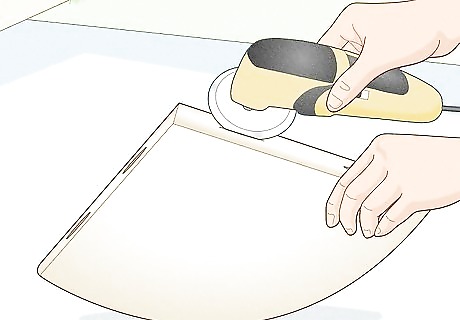
Start by marking an even line in your shower corner. Use a ruler or tape measure to measure where you want to place your shelf. Use a marker to mark a line for where you need to cut the tile to install your anchors. Place a level against the wall on both sides and line it up with your marked lines to make sure they’re even and level. You could stick some painter’s tape on the wall and mark on top of it if you don’t want to mark the tile.
Then, cut 4 slots for your anchors with an angle grinder. Fit your angle grinder with a tile-cutting blade so it’s able to easily penetrate the surface. Hold the blade so it’s parallel with the floor and cut into the wall deep enough to fit half of your anchor. Cut the 4 slots so they’re evenly spaced. Alternatively, you could drill four holes with masonry bits or tile bits, and place wall anchors into those drilled holes.
Finally, apply adhesive and install the anchors and shelf. Insert an anchor into each of the slots you cut in the tile so they’re nice and secure. Take a strong adhesive such as super glue or Gorilla Glue and apply a line into the groove of the shelf. Fit the shelf onto the anchors and push it into place so it’s flush against the wall. Once the glue dries, you’re good to go!
Can you install a shower corner shelf without cutting the tile?
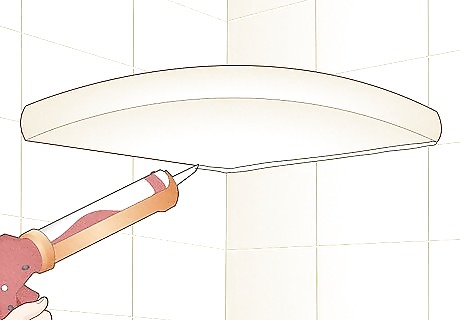
Yes, you can use double-sided tape and 2-part epoxy to hang the shelf. While it may not be as sturdy as a shelf with anchors cut into the tile, you can easily and quickly install a floating shelf in the corner of your shower. Take some double-sided tape and attach it to the edge of the shelf. Then, mix 2-part epoxy and spread a layer over the edge of the shelf. Align the shelf so it’s level and press it against the corner of your shower. Hold the shelf in place for about 5 minutes to allow the epoxy to bond. About 30 minutes after drying, you can cut away any excess epoxy with a utility knife or razor blade.
Allow the epoxy to dry overnight, then caulk the edge of the shelf. Leave the shelf for at least 8 hours so the epoxy has a chance to really cure and harden. Then, take some caulk and apply a thin line to the edge of the shelf. Wipe away any excess with a clean cloth and allow the caulk to fully dry according to the directions on the packaging. Wait until the caulk is dry before you use the shower.
How do I add a corner shelf to a stone shower?
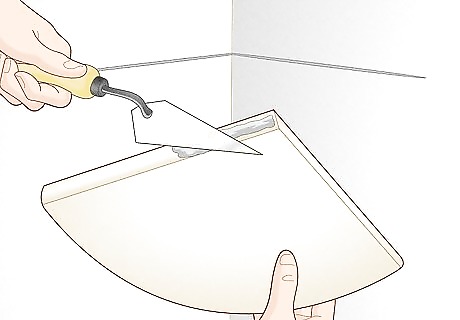
You can cut a slot for the shelf and use thinset to hold it in place. Thinset is an adhesive mortar that’s also water-resistant, making it great for use in a shower. Mark the outline of your shelf against the corner of the stone wall in your shower. Use an angle grinder fitted with a stone-cutting blade to cut along the lines you mark and create a slot that will hold your shelf. Apply a layer of thinset to the edge of your shelf, slide the shelf into the slot you cut, and allow the thinset to fully dry. Check the packaging of the thinset for specific drying times.




Comments
0 comment