views
Racing Car Cake
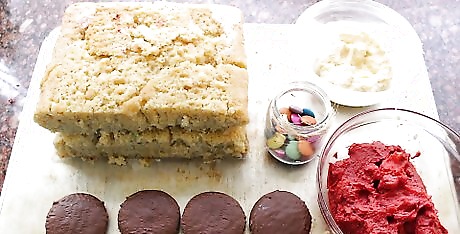
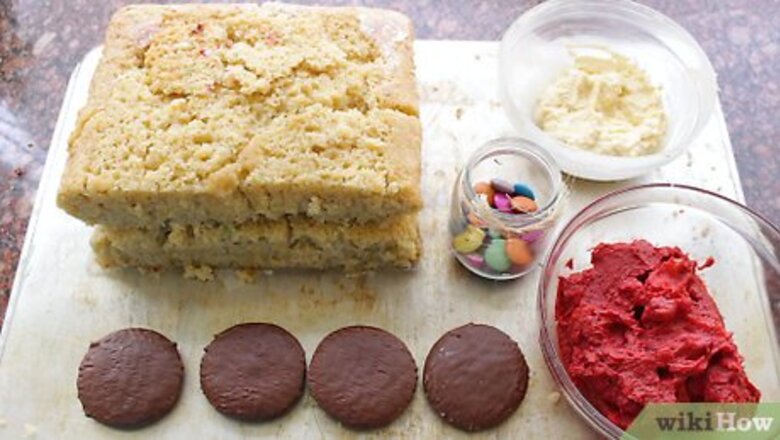
Gather the ingredients. You will need: 1 rectangular vanilla or chocolate cake (bought or homemade) (around 30cm/1" in length) 5 x round cookies (biscuits), chocolate coated Smarties or similar candy-coated round candies Butter icing/frosting (red and white) Length of black licorice/liquorice (soft round lengths that are easily bent)
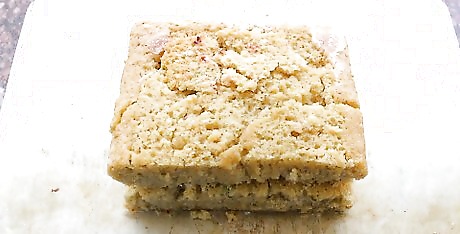
Place the cake onto a flat surface. The cake is the body of the car and you only need to shape it at the ends.
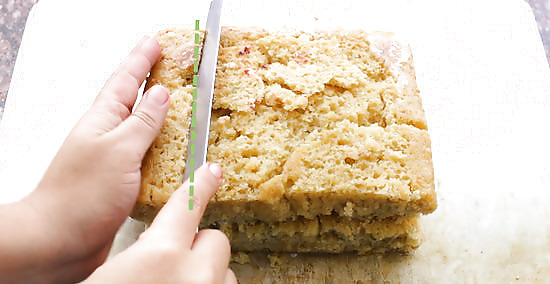
Cut a sloped triangle from one end of the cake. This becomes the back end of the car. Start the slope about 5cm/2.5 inches from the end.
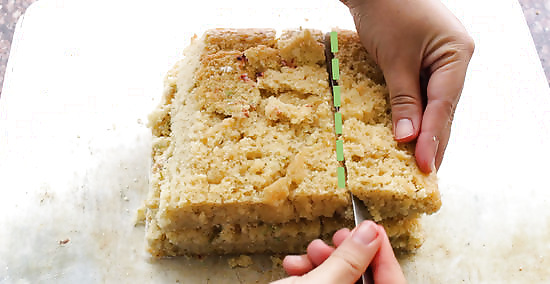
Cut a sloped wedge from the front (other) end. This should be cut as a slope to halfway of the middle of the cake, then cut straight across (horizontally) to the end of the cake.
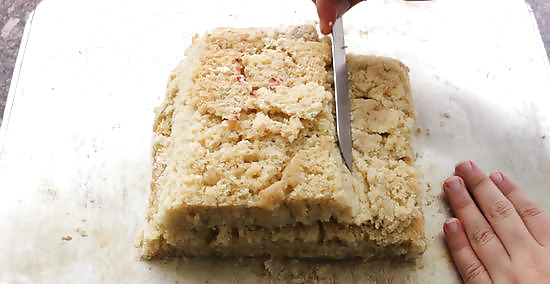
Cut in about 5cm/2.5 inches from the end.
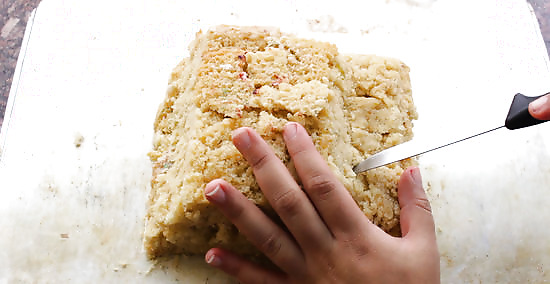
Mark window shapes on the cake. Use the tip of a sharp knife to carve out a window at the front of the cake (an oval is ideal) and small round or square circles, two each per side of the car. Leave the back windowless, as there's a cheat for this one.
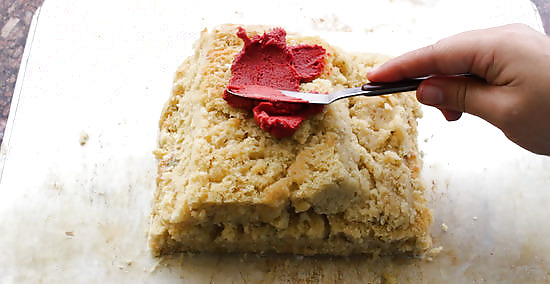
Spread the red icing or frosting over all of the cake except for the window spaces just carved out. Pop the whole cake into the freezer. This will freeze the red icing in place.
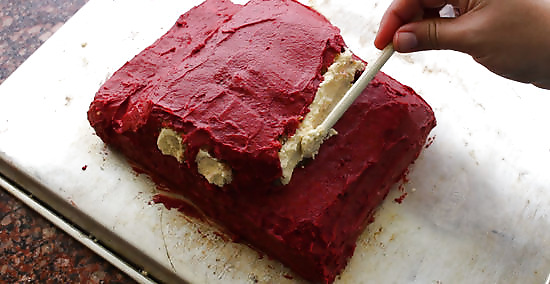
Repeat with the white icing or frosting. This time, spread it only in the window spaces. Once again, place in the freezer for a few minutes to harden. Do not mix the white and red together or you'll cause the red to bleed into the white. The gaps between the two will be taken care of by the licorice.
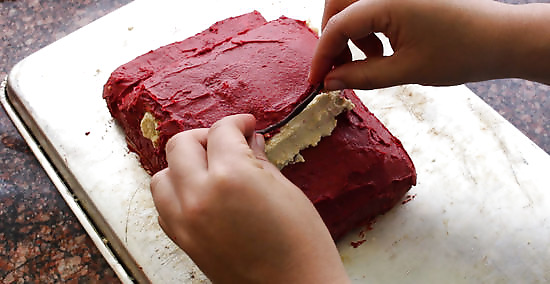
Line the areas around the windows with the licorice lengths. To attach, add dots of icing to the back parts first and press in place. Cut two small lengths and attach at even spaces just under the top line of licorice on the front window. These serve as the visors of the car. Cut two small lengths. Place diagonally across the front window, upwards, to look like windshield or windscreen wipers in use.
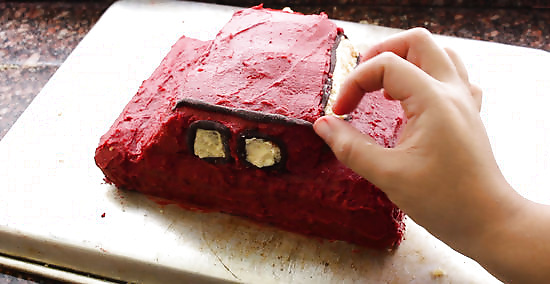
Outline other areas of the car with licorice lengths. These portions make the car look realistic, so work with care. If you cannot use licorice, use any other sort of bendable candy length. If you can't find candy, use a dark colored icing or frosting, and pipe in place. Run a length each side of the car from the front the very back of the car. This should be at the edge of the cake on each side and provides the top of the car doors, as well as defining the car. Add a small length down the middle of each side window. This makes the doors. Run a length across the front end of the cake. This marks the end of the hood or bonnet. Run a length around the entire base of the car. This just neatens it up and gives definition.
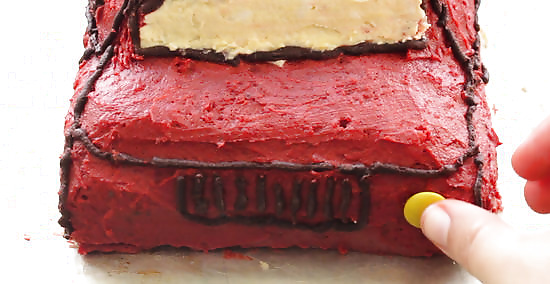
Add lights. Use yellow or orange Smarties (or similar) to make lights at the front of the car. Use Lifesavers or similar hard round candy with a center hole, to form lower lights under the Smartie lights.
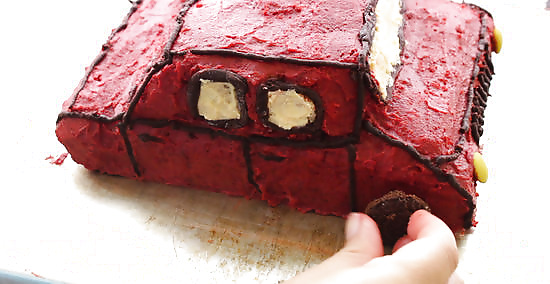
Add the wheels. Use the icing or frosting to glue on the chocolate coated cookies as wheels. Place two at the front end on the side and two at the back end on the side. Add the last one on the back slope. Instead of a window, this car has a tire (tyre) on the back.
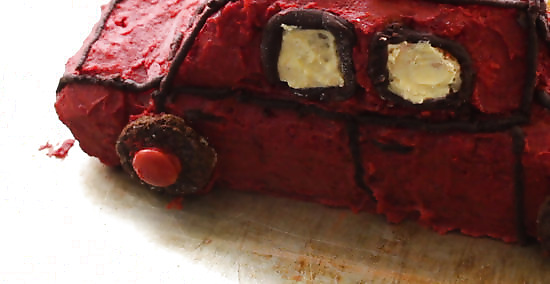
Finish the wheels with a red Smartie frosted to the exact center of each wheel. This gives it the look of a fancy wheel with hub caps.
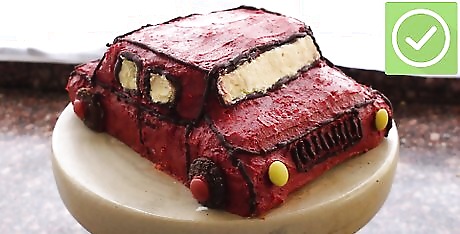
Place on a cake board for serving on the table. The cake is now ready to go on display.
Cake with Car Topper
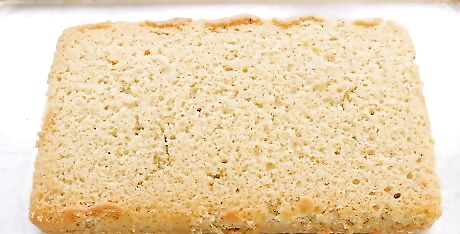
Make a square, round or rectangular cake. It can be any flavor but be sure to choose what the party person likes best. The cake should be large enough to handle a decent amount of decorating on top, as well as providing enough slices for the guests you'll have at the party.
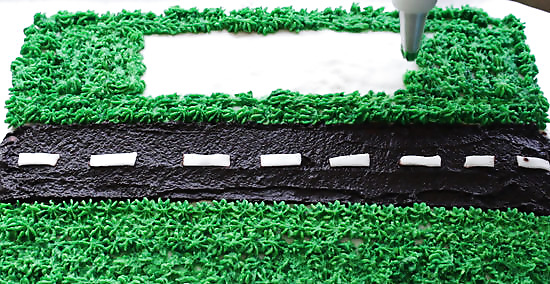
Choose a cake topper decoration. There are a few ways you can decorate this car cake: Frosting the shape and design of a car across the top of the cake. Use differently colored frosting to denote the car, its features and the background. Features can also be made using candies, etc. Use royal icing to cover the cake. Make a road of black royal icing; have it curving across the cake. Add a model car on the road; either made from sugar paste or similar edible modeling food, or chocolate, or a clean plastic model car, which is removed once the cake is cut. Frost the whole cake. Make a border of clean plastic toy cars or foil-wrapped chocolate cars around the cake. When the cake is cut, each guest also gets to keep the car that came with his or her piece of cake.
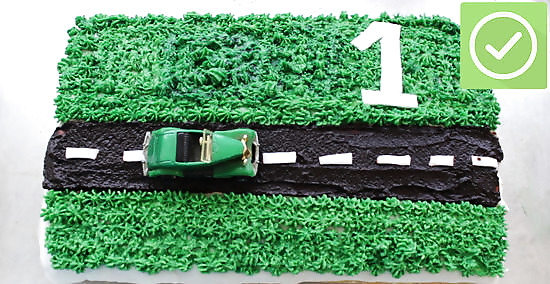
Add car-related items. For example, add Smarties in traffic light formation and colors; add road signs and barriers (use clean model toys); and even add some plastic people to the top. Frost the cake. Make a giant number for the child's age and use this as the road. Add cars to the number road, either edible or plastic ones. Include racing flags for a finish line.





Comments
0 comment