

Creating a Digital Kit with Software

Listen to music you like to determine the sound you want. The sound you pick for your kit is very personal and depends on what type of music you want to make. Listening to other music is the best way to get ideas. Focus on the genres that you want to play and pay particular attention to the drum tones and patterns. This way, you’ll already have an idea of the sound you want. Rock music usually uses a crisper, acoustic-sounding drum tone to replicate what a live band might sound like. Jazz drums usually sound a bit thin with lots of treble so they don’t overpower the rest of the band. Dubstep, R&B, or rap music uses very deep bass sound and a more synthetic tone.
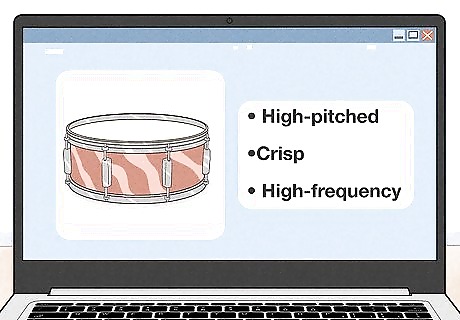
Pick a high-pitched snare that cuts through the mix. On a drum kit, the snare should produce a crisp, high-frequency tone that you can hear over the rest of the music. Building the rest of your kit around this tone is a good idea because you can complement that sound with more low or mid-range tones from the other drums. Keep that in mind when you pick your snare sound. The best rock snare tones produce a prominent “crack” sound, which really helps them cut through the rest of the band. A jazz snare is usually a little flatter and looser than a rock tone. This helps accentuate drum rolls and ghost notes. Rap, R&B, and dubstep tracks often use different tones for the snare, like snaps or claps. This works fine if this is the sound you’re going for. Just make sure the tone is easy to hear. Some producers layer the snare drum, meaning they use multiples tones. Using a high-frequency snare with a lower tone on top of it gives you a stronger sound.
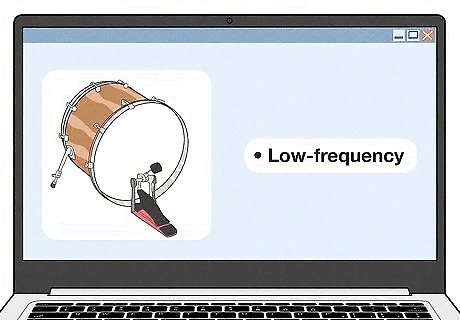
Choose a low-end bass drum sound. The bass drum is the opposite of the snare. It covers the low-end of the drum kit, so pick a tone with a good, low-frequency sound. You should be able to hear the bass drum clearly, but it shouldn’t be so loud that it overpowers everything. The amount of “boom” you’d want from your bass drum depends on the genre you’re going for. Rock, R&B, and dubstep music often use very heavy bass sounds that are the most prominent part of the kit. Punk, metal, or jazz music usually uses a more subdued bass drum that doesn’t overpower everything else.

Add cymbal tones that don’t overpower the rest of the kit. You might not think too much about your cymbal sound, but it’s a very important part of the kit. The hi-hat and ride cymbal ideally produce quick, “click” sounds for a consistent beat. The crash cymbal accentuates certain beats, so make it prominent. Cymbal tones are similar across genres, but you can make some variations if you prefer. Rock music usually uses a more pronounced and sustained cymbal sound to accentuate certain beats, while jazz and R&B usually doesn't make the cymbals as prominent. You can also mix in an open and closed hi-hat sound for more variety. An open hi-hat has more sustain and vibration, whereas a closed one only covers one beat. Balance the crash cymbal so it doesn’t cover all the other drums. Make it loud enough to stand out, but not so loud that it covers the rest of the band.
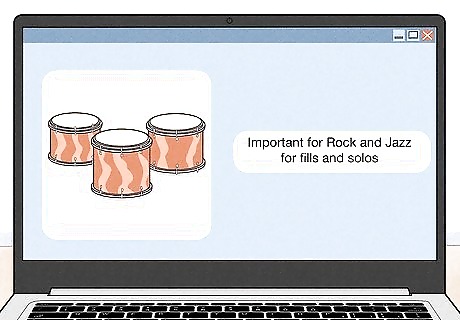
Mix in tom tones for more variety. Toms aren’t a crucial part of your drum kit, so you have a choice on whether or not you add them. Kits often have 2 or 3 toms, ranging from high-pitched to low-pitched. If you use toms, give them a mid- to low-frequency between the snare and bass pitch. This fills out the kit with more tones you can use. Toms are important for a rock or jazz kit for fills and solos. Rap and R&B music focuses more on the beat without flashy playing, so toms aren’t as important.
Making a Physical Kit from Household Items
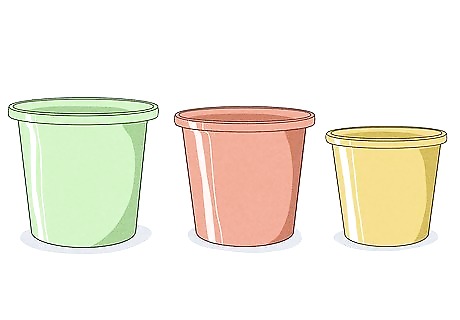
Get 2 or 3 plastic buckets of different sizes. Plastic buckets or bins are great choices for the toms on your drum set. Standard drum sets have 2 or 3 toms, 1 on the floor and 1 or 2 on the racks above the bass drum. Pick 2 or 3 buckets of different sizes so they produce different sounds. You can use spare containers, or find a few cheap ones at a hardware store. You could also use paint cans or plastic jars as well. Any rounded container is a good choice. Just remember that different materials make different noises. A metal container will produce a sharp, high-pitched tone, while plastic gives you a deeper, lower-pitched sound.
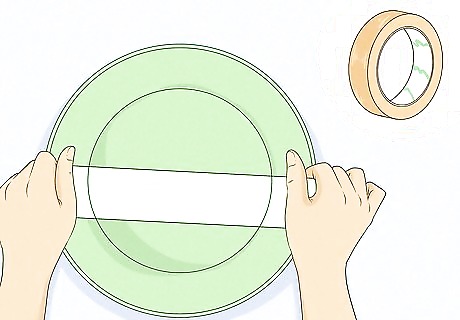
Cover the opening of each bucket with clear packing tape. This is an easy way to make a drum head for the toms. Take clear packing tape and stretch it tightly over the bucket openings. Seal the openings completely to install a drum head on each bucket. Make sure the tape is tight. If you leave it too loose, you won’t get much of a sound. You may want to place another layer of tape over the first one so the drum heads last longer. You could also use another strong type of tape, like duct tape. Masking or painter’s tape is too fragile, so don’t try it.

Fill a cookie tin with coins for a snare drum. A snare drum should have a sharper, more high-pitched sound than the toms. You can make this sound with a metal cookie tin. Layer the bottom of the tin with coins or metal bottlecaps and put the lid back onto the tin. The coins will rattle when you hit the drum and produce a distinctive snare sound. The size of the can or tin isn't very important for a homemade kit, but an average snare drum is about 14 in (36 cm) in diameter. Get a tin close to that size if you want to copy a real kit. If you don’t have a cookie tin, you could also use a smaller plastic or metal bucket for the snare. This will make a higher pitch than the toms. Remember to add the coins to you get the distinctive rattle of a snare drum. Don't cover the snare with tape like you did for the other drums. This will give you a duller sound, and you don't want that for a snare.
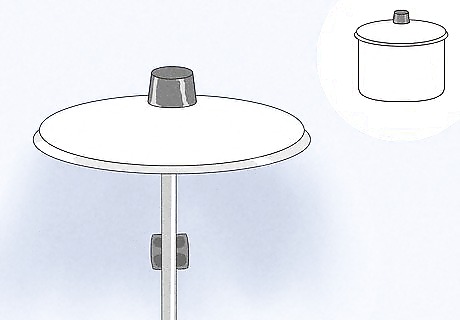
Use metal items for cymbals. Basically any metal item will work as a cymbal. Good choices include metal pot lids, bars or pipes, and gardening tools. Most drum sets have at least a hi-hat cymbal and a crash cymbal, so try to find 2 metal items that will work. For a hi-hat, you want a shorter, sharp sound. A metal bar or small metal lid can work for that. For a crash cymbal, you want a longer echo. Try a large lid from a pot or metal garbage can cover. Test out a few items to see what makes the best sound.

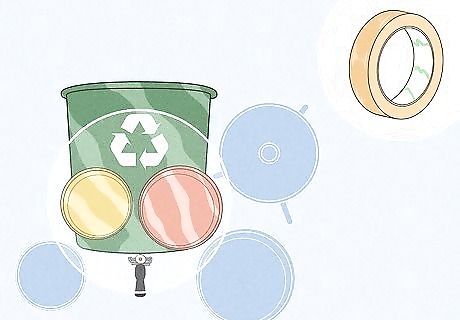
Secure a plastic garbage bin for a bass drum. All you need for your bass drum is a plastic garbage can flipped on its side. Get a large can, like an outdoor trash bin. You’ll be hitting the bottom of the garbage bin, so make sure that end is facing the back of the kit. You don’t want the bass drum moving or tipping while you’re trying to play. Lay weights or other heavy items inside the bin to hold it down. Also arrange some wood blocks or heavy bins on either side of it to keep the drum straight. If this drum setup will be permanent, you could secure the bin further by placing it on top of a flat piece of wood and drilling it down with screws. You’ll still need a kick pedal to work the bass drum with your foot. You can get a cheap one online or from a music shop. If you don't want to buy a kick pedal, you could simply kick the back of the can to make a bass tone. Wear shoes for a more pronounced sound.

Put your snare drum on your left. On most drum kits, the snare drum sits on the drummer’s left side. Either set the cookie tin on the floor, or if it’s too low, you can prop it up on a box so you can comfortably hit it while you’re sitting down. If you’re a left-handed drummer, you may want to put your kit together in reverse and put the snare on your right side.
Tape the 2 smaller buckets on top of the garbage bin. These 2 smaller buckets will be your 2 rack toms. Take the smallest one and place it on top of the garbage bin slightly to the left. Use a lot of packing tape and attach it to the bin. Then place the larger bucket to the right of that one and tape it down the same way. Test both toms to make sure they’re attached tightly. Add more tape as you need to. If you’re only using 1 rack tom, then only tape one bucket down. If you prefer to angle the toms up a bit more so they’re easier to hit, try placing a piece of wood or foam under the front of the bins. This way, they’ll angle up a bit more.
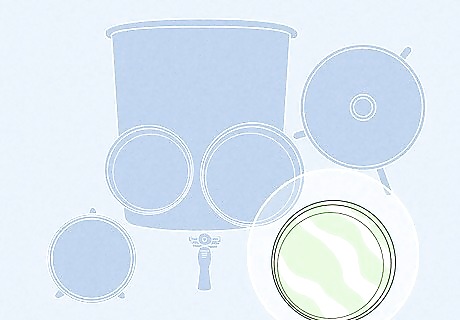
Set the largest bucket on the floor to your right. The largest bucket will produce the deepest sound, so it’s perfect for your floor tom. Simply set it to the right side of the bass drum on the ground, close enough for you to hit it. If the bucket is too low for you to reach, set it on top of a box to prop it up a bit.
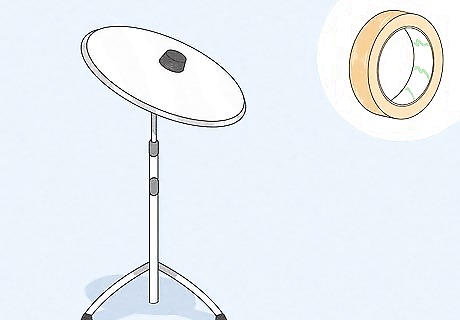
Tape the cymbals to stands or poles. A microphone stand, easel stand, or block of wood that stands are all great for securing the symbols. Tape the metal pieces to holders like these and check to make sure they’re tight. If you don’t have stands, you could also just tape the cymbals alongside the toms. If you have spare drum hardware, then you could also attach the cymbals to this.
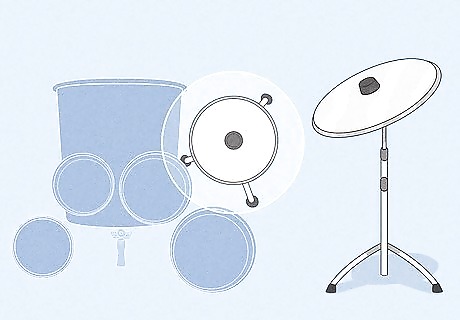
Arrange the cymbals on either side of the bass drum. Typically, the hi-hat cymbal goes on the left next to the snare drum, so put the smaller metal piece here. Then put the crash cymbal on the right side, near the floor tom. You could also put the crash on the left side near the hi-hat if you prefer. There’s no set rule and it depends on what you find more comfortable. If you set up your drum kit like a lefty, then put the hi-hat on the right side next to the snare instead.
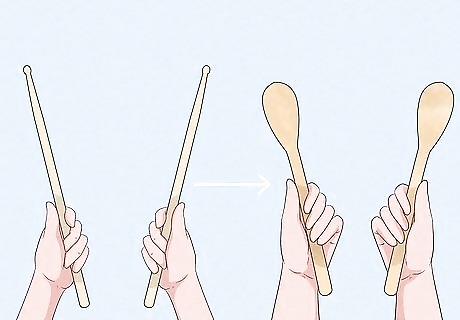
Grab some wooden spoons or sticks for drumsticks. Once your kit is put together, you just need some sticks to play! You don't need special drumsticks. A pair of wooden spoons will work just fine. You could also use regular wooden sticks to play your kit.


Comments
0 comment