views
Preparing the Ball, Funnel, and Scoop
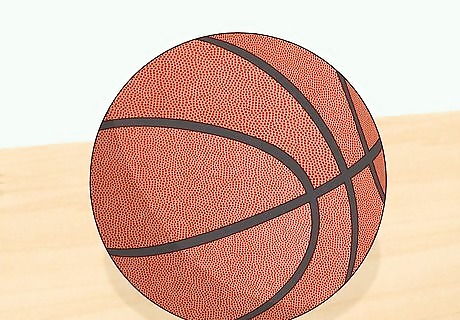
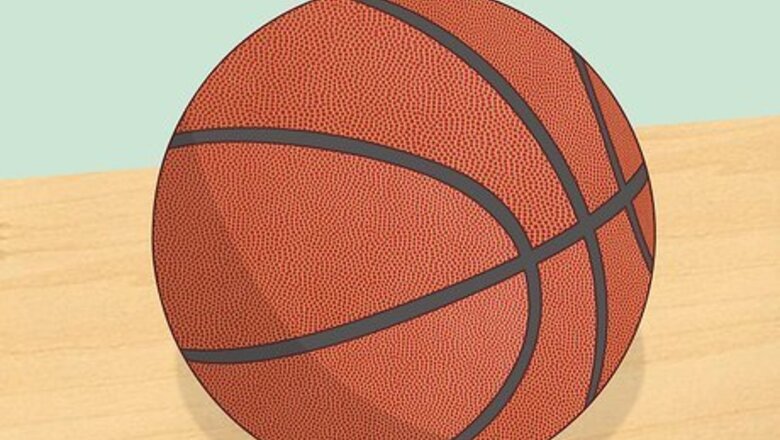
Select an athletic ball. When you are creating your own medicine ball, an athletic ball, such as a basketball, will provide the structure for your homemade workout tool. While you may purchase a new athletic ball, you can save money by repurposing an old sports ball. Most homemade medicine balls are made out basketballs, but you may also use a soccer ball or a rubber ball. If you don’t have an old athletic ball at home, ask a neighbor or friend if they have one you may use. You may also shop at thrift stores.
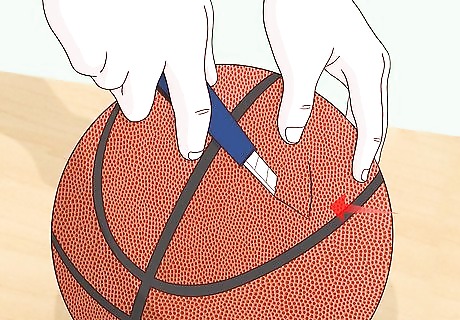
Cut a “V” into the ball. In order to fill the ball with materials, you must create a hole, or flap, in the athletic ball. With a permanent marker, draw a “V” on the ball—the “V” should be approximately one inch long x one inch wide. Use a sharp utility knife to cut along the lines of the “V.” Do not cut across the top of the “V”—this is where the flap should remain attached to the athletic ball. Do not draw and cut your “V” near the air nozzle. The nozzle may prevent the funnel from fitting in the flap.
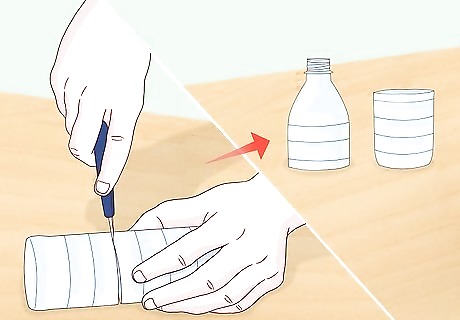
Create a funnel and scoop. A funnel and scoop will speed up the process of filling the medicine ball and prevent you from making a mess. To create your own funnel and scoop, find an empty plastic beverage bottle. Use your sharp utility knife to cut the bottle in half around its body. The top half will function as the funnel; the bottom half will serve as the scoop. Disregard this step if you have your own funnel and scooping device.
Filling and Weighing Your Medicine Ball
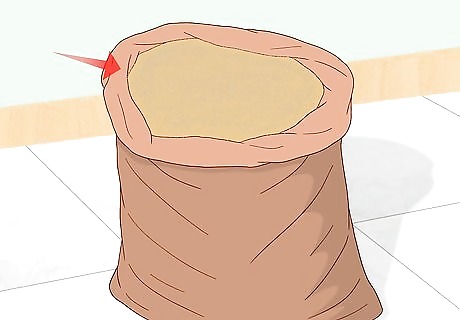
Select your filling material. You may add weight to your medicine ball with a variety of materials. The materials you use are entirely up to you. The most common filler is sand. Filling your medicine ball with sand will produce a heavy exercise tool. For a lighter workout ball, you may fill your medicine ball with a variety of recycled materials, such as styrofoam and cut up mattress toppers, or common household dry goods, like rice or salt. If you use sand, purchase it from a store—do not use sand from outdoors. Sand from outside will contain moisture and vegetation that could produce unwanted molds inside your medicine ball.
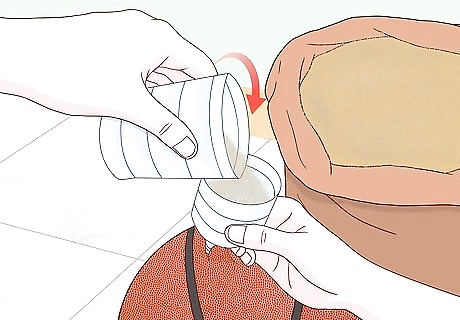
Fill your medicine ball with the material. Lift the “V” flap and insert the nozzle of your funnel into the hole. With your makeshift scoop, transfer the materials from the container to the funnel. Continue adding material to the medicine ball until it is full. You may need to shake the medicine ball occasionally to make room for more materials. While the medicine ball should fill up quickly, you will end up using more filling material than you anticipated.
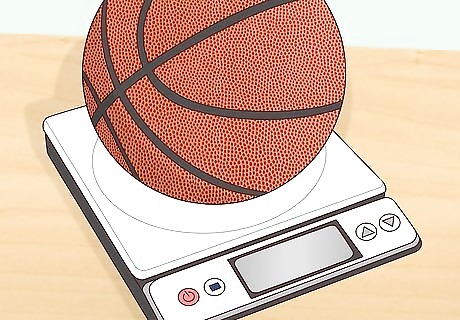
Weigh your medicine ball. Prior to sealing your medicine ball, weigh the piece of exercise equipment. Place the medicine ball on a scale and evaluate its weight. If the medicine ball is heavier than you would like, remove filling material until it reaches the weight you desire. If the medicine ball is lighter than you would like, add more filler to the ball. If there is no more space for material, you may need to refill the medicine ball with a heavier material.
Patching the Medicine Ball
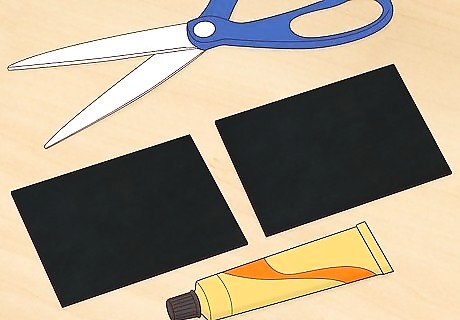
Scuff up the area around the flap. Before you can use your medicine ball, you must seal the flap you created. While you can use a variety of tape and glues to keep the material inside the ball, it is highly recommended that you seal the flap with a rubber patch repair kit. These kits typically include scuff tool. Use this tool to roughen up the area around the hole. Roughening up the surface will help the adhesive attach to the ball. You can purchase a rubber patch repair kit online or find one in the “Camping” aisle of your local department store. You can use a rubber patch repair kit for tents or tires.
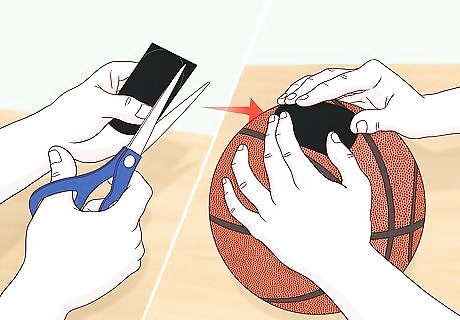
Adhere the patch to the ball. Use a pair of scissors to round the edges of the patch—this will prevent the patch from peeling. Follow the kit’s instructions about adhesive application and patch placement. Once the patch is in place, allow the adhesive to cure. Do not use the medicine ball before the glue is dry.
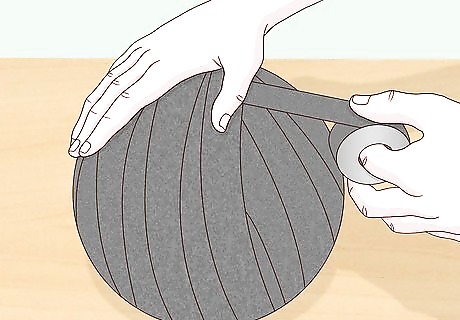
Cover the entire ball with duct or athletic tape. While the patch will adequately seal the flap, you may want to seal the entire ball with a protective layer. You may use duct tape or athletic tape to create this seal. When the adhesive is dry, apply strips of tape to the surface of the medicine ball. Once sealed, you may start exercising with your homemade medicine ball. The weight and shape of your medicine ball should be balanced and even. Do your best to keep the layers of tape even.




Comments
0 comment