views
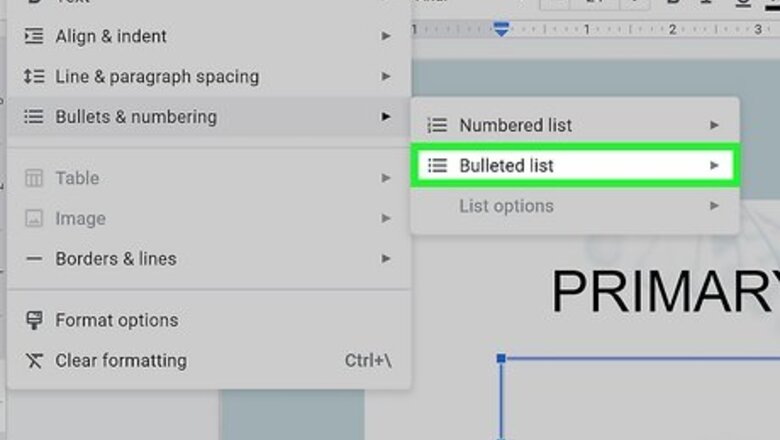
- Use the Bulleted List drop-down button in the menu bar to select the checkboxes option.
- The checkboxes work the same way as a normal bulleted list.
- Double-click, then right-click a checkbox to replace it with a check mark.
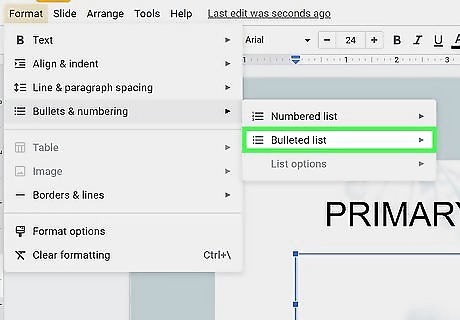
Click the Bulleted List drop-down arrow. The Bulleted List button is in the menu bar and has three vertical dots next to three lines.
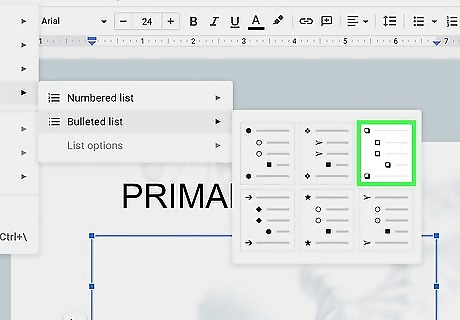
Click the checkbox option. In the Bulleted List drop-down menu, select the checkbox option. This will insert a checkbox where your cursor is in the text box. Note that the checkboxes will behave exactly like a bulleted list, meaning you can indent and format them the same way. This is great for creating a presentation that needs a checklist.
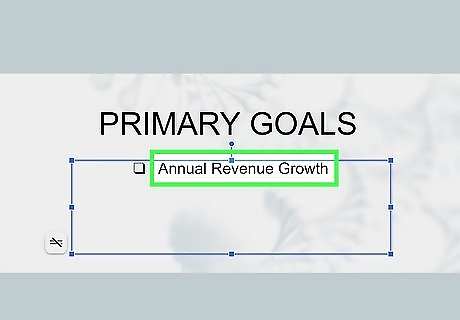
Click the space to the right of the checkbox and type a task. Since checkboxes in Google Slides work the same as a bulleted list, you can type a line of text next to the checkbox to create a to-do item.
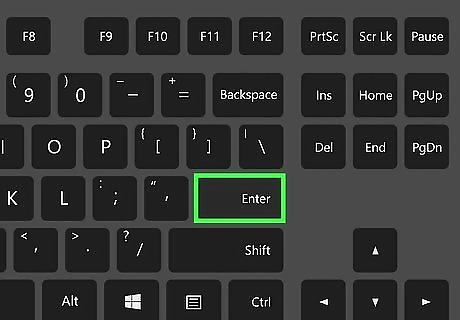
Tap ↵ Enter to create a new checkbox. At the end of the first line of text, tapping ↵ Enter will create a new checkbox below the first one. Repeat this process to fill out the rest of your checklist with tasks.

Double-click a checkbox. This will select the checkbox.
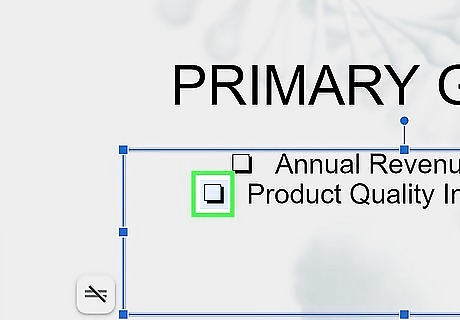
Right-click the checkbox you selected. This will open a pop-up options menu.
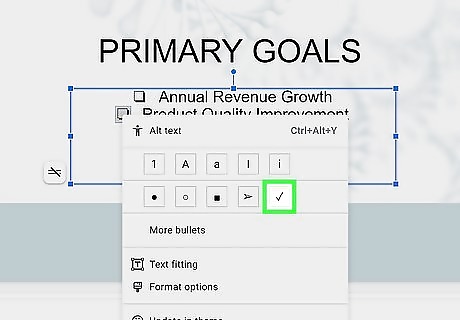
Select an icon. Choose an icon in the pop-up menu. The icon you select will replace the checkbox. You can choose the check mark icon to indicate that a task is done. If you’re completely finished with the checklist, you can delete the entire slide if needed.




Comments
0 comment