views
Boiling Condensed Milk
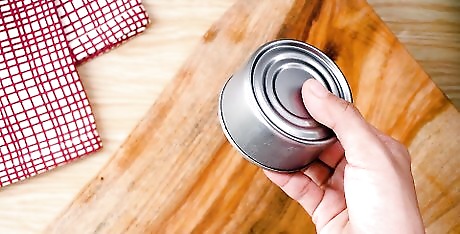
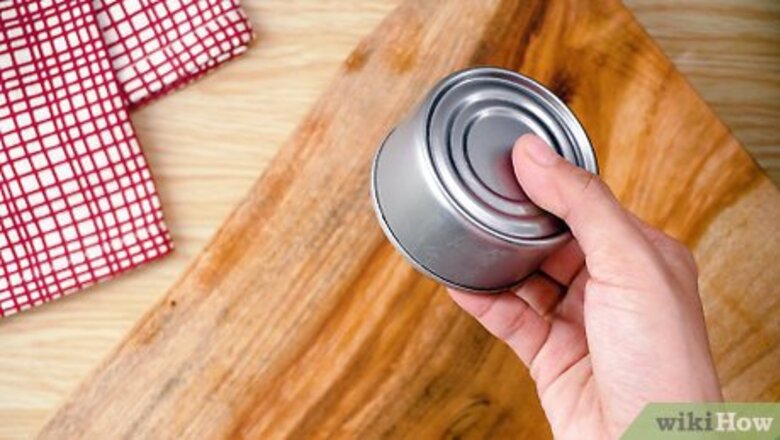
Peel the label off of a can of sweetened condensed milk. Search your supermarket for sweetened condensed milk. It is usually in the baking section. Take off as much of the label as you can. For the sticky portion, you can use a wet sponge to scrub the remainder of the label off. Read the can carefully. Containers for condensed milk look very similar to evaporated milk, and evaporated milk won’t work for making dulce de leche. Get multiple cans if you want to make more dulce de leche.
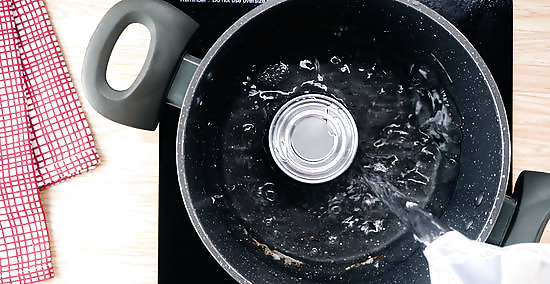
Place the can in a pot and cover it with water. Stand the can on the bottom of the pot. Then add water until the water is at least 2 inches (5.1 cm) above the top of the can. Make sure the pot is tall enough that you can completely cover the can with water while it’s standing up. Don’t fill the pot all the way to the top or it could overflow when the water starts boiling. Depending on the size of the pot, you can put multiple cans in here at the same time for even more dulce de leche. The water can be any temperature, but pouring in water that is already hot will make the water boil faster.
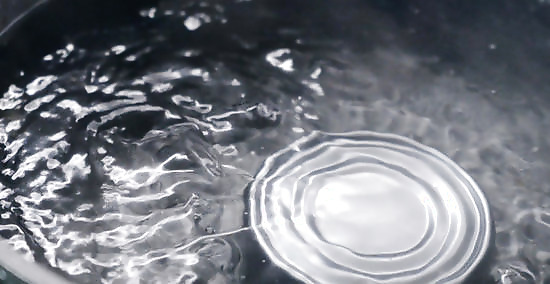
Bring the water to a boil over high heat. Turn on a high flame and wait for the water to boil. When bubbles start rising to the surface, you know the water is boiling. At this point, reduce the flame and let the pot simmer.
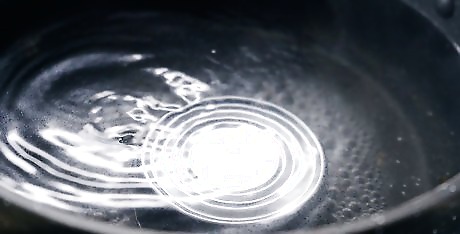
Let it simmer for 2-3 hours on a low flame. Once the water has boiled, reduce the flame to a low setting. This should bring the water to a light simmer. Let the pot simmer for 2 to 3 hours, depending on how dark you want your dulce de leche. The longer you let the condensed milk simmer, the darker the dulce de leche will be. If you prefer lighter dulce de leche, take the cans out after 2 hours. Wait longer if you want a darker dulce de leche.
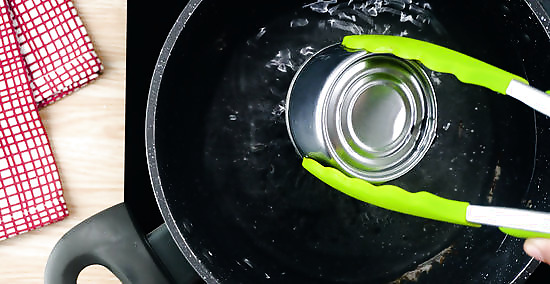
Use tongs to remove the can from the water. Once the can has boiled long enough, remove it with a pair of tongs. This stops the cooking process so your dulce de leche is exactly how you want it.
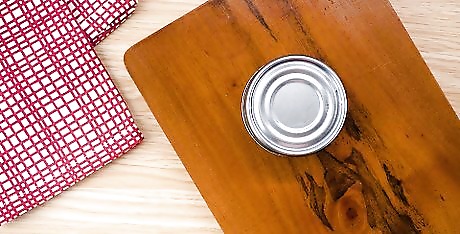
Let the can cool completely before opening it. After you remove the can, set it down somewhere safe and let it cool. This could take several hours. Do not attempt to open the can while it’s still hot. The contents are under pressure, and opening it too early could cause hot dulce de leche to spray out and burn you. When you do open the can, the dulce de leche should have a thick, syrupy consistency and pour out easily.
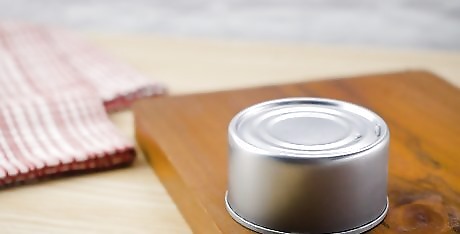
Store the sealed can at room temperature for up to 3 months. An unopened can of dulce de leche will stay fresh for up to 3 months at room temperature. Simply place the can in your cupboard and use it when you want to. If you’ve opened the can, you can pour it into an airtight container and refrigerate it for up to 3 weeks.
Cooking Condensed Milk in the Oven
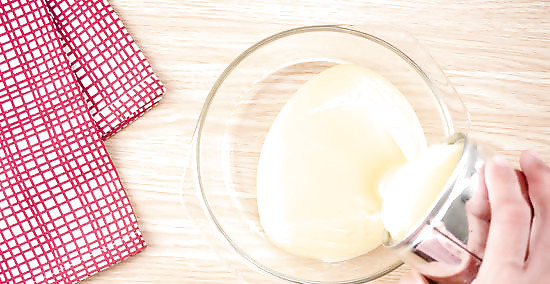
Pour condensed milk into an 8 in (20 cm) x 8 in (20 cm) baking dish. Open up the can and empty its contents into the dish. Spread the milk around with a spoon or spatula if it doesn’t cover the entire bottom of the dish. You can pour in multiple cans for this method for a bigger serving of dulce de leche. Just be careful not to overflow the baking pan.
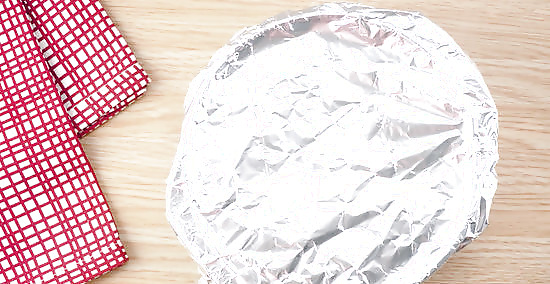
Cover the baking dish with tin foil. Rip off a layer of tin foil large enough to cover the dish. Use more than one sheet if you have to. Tuck the foil under the sides of the dish so it stays secure during the baking process.
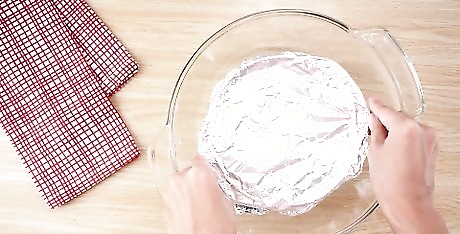
Place the baking dish inside a larger baking dish. This larger dish should be large enough so the smaller dish can sit in it comfortably. It should also have taller sides than the smaller dish so it doesn't overflow when you add water. For an 8 in (20 cm) x 8 in (20 cm) bowl, a 9 in (23 cm) x 13 in (33 cm) would be large enough.
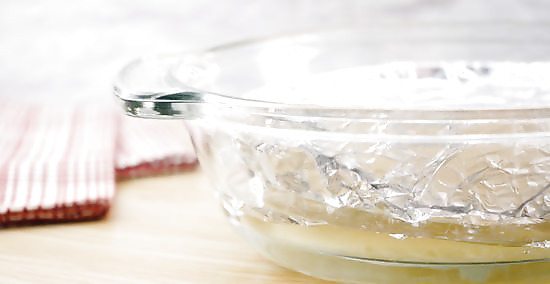
Add water until it reaches ¾ the height of the smaller dish. This water surrounds the original dish so when it starts boiling, the water reduces the sugar in the condensed milk. This water can be any temperature, but if it’s already hot, it will make the boiling process faster.
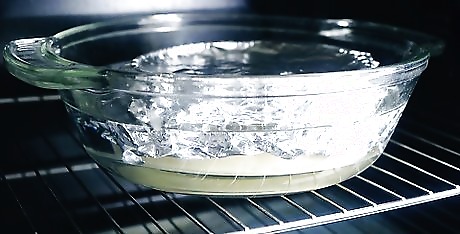
Bake the milk at 425 °F (218 °C) for 90 minutes. Keep an eye on the water level as the milk bakes. If water is evaporating, use a pitcher to add more so it stays at the desired level. If you feel unsteady transferring a dish full of water to the oven without spilling it, you can put the dishes in the oven without the water. Then use a pitcher to fill the dish.
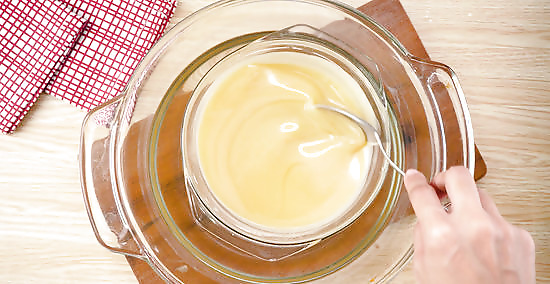
Remove the dishes from the oven and stir the milk. After 90 minutes, the condensed milk should break down enough and produce dulce de leche. Complete the job by removing the foil covering. Then use a spatula or spoon to stir the syrup until it combines. Break down any solid pieces that have formed. The dulce de leche should have a thick, syrupy consistency and have a similar color to caramel. You could also pour the milk into a blender for a more thorough mixing.

Refrigerate the dulce de leche for up to 3 weeks. If you don’t use the dulce de leche right away, you can store it in the refrigerator. Store the mixture in an airtight container or jar and place it in the refrigerator. It should last 3 weeks if properly stored.
Making Dulce de Leche with Regular Milk
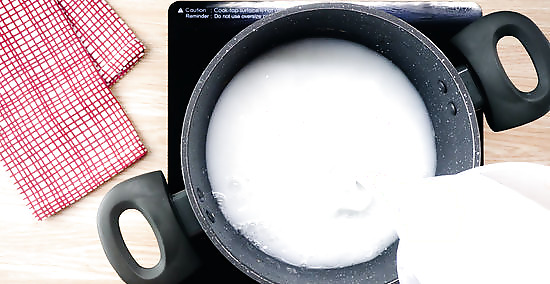
Pour 1 quart (0.9 liters) of whole milk into a pot. Make sure this pot is large enough so the milk won’t over flow when it starts boiling. 1 quart (0.9 liters) of milk will produce about 1 cup (0.24 liters) of dulce de leche, so use more milk if you need more dulce de leche. You can also use different types of milk for a different taste. Coconut milk works for a vegan option, and goat milk produces a different flavor.
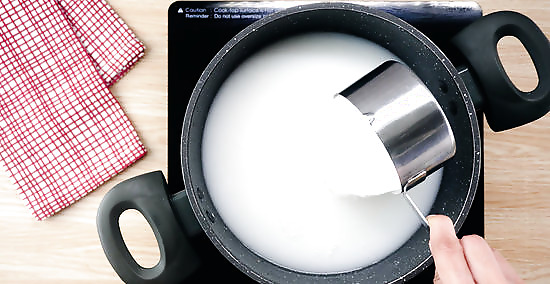
Add 1 cup (128 g) of sugar. If you prefer your dulce de leche even sweeter, you can add 1 ¼ cups (160 g) of sugar. If you prefer it less sweet, add only ¾ cup (96 g) of sugar. If you’d like, you can also add some vanilla for flavor. Put either a split vanilla bean or 1 teaspoon (4.9 ml) of vanilla extract.
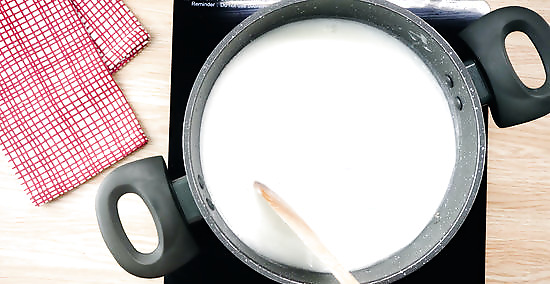
Stir the mixture over a medium flame. Place the pot on the stove over a medium flame. Stir until all the sugar has dissolved. After all the sugar has dissolved, you can stir in 0.25 tsp (5 g) of baking soda to prevent the milk from coagulating. This is optional, but will produce a smoother dulce de leche.
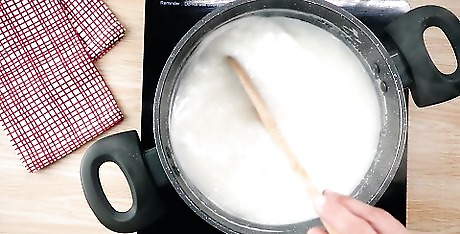
Let the milk boil for 90 to 120 minutes, stirring regularly. Once all the sugar has dissolved, leave the pot on a medium flame and allow it to boil. Stir the mixture regularly to help it reduce and prevent it from burning. As the milk reduces, it will start changing color from white to caramel. This is a good sign and means that your dulce de leche is nearing completion. The amount of time you let the milk boil depends on how dark you like your dulce de leche. If you prefer it lighter, take it off at 90 minutes. If you want it darker, leave it on a full 2 hours.
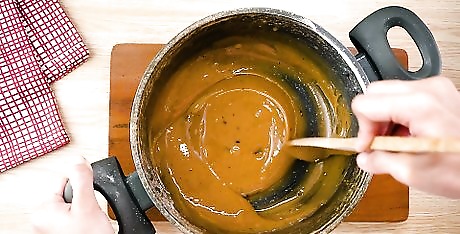
Remove the pot from the heat and let the mixture cool. Place the pot on an unlit burner on the stovetop and allow it to cool. Stir it one final time while it’s cooling. Making dulce de leche this way may produce more chunks and solid pieces than using condensed milk. This is normal. It will still have a syrupy consistency. If you prefer your dulce de leche extra smooth, you can pour it through a strainer to mix out any solid pieces left behind. This is optional and doesn’t affect the final taste.
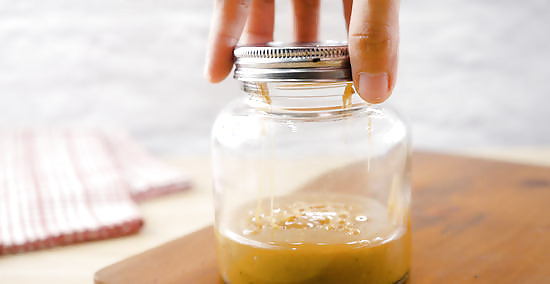
Pour the mixture into an airtight jar and refrigerate for up to 3 weeks. If you don’t use the dulce de leche right away, you can store it for several weeks. Transfer it into an airtight jar or container and place it in the refrigerator. It can last about 3 weeks if stored properly.





Comments
0 comment