views
Get Started

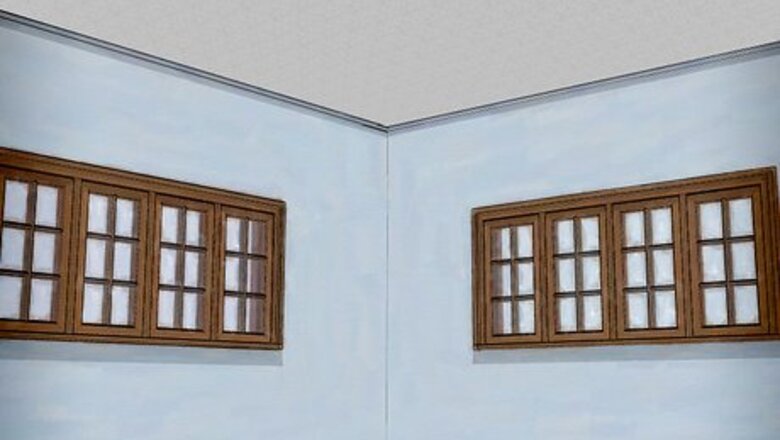
Clear out the room entirely. Imagine your floor looking like what your ceiling looks like now. Now imagine tiny little pellets of paint in every crack and cranny of your sofas, chairs, and rugs. It's not a pretty sight. To avoid having to do more work later on, remove any and all furniture or household items from the room completely. It should look completely bare before moving on to the next step. If some furniture is going to remain in the room because it is large or heavy, ensure you cover it completely in plastic to avoid getting it dirty.
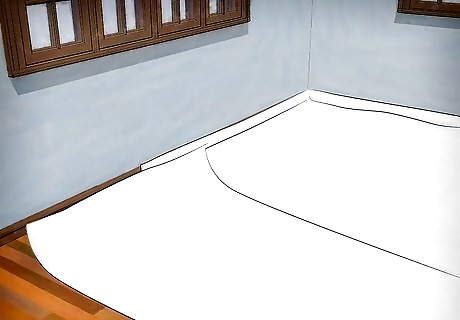
Completely cover the floor with plastic covering or a drop cloth. Although a canvas drop cloth is the professional gold standard, several pieces of overlapped plastic covering will also do the trick. Take care because plastic can be slippery underfoot. Remember that any plastic covering that isn't taped together has a chance of leaking. If you want to be absolutely sure that your clean-up job will only require throwing away the plastic covering, tape it together for added protection.
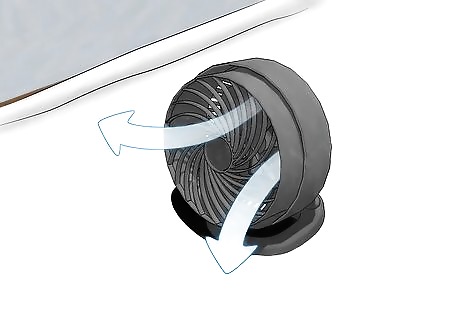
Put a fan in the room and turn it on for added ventilation. Don't turn it up toward the ceiling; just have it on and blowing in an inconspicuous place near the ground. It’s probably best to put this on low, so you don’t blow debris around the room.
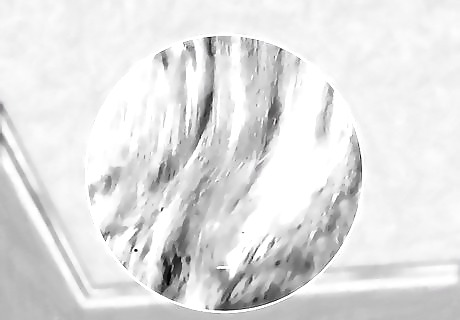
If your popcorn ceiling is pre-1979, get it tested for asbestos. Seek professional help for a diagnosis. Asbestos was widely used in construction, for its insulation and fire resistance, before 1979.
Remove the Popcorn Ceiling
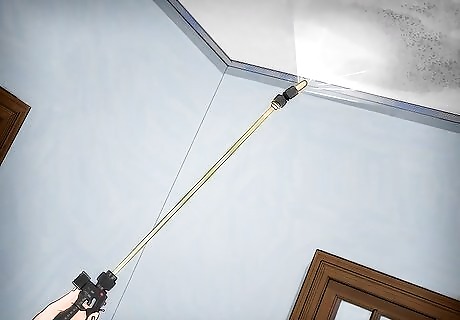
Using a gardener's portable hand sprayer (also called a Hudson sprayer) to spray down portions of the wall. Spray a 3' x 3' area of the ceiling. Let it soak in for a minute, and then spray it again. The popcorn material is very dry and porous, so it will easily soak in the water you spray on it. Don’t be afraid to soak it well.
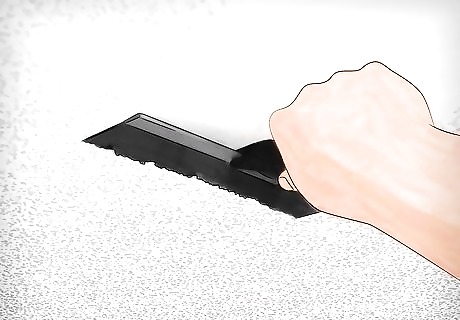
After a few more minutes, get up on a stepladder and scrape the popcorn off with a ceiling texture scraper. If you don't have a ceiling texture scraper, a large putty knife or drywall knife (4" or 6" is good). It should come off very easily. If not, soak it some more, but be careful not to soak the ceiling too much. Too much water can cause damage to the drywall tape and underlying drywall that you will find behind the popcorn stubble. If using a ceiling texture scraper, attach the refuse bag to the scraper. (Most scrapers will come with this functionality.) This way, you can throw the popcorn stubble from the catch right into the garbage instead of having to wipe it all up again on your floor. If your room is tall, use a scrapers with an extension pole so you can reach better.
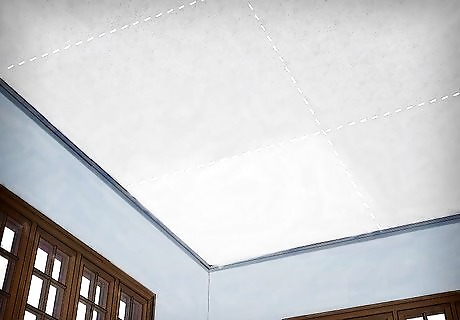
Move onto the next 3' x 3' squares of ceiling area while repeating steps 1 and 2.
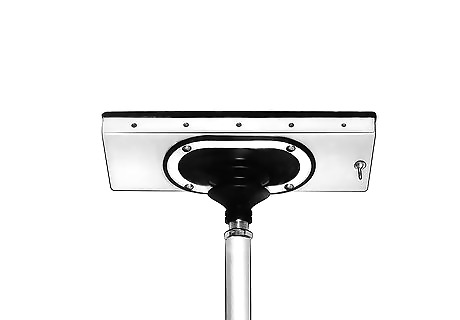
When all the popcorn is scraped off, sand the entire ceiling with a sanding pole & screen. Gather any of the scraped-off popcorn that's on the drop cloth and put it in heavy duty garbage bags. Vacuum up any remaining dirt or debris.
Complete the Process
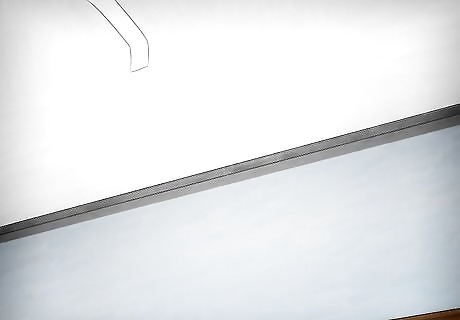
Apply any needed joint compound, if necessary. At this point, you will probably see that your ceiling has only been "fired taped," meaning that the drywall installer only did a very crude job with the drywall tape, putting up only one coat of mud. So be prepared to have to put on a couple of coats of drywall mud.
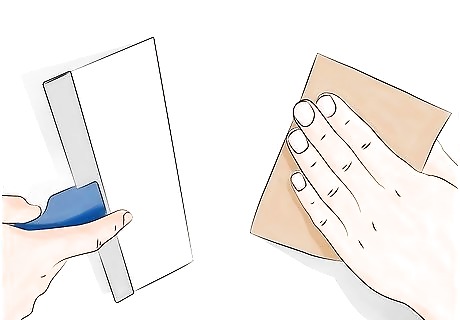
For the best finish of all, do a "skim coat." A skim coat involves topping compound applied to the entire ceiling with a 12" or 14" drywall knife. Sand this skim coat for a flawless finish before you apply the primer and paint. It may be helpful to have a professional do this step.
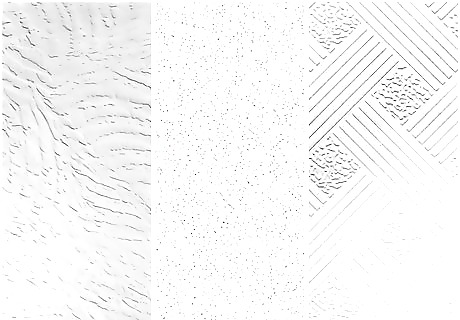
Add more texture to your ceiling, if desired. So the popcorn finish didn't work out for you in the end. So what? There are plenty of other texture finishes that you can try out on your ceiling to make it pop and better stand out.
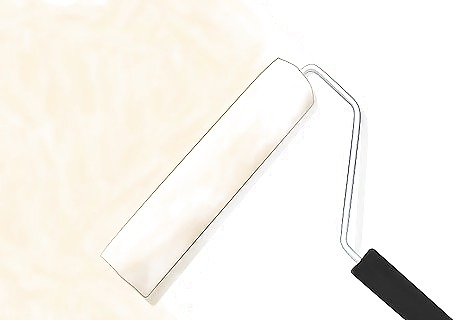
Prime and paint your ceiling. Once you've mudded, sanded, and textured, you prime and paint. This is the fun part, giving you a beautiful new ceiling. The amount of work involved was definitely worth it.



Comments
0 comment