views
Installing the Printer
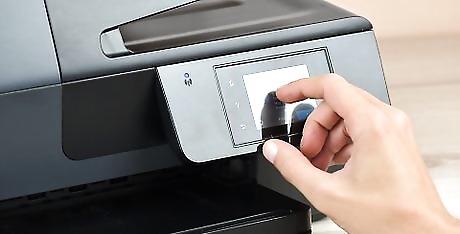
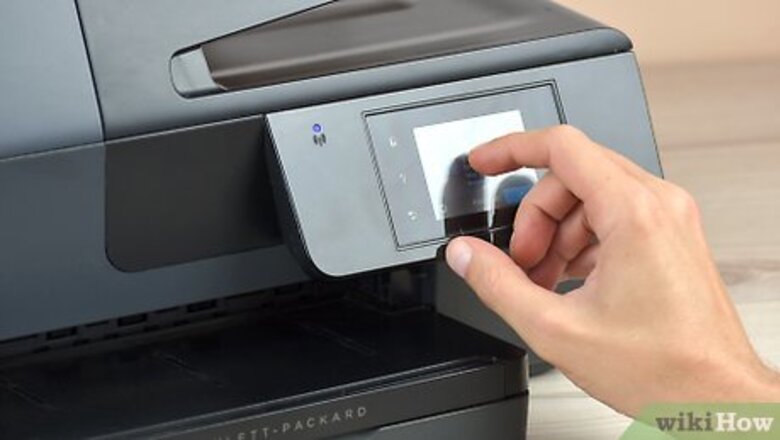
Connect your printer to your home network. The process for this will vary from printer to printer. If you are connecting your printer via Ethernet, connect the Ethernet port on the printer to an open port on your router or network switch. This is typically all you'll need to do for an Ethernet printer. If you are connecting a wireless printer, you'll need to use the printer's display screen to connect to your wireless network. You'll need to select your wireless SSID (network name) and enter the password if it is secured. The exact process will vary depending on the printer, so refer to your documentation for exact instructions. If you don't know which method of connecting your printer uses (Wi-Fi or Ethernet), the manual should state this. If you don't have a home network to connect your printer to, you'll need to skip to the method that covers connecting your printer to another computer and sharing it.
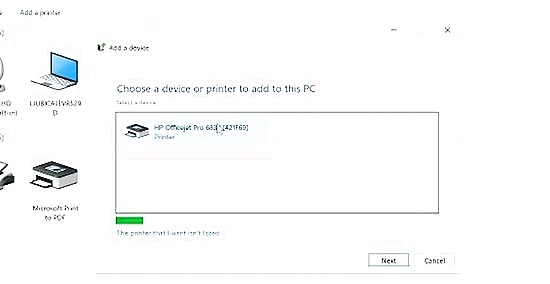
Connect to the network printer (Windows only). Once the printer is installed on the network, you can connect to it from your laptop. These instructions work for all versions of Windows, so if you're setting up a network printer on a Mac, skip this step. Open the Control Panel by typing "control" into the Windows search bar and clicking Control Panel. Click Devices and Printers or View devices and printers. Click Add a printer and select your printer from the list (it is usually a combination of your printer's make and model number). Follow the prompts to install the printer drivers automatically. If Windows cannot find the correct drivers, you may need to download them from the printer manufacturer's support site.
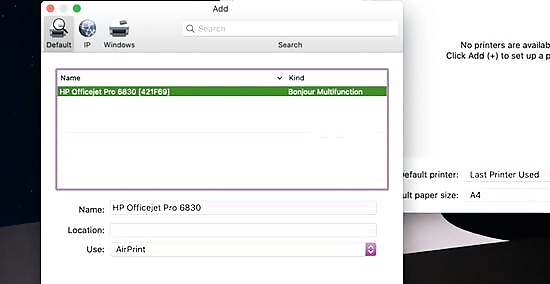
Connect to the network printer (Mac only). Once the printer is installed on the network, you can connect to it from your laptop. These instructions work for all versions of OS X, so if you're using Windows, skip this step. Note that the network printer must support AirPrint or Bonjour (nearly all modern network printers do). Click the Apple menu and select "System Preferences." Select the "Print & Scan" option from the System Preferences menu. Click and hold the "+" button at the bottom of the list of installed printers. Select your network printer from the list of nearby printers (it is usually a combination of your printer's make and model number). If your printer isn't listed, you may need to download the software from the printer manufacturer's support site first. Click the Download & Install button if it appears. While OS X comes with the software for most printers already installed, your printer may require additional software from Apple. If it does, you will be prompted to download it after adding the printer.
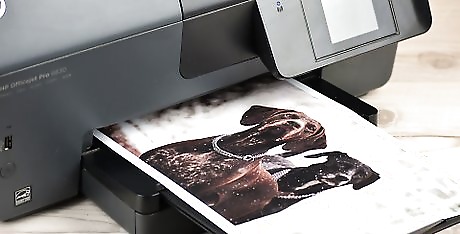
Print to your newly installed printer. Once the network printer has been added to your operating system, you can print to it just like you would if the printer were connected directly to the laptop. Open the "Print" dialog in any program and select the network printer from the list (it is usually a combination of your printer's make and model number) to print to it.
Sharing Between PCs
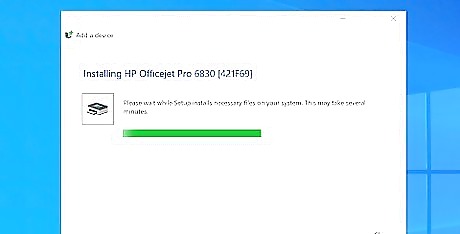
Install the printer on the computer that will be sharing it. Since the computer will need to be on whenever you want to print, you should install it on a desktop computer that is frequently turned on. Most printers can be installed by simply plugging them in via USB. Refer to your printer's documentation if you are having difficulty installing the printer on the computer that will be sharing it.
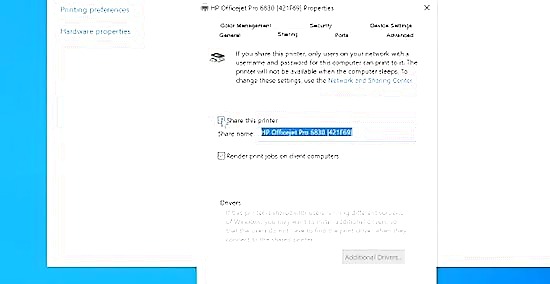
Share the printer using Settings. Set up the printer on the main computer to share with the network. Go to Settings > Devices > Printers & Scanners. Click the printer you're setting up, then click Manage and Printer Properties. In the "Sharing" tab, make sure "Share this printer" is checked, and you can rename the printer in the "Share name" field.
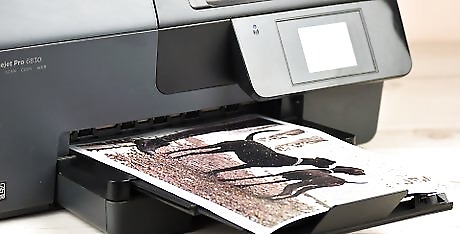
Connect to the shared printer. When your laptop is connected to the same Wi-Fi network as the computer with the printer, you'll be able to select the shared printer as your default printer. Make sure that the computer sharing the printer is turned on. Go to Settings > Devices > Printers & Scanners. Click Add a printer or scanner then click the printer you want to add and click Add device. If you don't see the printer listed here, click The printer that I wanted isn't listed and select Select a shared printer by name. Then enter the name of the shared computer and shared printer in the following format: "\\computername\printername" or "http://computername/printername/.printer". After you finish these steps, you'll be able to select the shared printer when you're in the print dialog window.
Sharing Between Macs
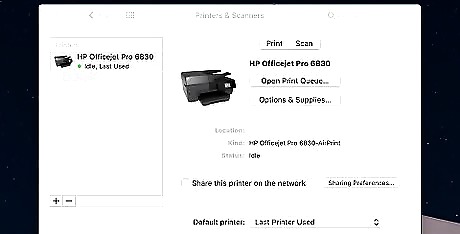
Install the printer on the computer that will be sharing it. Since the computer will need to be turned on in order to access the printer, install the printer on a computer that spends a lot of time powered on. When installing a printer on a Mac, you can usually just plug it in via USB cable and OS X will install everything automatically.
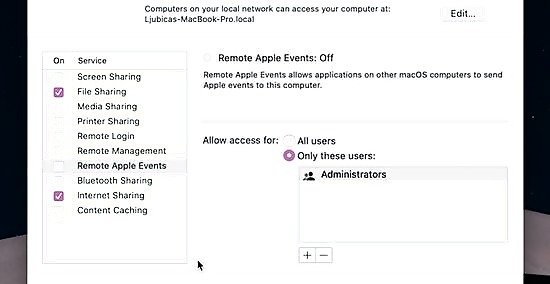
Enable printer sharing on the Mac that the printer is installed on. Once the printer has been installed, you'll need to enable printer sharing so that your laptop can connect to it. Click the Apple menu and select System Preferences > Sharing > Printer Sharing. Make sure "Printer Sharing" is selected in the vertical menu on the left side of the window.
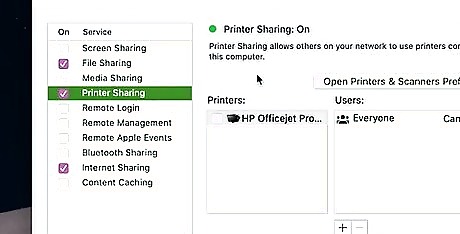
Share the printer. Once you've enabled printer sharing, you'll want to share the printer from the same window. Check the box next to the installed printer to share it.
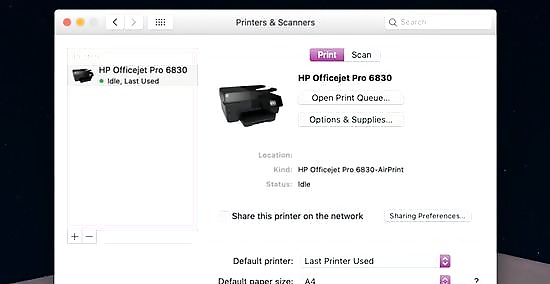
Connect to the shared printer on your Mac laptop. Now that the printer has been shared, you can connect to it from your Mac laptop. Click the Apple menu and select System Preferences. Select the Print & Scan option. Click and hold the + button and select your newly shared printer. Click the Download & Install button if it appears. While OS X comes with the software for most printers already installed, your printer may require additional software from Apple. If it does, you will be prompted to download it after adding the printer.
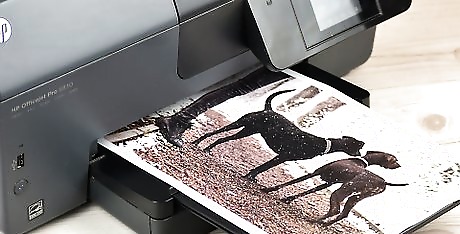
Print to the shared printer. Once you've installed the shared printer on your laptop, you can print to it just as if it were connected directly to the laptop. Make sure that the computer that the printer is connected to is turned on. Open the Print dialog in any program and select the shared printer from the list of available printers.




Comments
0 comment