
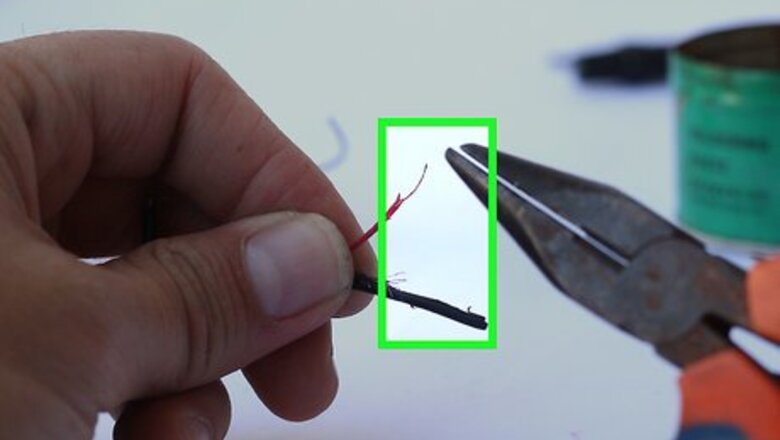
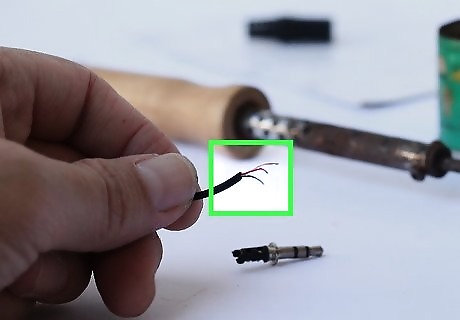
Strip the two insulated wires and twist the shielding into a third "wire." The two insulated wires are for left and right. The third, twisted one (made from the shield) is for common. Note, you will need some insulation on the left and right wires. If you strip them for their full length, they are likely to touch each other and the common wire, causing a short circuit. 2 or 3 mm of stripped wire will be plenty.
Slip the case over the wire.
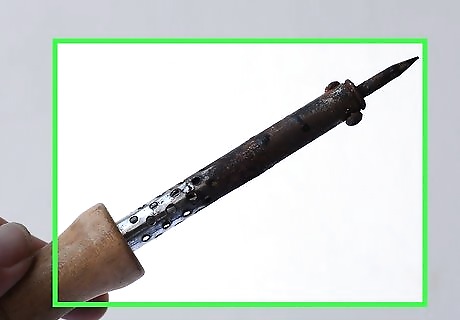
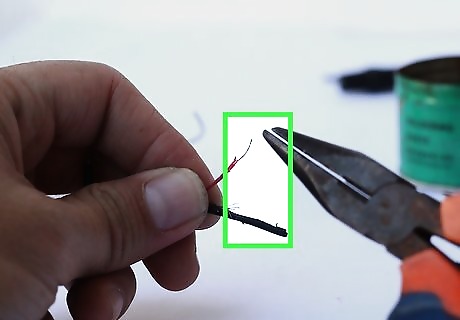
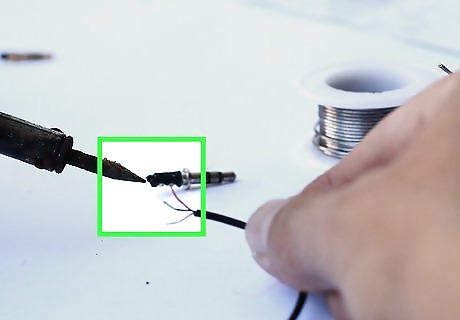
Tin the wire with solder (heat it up and coat it). If you aren't familiar with soldering procedures, look for an online guide.
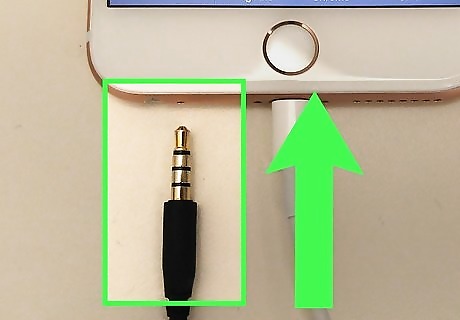
Slightly scratch the connectors on the back of the plug so that the solder will go on easier This way, they are super clean, and the solder will flow on nicely. Also tin these, but only where you plan to connect the cable.
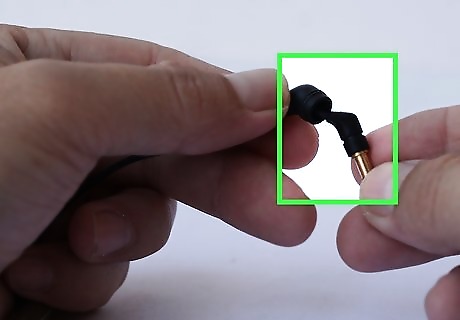
Join the common, then join the left and right. Note which conductor on the jack is connected to the tip and ensure the left channel wire is attached to this one. If the wires are color coded red and white, the left would be the white wire.
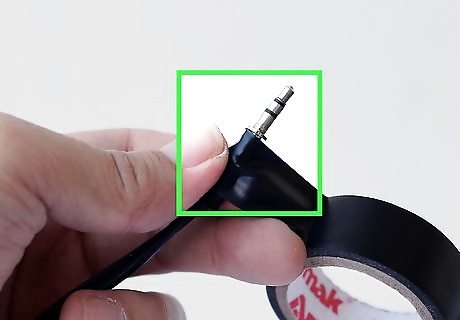
Put some tape around each connection to insulate them. Only use a tiny bit, or the cover won't go on.
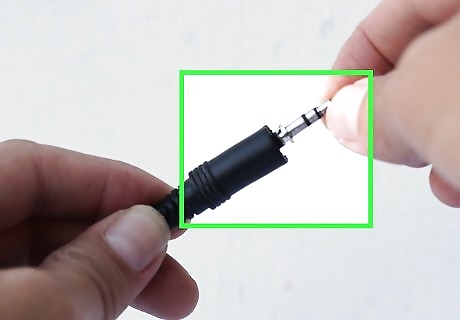
Screw it all together. You did slip the case over the wire first, didn't you?
Test the finished product to ensure that each of the three sections on the front of the plug have not somehow become connected to another section by a short circuit. All three sections should not be connected to any other section - even if you wobble the back of the plug around (as will happen during use). Check that the wires are connected properly. A multimeter with a buzzer is ideal for this, or you can use a homemade one with a light.


Comments
0 comment