views
Creating a Gmail Account
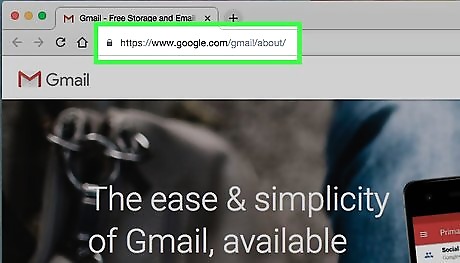
Open the Gmail "About" page. Go to https://www.google.com/gmail/about/ in your computer's web browser.
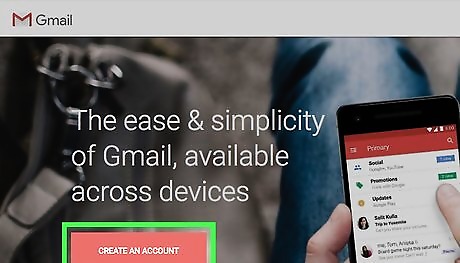
Click CREATE AN ACCOUNT. It's in the top-right corner of the window.
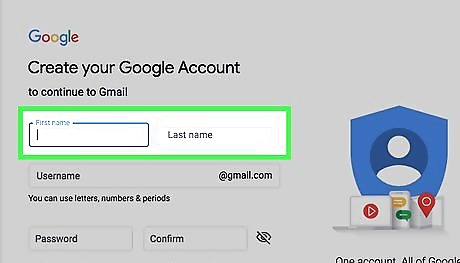
Enter your first and last name. Type your first name into the "First name" text box near the top of the page, then enter your last name in the "Last name" box next to it.
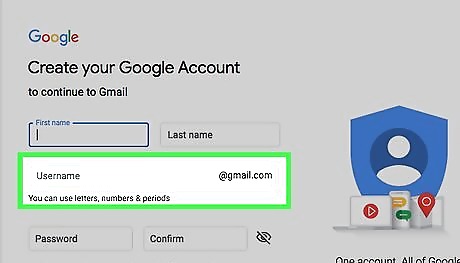
Create a Gmail username. Click the "Username" text box, then type in the username you want to use for your email address. This should be the username from your old email account if possible. If your selected username is already taken, you'll be asked to choose a different one upon clicking a different text box on the page.
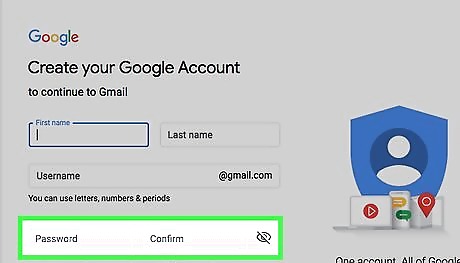
Create a password. Type your preferred password into the "Password" text box near the bottom of the page, then type the same password into the "Confirm password" box to the right of the first password box. Both password entries must match before you can continue.
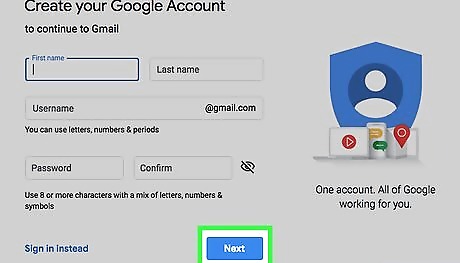
Click Next. It's a blue button at the bottom of the page.
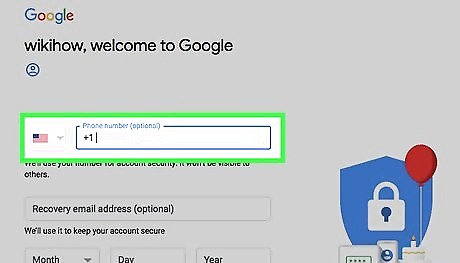
Enter your phone number. Type the phone number you want to use as your account recovery method into the "Phone number" text box near the top of the page.
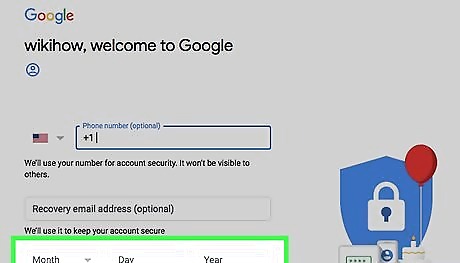
Enter your date of birth. Click the "Month" drop-down box and select the month of your birthday, then type the day and year into the "Day" and "Year" text boxes, respectively.
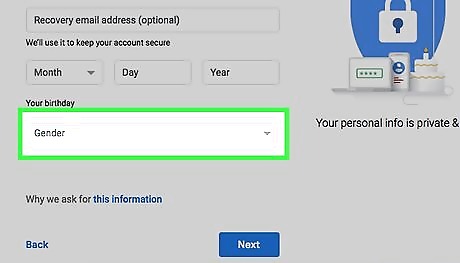
Select a gender. Click the "Gender" drop-down box, then click an option in the drop-down menu.
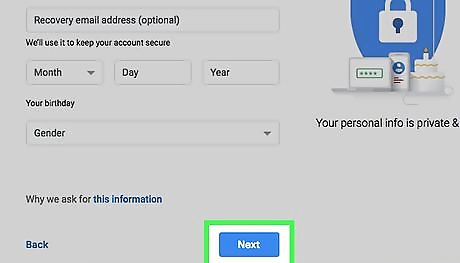
Click Next. It's a blue button at the bottom of the page.
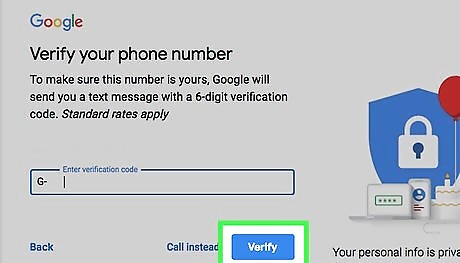
Verify your phone number. To do so: Click SEND in the middle of the page. Open your phone's Messages app. Open the text from Google. Note the 6-digit number in the text message. Type the 6-digit number into the text box on the Gmail page. Click VERIFY.
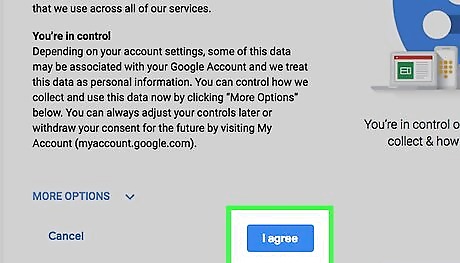
Scroll down and click I Agree. It's at the bottom of the terms of service list on the left side of the page. Doing so will accept the terms of service; at this point, your Gmail inbox will load. You may have to click Next and then click OK on a pop-up window in your Gmail inbox before you can proceed.
Importing Contacts
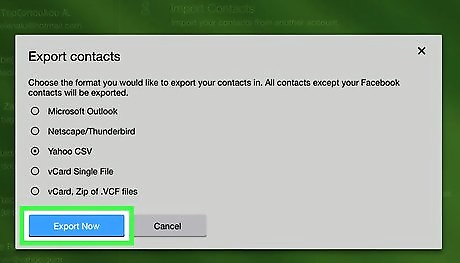
Export your contacts from your other email account. If you want to import contacts into Gmail without entering your login information, do the following to export your contacts from your old account: Outlook — Go to https://www.outlook.com/ and sign into your Outlook account, click ⋮⋮⋮ in the top-left corner, click People, click Manage, click Export contacts in the drop-down menu, make sure "All contacts" is selected, and click Export. iCloud Mail — Go to https://www.icloud.com/ and sign into your Apple ID account, click Contacts, click one contact, press Ctrl+A (Windows) or ⌘ Command+A (Mac) to select all of your contacts, click the settings gear in the bottom-left corner of the page, and click Export vCard... in the pop-up menu. Yahoo — Open the Yahoo Contacts page and sign in if necessary, click Actions at the top of the page, click Export..., check the "Yahoo CSV" box, and click Export Now. If you don't mind entering your email login information in Gmail, skip to the next part and make sure you keep the "Import contacts" box checked on the Start Import window.
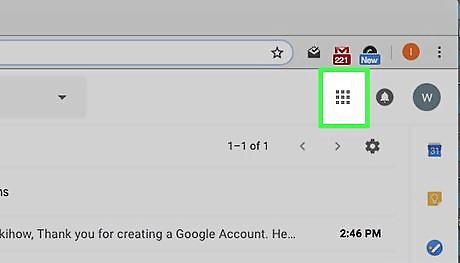
Click the "Apps" Android 7 Apps icon. It's in the upper-right side of the Gmail inbox. A drop-down menu will appear.
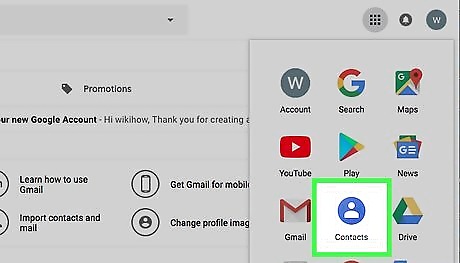
Click Contacts. This blue-and-white icon is in the drop-down menu. You may have to click More at the bottom of the drop-down menu before you can click Contacts.
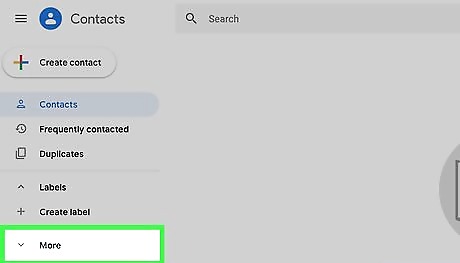
Click More. This is on the left side of the page. You should see several options appear under the More button.
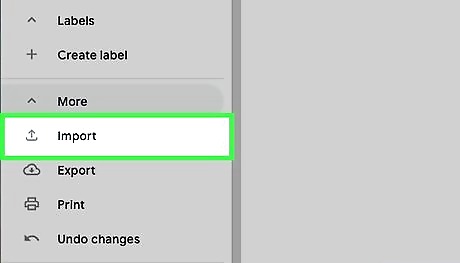
Click Import. It's on the left side of the page. A pop-up window will appear.
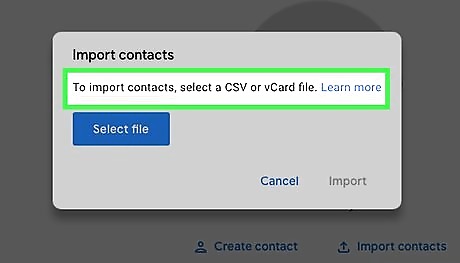
Click CSV or vCard file. This is at the bottom of the window.
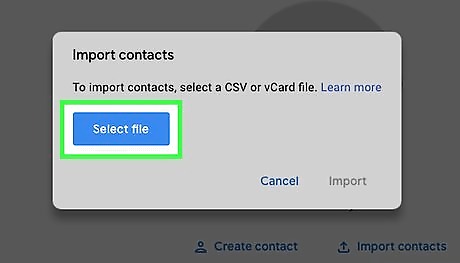
Click SELECT FILE. It's in the middle of the window. A File Explorer (Windows) or Finder (Mac) window will appear.
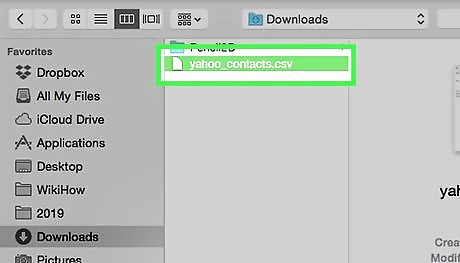
Select the contacts file you exported earlier. Go to the location of the contacts file, then click it once to select it.
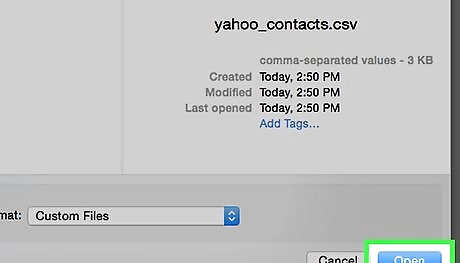
Click Open. It's in the bottom-right corner of the window.
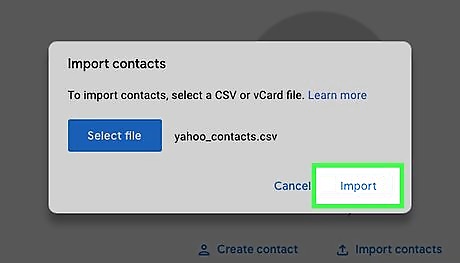
Click IMPORT. It's at the bottom of the menu on the Contacts page. Doing so prompts your contacts to import into your Gmail account.
Importing Emails
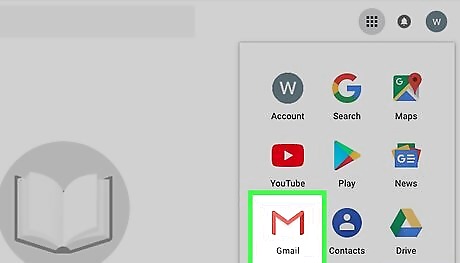
Go back to your Gmail inbox. Close the Contacts tab to do so.
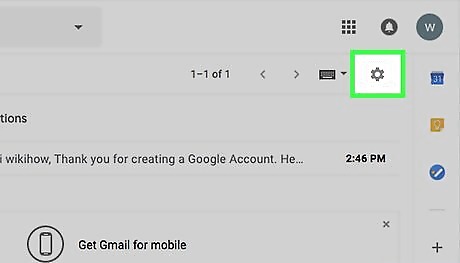
Click the "Settings" icon Android 7 Settings. It's the gear-shaped icon in the upper-right side of the inbox. A drop-down menu will appear.
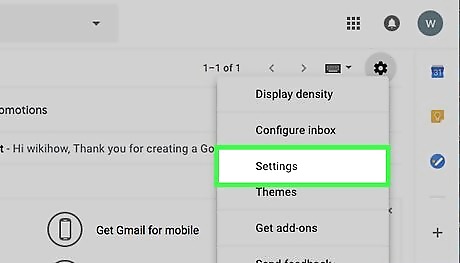
Click Settings. This option is in the drop-down menu.
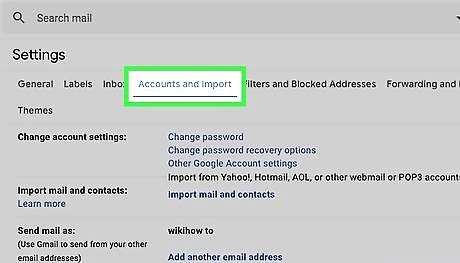
Click the Accounts & Import. You'll find this tab at the top of the page.
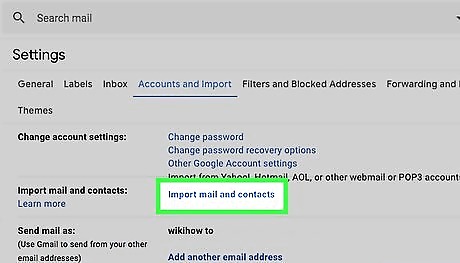
Click Import mail and contacts. It's a link in the "Import mail and contacts" section of the page. A pop-up window will appear.
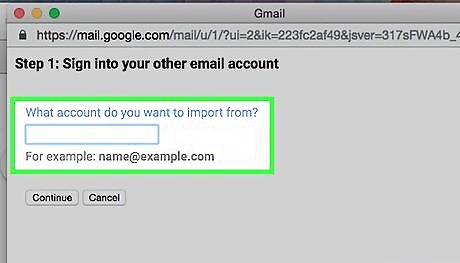
Enter your email address. Type the email address of the account from which you want to import mail into the text box in the middle of the pop-up window.
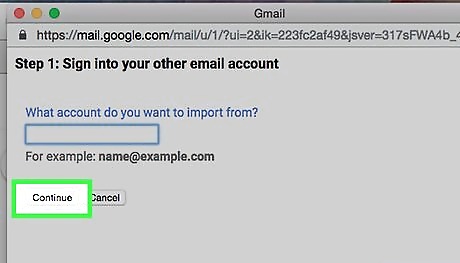
Click Continue. This is at the bottom of the window.
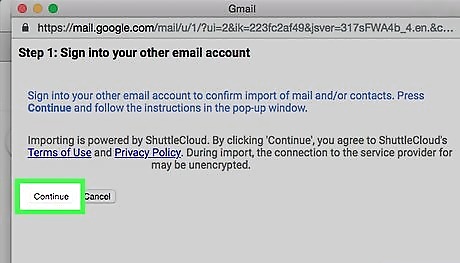
Click Continue when prompted. It's at the bottom of the window. Doing so opens a new pop-up window.
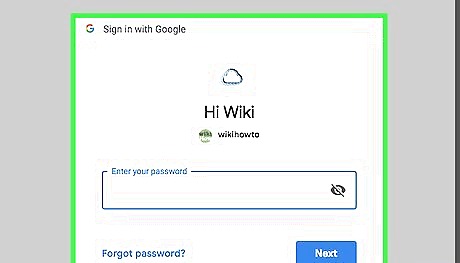
Sign into and verify your email address. In the new window that opens, do the following: Enter your email address and password when prompted. Scroll down and click Agree or Allow in the ShuttleCloud menu. Close the email verification window when asked.
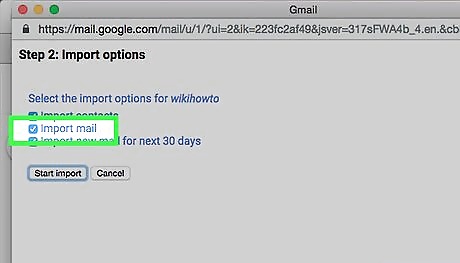
Check the "Import mail" box. It's in the middle of the window. You can uncheck the "Import contacts" and "Import new mail" boxes here; if you want your inbox to import new emails for the next 30 days, leave that box checked.
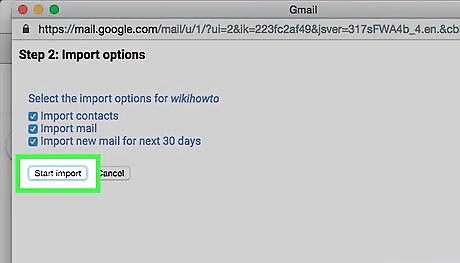
Click Start import. This is at the bottom of the window.
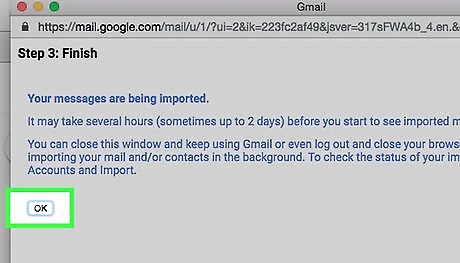
Click OK. It's at the bottom of the window. Doing so will prompt your old email service's emails to begin importing into your Gmail inbox. It can take several hours for the emails to finish importing, and you may not actually see the imported emails in your inbox for a couple of days.


Comments
0 comment