
Using Chrome (Windows 10)

Consider backing up your PC. Since this method involves editing sensitive components of your computer's operating system, backing up your information before continuing will prevent you from losing your data if your computer crashes.

Hold down the ⊞ Win+R. This opens the Run program.
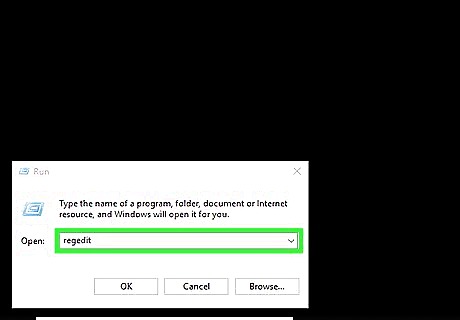
Open the Registry Editor. Use the following steps to open the Registry Editor:. Type "regedit" next to "Open" in Run. Press Enter.
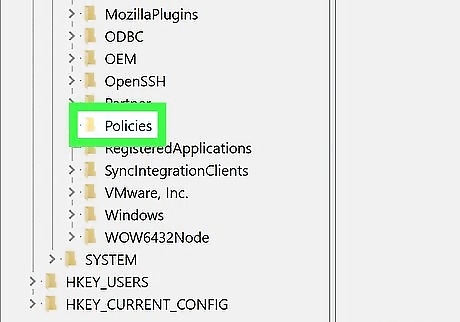
Navigate to "Policies" under "HKEY_LOCAL_MACHINE." Use the following steps to navigate to the Polices folder: Click the arrow next to "HKEY_LOCAL_MACHINE". Click the arrow to the left of "SOFTWARE". Click the arrow to the left of "Policies".
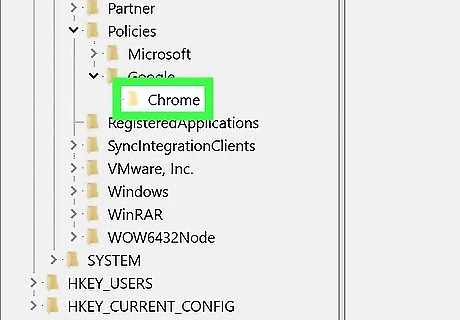
Navigate to the "Chrome" folder (or create it). If it's already on your computer, click the arrow to the left of "Google" and then click the arrow to the left of "Chrome". If these folders are not available, use the following steps to create them: Right click on "Policies" Click on "New" followed by "Key" Name this new Key "Google" Right click on "Google" Click on "New" followed by "Key" Rename the new key "Chrome"
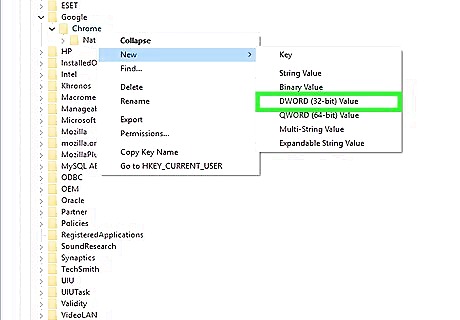
Create a new DWORD 32-bit value. Use the following steps to create a new DWORD 32-bit value for Google Chrome: Right-click Chrome Click New Click DWORD (32-bit) value

Give the value a name of IncognitoModeAvailability. You can copy and paste this text to make sure there are no errors. Then press Enter.
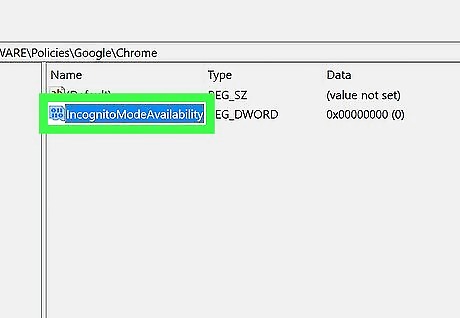
Double-click on the name IncognitoModeAvailability. A box will appear where you can set the value data.
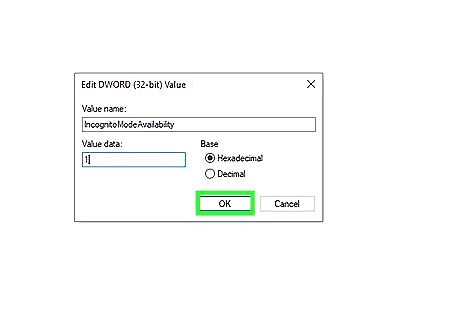
Change the value data to "1". Use the following steps to change the data value to "1": Use the box under "Data value" to change the value from "0" to "1". Leave the Base set to "Hexadecimal". Hit ↵ Enter or click OK.

Restart your computer to activate the Registry change.
Check to see if Incognito Mode is still available in Chrome. If Incognito Mode does not appear, you can stop here. Otherwise, you need to continue.

Download Chrome Canary. It's a Chrome developer/test version of Chrome. Use the following steps to download Chrome Canary: Go to https://www.google.com/chrome/browser/canary.html?platform=win64 in a web browser. Click Download Chrome Canary

Install Chrome Canary. To install Chrome Canary, locate the file ChromeSetup.exe in your Downloads folder and double-click it. This does not replace your existing Chrome, and the two can be opened side by side.
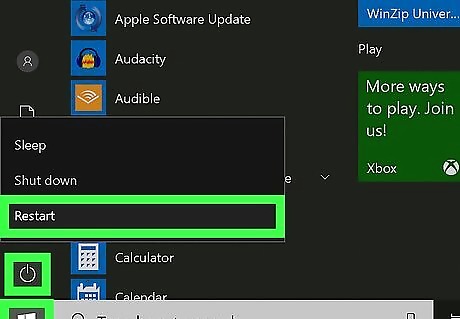
Restart your computer. Once Chrome Canary is installed, restart your computer so the changes take effect.

Open Chrome Canary from your desktop. This is an orange-colored icon similar to Chrome.

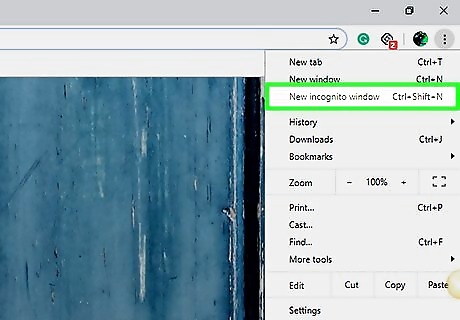
Check that Chrome Canary has recognized the Registry change. Make sure it does not include the Incognito option.
Re-open the original Google Chrome. It should no longer allow you to use incognito mode. You can then uninstall Canary if you want. If incognito mode is no longer available, you uninstall Chrome Canary if you want.
Using Group Policy Editor in Chrome (Windows)

Consider backing up your PC. Since this method involves editing sensitive components of your computer's operating system, backing up your information before continuing will prevent you from losing your data if your computer crashes. If your computer is running Windows Home edition, you will not be able to use this method since the Home edition does not support the Group Policy Editor.

Download the Google Chrome Policy template files. Use the following steps to download the Google Chrome Policy Templates: Go to https://support.google.com/chrome/a/answer/187202?hl=en in a web browser. Click Windows. Click ZIP file of Google Chrome templates and documentation.
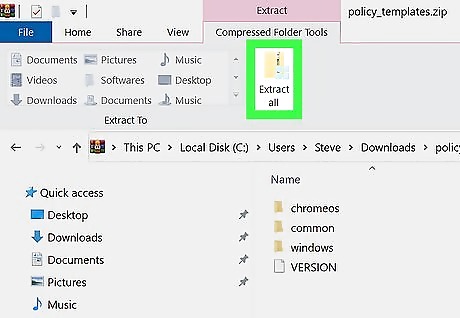
Extract the contents of the ZIP file. You can extract the contents of a ZIP file using an archive program like WinRAR or 7-Zip. Use the following steps to extract the contents fo the Zip file: Double-click policy_templates.zip in your Downloads folder. Click Extract, Extract all or something similar. Click Extract, Ok or something similar.
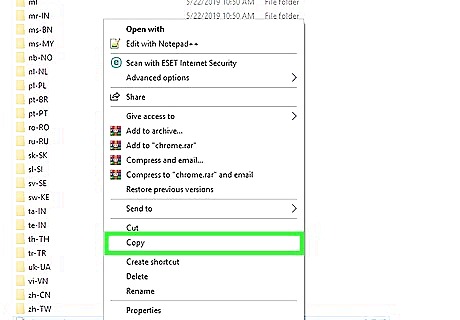
Copy the "Chrome.admx" file. It's inside the Windows folder you just extracted from the zip file. Use the following steps to navigate to the file and copy it: Double-click the policy_templates folder. Double-click the Windows folder. Double-click the admx folder. Scroll down and right-click chrome.admx. Click Copy.
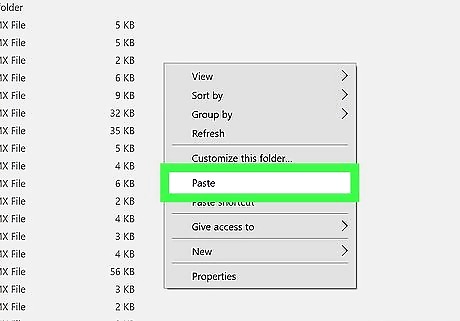
Paste the file in the "PolicyDefinitions" folder. It's in the "Windows" folder on your Windows install drive. Use the following steps to navigate to the PolicyDefiitions folder and paste the file: Press Win + E to open File Explorer. Open This PC or My Computer. Double-click your hard drive's (e.g., "OS (C:)") icon. Double-click Windows. Scroll down and double-click PolicyDefinitions. Right-click an empty space in this folder and select Paste.
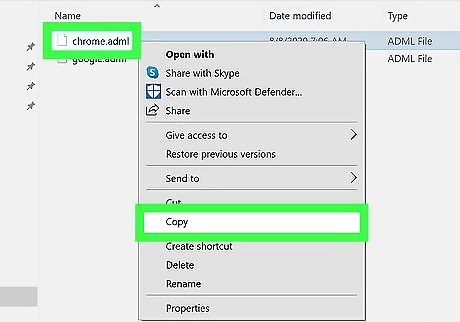
Copy the "chrome.adml" file. It's in the "policy_templates" folder you just downloaded and extracted. Use the following steps to navigate to the "chrome.adml" file and copy it: Double-click the policy_templates folder. Scroll up and double-click the en-US folder. Right-click chrome.adml and select Copy.
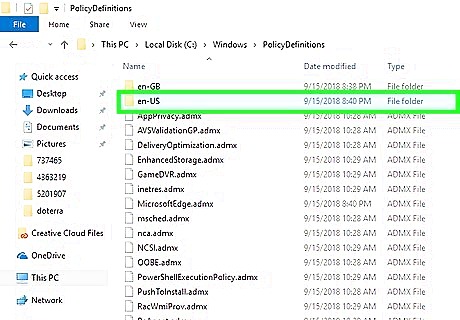
Paste the file in the "en-US" folder under "PolicyDefinitions". It's in the Windows folder. Use the following steps to navigate back to the "en-US" folder: Press Win + E to open File Explorer. Open This PC or My Computer. Double-click your hard drive's (e.g., "OS (C:)") icon. Double-click Windows. Scroll down and double-click PolicyDefinitions. Double-click en-US. Right-click an empty space in this folder and select Paste.
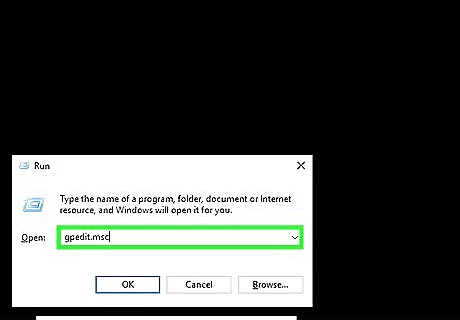
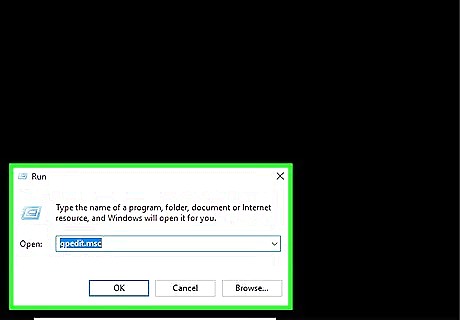
Open the Group Policy Editor. Use the following steps to open the Group Policy Editor: Press Windows + R to open Run. Type gpedit.msc into Run. This command opens the Group Policy Editor program. Press Enter or click OK.
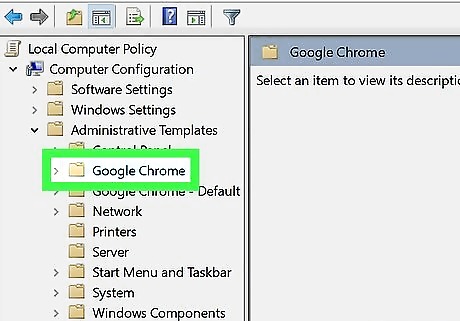
Navigate to the Google Chrome folder. Under the Administrative Templates folder. Use the following steps to navigate to the "Google Chrome" folder in the Group Policy editor: Click the arrow left of Computer Configuration. Click the arrow left of Administrative Templates. Double-click Google Chrome.
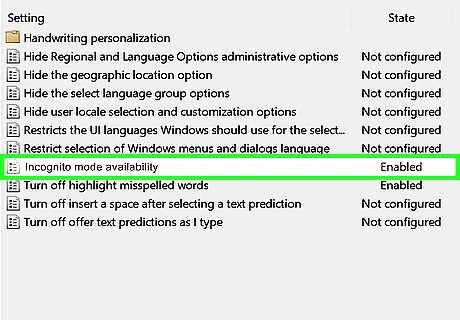
Scroll down and click Double-click Incognito mode availability. This is an option near the middle of the page. Doing so will invoke a new window with various options.

Click the radio option next to "Enable". It's the second option in the window at the top.

Click the drop-down menu under "Options" and select Incognito mode disabled.
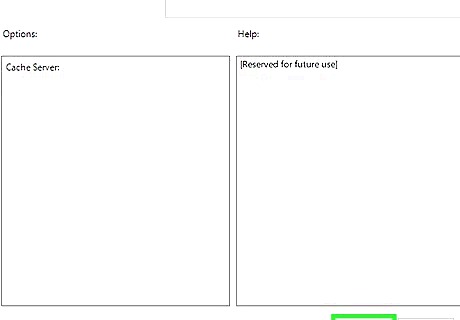
Click OK. At long last, incognito mode should now be disabled on your computer's version of Chrome. You may have to restart Chrome for these changes to take place. If that doesn't work, try restarting your computer and then re-opening Chrome.
Using Chrome (macOS)

Close Google Chrome. If you have Google Chrome open, you'll need to close it in order for these steps to work.

Open the Finder Mac Finder. It's the icon that resembles a blue and white smiley face on the Dock.

Click Go. It's in the menu bar at the top. This displays a drop-down menu with folder locations.

Click Utilities. It's at the bottom of the "Go" menu. This opens the Utilities folder.
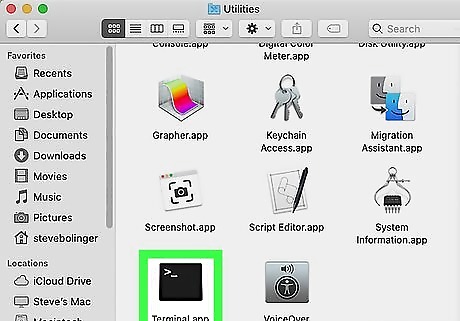
Double-click the Terminal Mac Terminal. It's in the Utilities folder It has an icon that resembles a black screen.

Enter the following terminal command and press ↵ Enter. The following command will disable Incognito Mode on Google Chrome: defaults write com.google.chrome IncognitoModeAvailability -integer 1
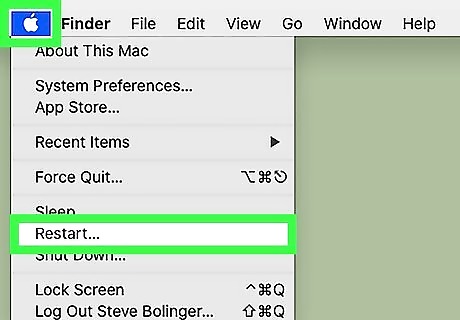
Restart your Mac. In order for the changes to take effect, you must restart your Mac. Click the Apple icon in the upper-left corner and click Restart to restart your Mac. To reinstate Incognito Mode again, re-enter the command in the Terminal and change the integer value to "0" instead of "1".
Using Brave Browser (macOS)

Mac TerminalOpen Terminal. Use the search button on the top right of your screen to type "terminal"
Enter the following terminal command and press ↵ Enter. The following command will disable Incognito Mode on Brave Browser: defaults write com.brave.Browser IncognitoModeAvailability -integer 1

Restart your Mac. In order for the changes to take effect, you must restart your Mac. Click the Apple icon in the upper-left corner and click Restart to restart your Mac. To reinstate Incognito Mode again, re-enter the command in the Terminal and change the integer value to "0" instead of "1".
Using Safari (macOS)
Click the Apple Mac Apple icon. It's in the upper-left corner of the Window. This displays a drop-down menu .
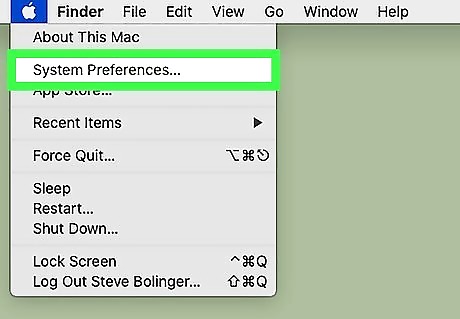
Click System Preferences. It's in the Apple menu.

Click Screen Time. It has an icon that resembles an hourglass.
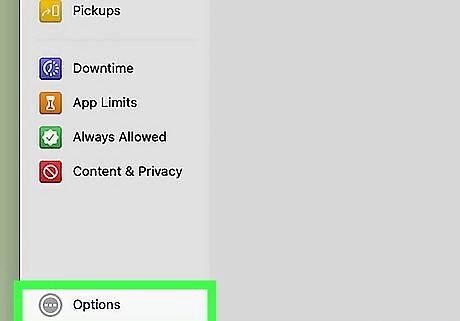
Click Option. It's the icon with three dots in the lower-left corner.

Enter your administrative password. In order to make changes to the Screen Time settings, you must enter your administrative password.
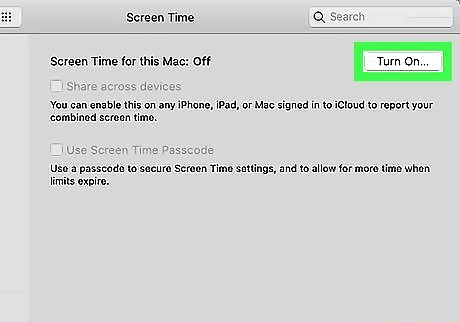
Click Turn On. It's in the upper-right corner. This turns on Screen Time restrictions.

Click Content & Privacy. It's at the bottom of the menu on the left.
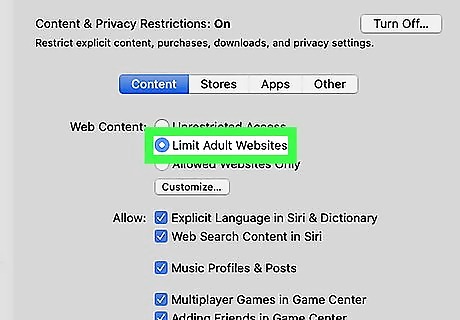
Click the radio option next to "Limit Adult Websites. This turns on web restrictions for Adult websites. It also disables the Private Window in Safari.
Using Safari (iPhone/iPad)

Open your iPhone's/iPad's Settings iPhone Settings App Icon. It's a grey app with gears that you'll likely find on the Home Screen.
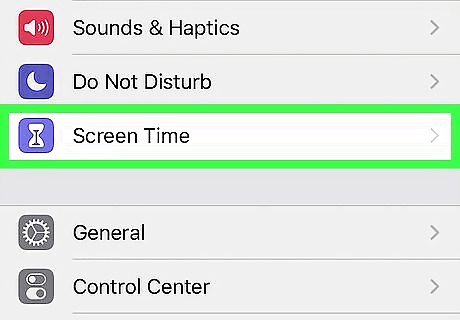
Tap Screen Time. It's next to a purple icon that resembles a magnifying glass. This displays the Screen Time Settings.

Tap Content & Privacy Restrictions. It's next to a red icon with a cross-circle.
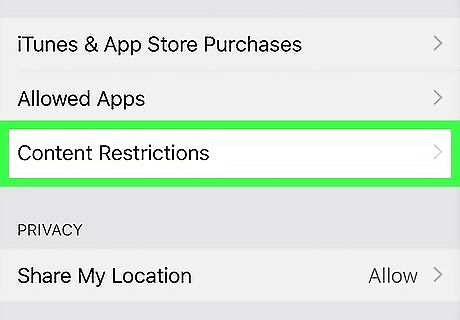
Tap Content Restrictions. It's near the top of the Content & Privacy Restrictions menu.

Tap Web Content. It's the option in the middle of the menu. This displays options for restricting web browser content.
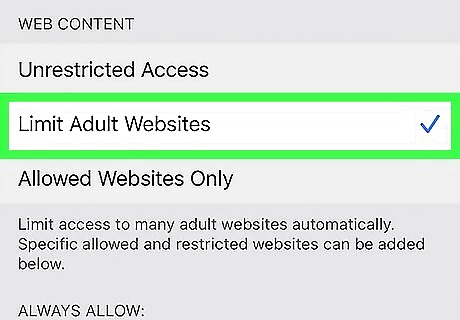
Tap Limit Adult Websites. It's the second option in the menu. In addition to restricting adult content, this option also disables Private browsing.
Using Microsoft Edge
Press ⊞ Win+R. Doing so will open the Run utility, from which you can run the program that allows you to disable Microsoft Edge's InPrivate Browsing. You will not be able to disable InPrivate Browsing on Windows 10 Home edition. You can also right-click the Start icon in the bottom-left corner of the screen and then select Run from the ensuing pop-up menu.
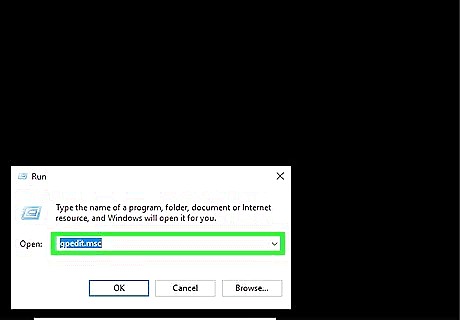
Type gpedit.msc into the search bar. Make sure you spell it correctly and don't add any spaces.
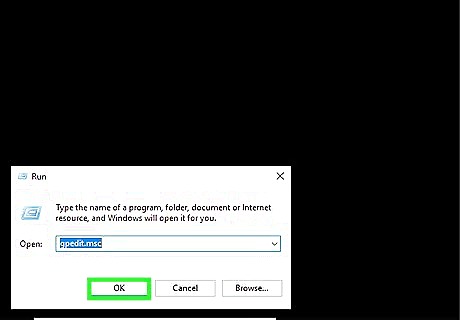
Click OK. Doing so will open the Local Group Policy Editor. If you aren't on an Administrator account, you may not have this option.
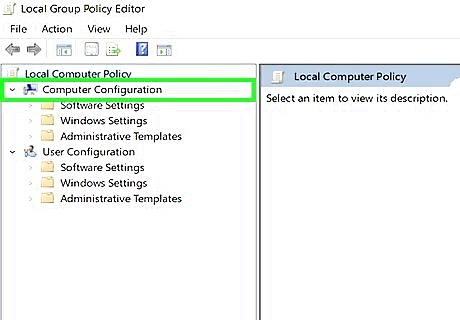
Click the arrow left of the Computer Configuration folder. This folder is in the left-hand pane of the Local Group Policy Editor window.

Click the arrow left of the Administrative Templates folder. You may first have to scroll down to find it.
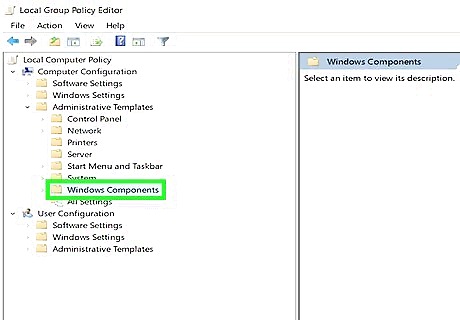
Click the arrow left of the Windows Components folder. You may need to scroll down before doing so.

Click the Microsoft Edge folder. Doing this will display the folder's contents in the pane on the right-hand side of the window.

Double-click the Microsoft Edge folder on the right. This will open the folder.

Click Allow InPrivate browsing. It's near the top of the folder's contents.

Click the radio button next to "Disable". This disables InPrivate Browsing on Microsoft Edge.

Click Apply followed by Ok. Doing so will save your changes. Now anyone using Microsoft Edge on this computer or any networked computers won't be able to activate InPrivate Browsing.


Comments
0 comment