views
Use the Properties Menu on Windows
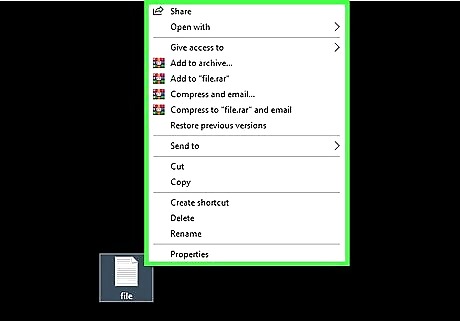
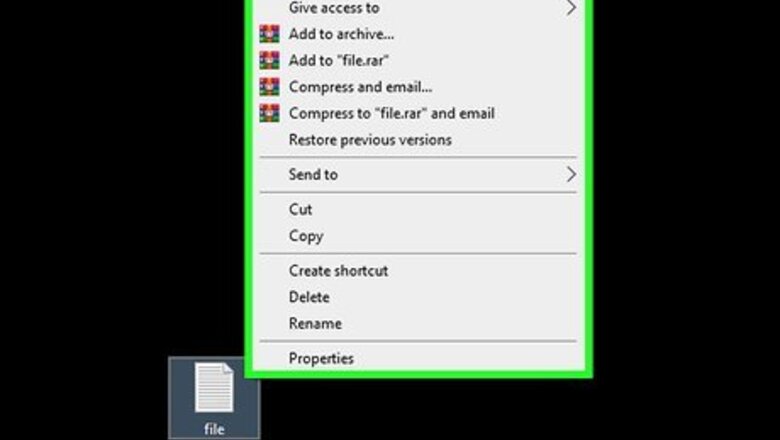
Right-click the file in File Explorer. You can right-click the file on your desktop as well as within File Explorer.
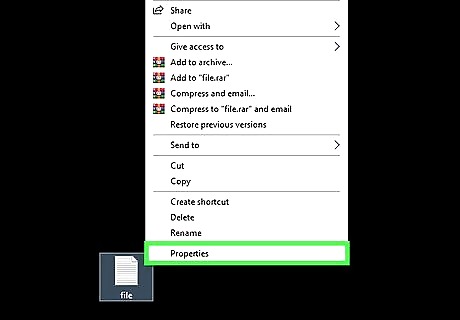
Click Properties from the drop-down menu. It's at the bottom of the menu.
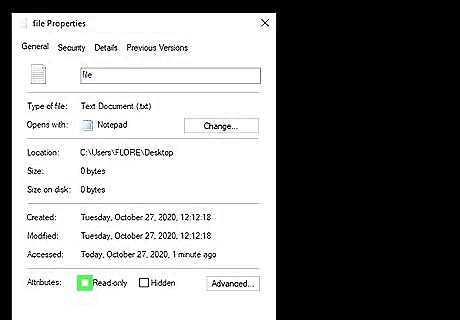
Uncheck the box next to the "Read Only" option in the "Properties" menu. If the box is checked and grayed out, either the file is in use or you don't have permission to change it. Quit any programs that are using the file. If needed, login as an administrator to gain permission to alter the file.
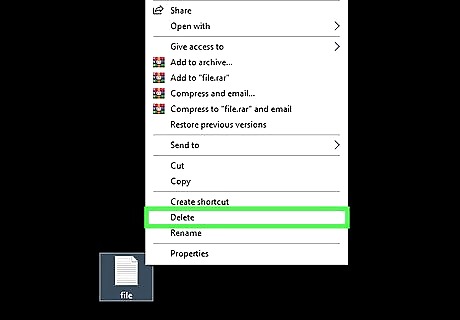
Delete the file. Once you've removed the Read Only status, you can right-click it and delete it or drag it to the Recycling Bin.
Delete Read Only Files in Mac OS X Using Finder

Open Finder. Find the file that you want to delete and click to highlight it.
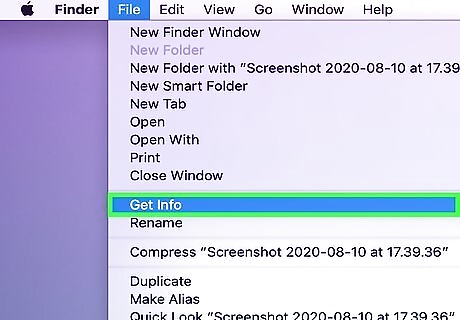
Click "File" and select Get Info. It's near the middle of the File drop-down menu. Alternatively, press Cmd + I when you have the file selected to open "Get Info" using a keyboard shortcut.
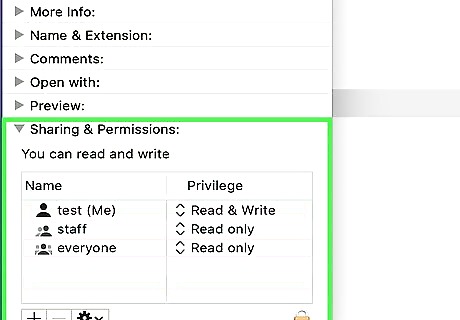
Select the "Privilege" option in the Sharing & Permissions section.
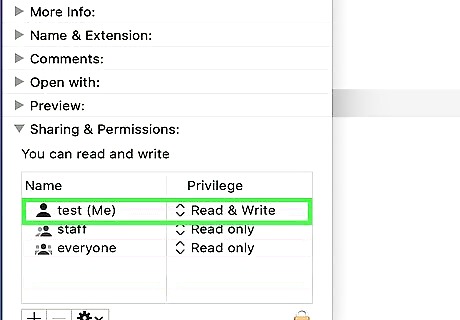
Click on the box next to "Owner."
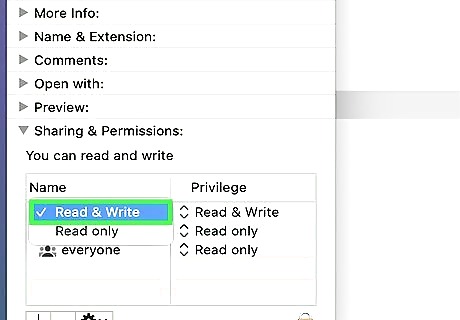
Set the file to Read & Write status.
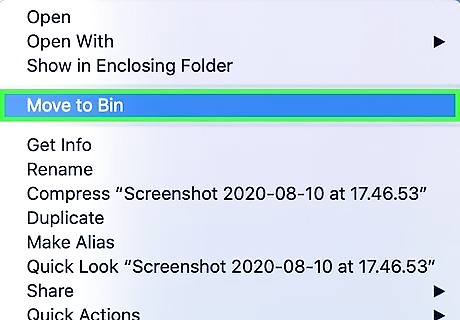
Delete the file. Right-click the file and select Move to Trash or drag and drop it to the trash icon in the Dock.


Comments
0 comment