views
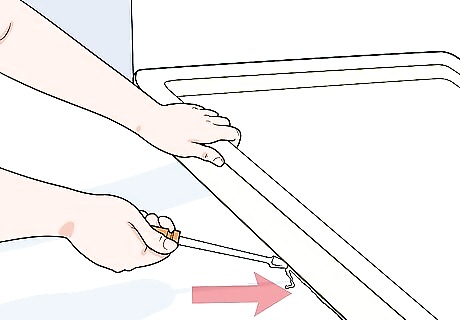
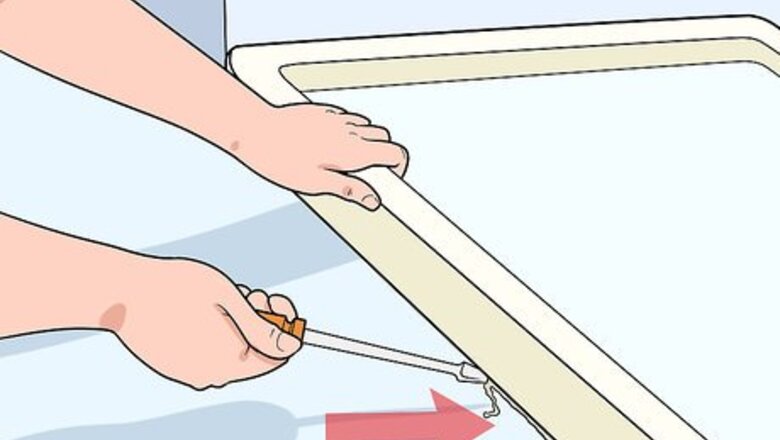
Begin removing the old shower pan. Dig into the caulking lining the edges of the shower pan with a flathead screwdriver until it begins to loosen. Use a drill to break the seal created by the rubber flange compression seal around the shower drain pipe by piercing the seal repeatedly with the drill. Use a flat pry bar to pry the edges of the pan away from the floor until it can be lifted.
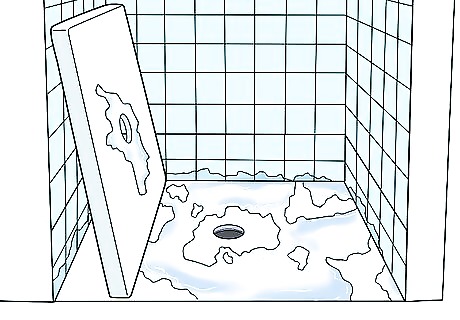
Remove the shower pan from the space after the seal around the shower drain pipe has been drilled out and you have removed any anchor flanges from the wall studs and shower pan base.
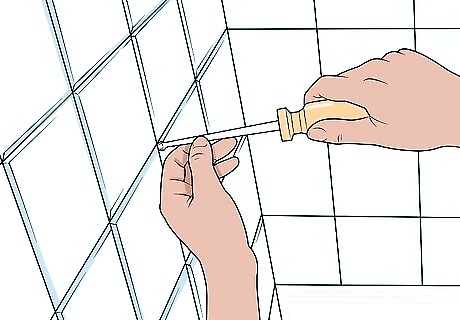
Remove any ceramic tile on the walls around the pan down to about 12 inches (30.48 cm) above the floor by chipping at the tile with the flathead screwdriver. At about a foot off the floor, cut into a grout line with a dry cut-off saw. You'll need to replace tile below that line, flush to the new fiberglass shower pan, and seal around it with a silicone sealant. Use a pry bar to loosen and then remove the old tile below your cut line.
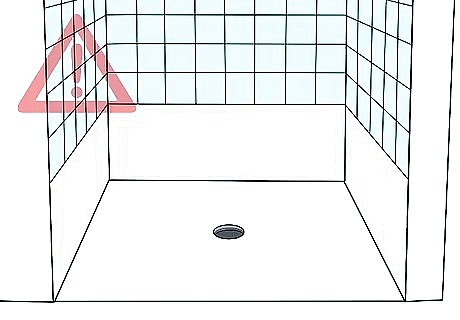
Clear the rubble from your disassembly and then examine your sub-floor and walls. Any serious rot or mold must be addressed before you replace the shower pan and tile. The sub-floor must have at least a 3/4-inch (1.91 cm) construction grade sheathing.
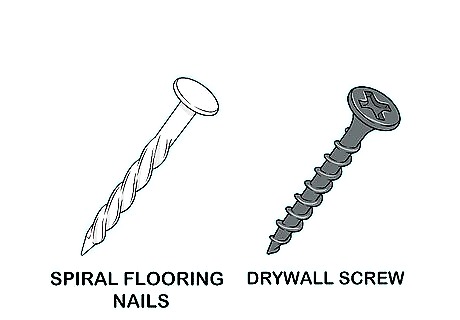
Use drywall screws or spiral flooring nails to fasten the sheathing snugly to the floor joists. The spirals in the drywall screws or spiral flooring nails will pull the drywall and sub floor together tightly. Driving the nails or drilling the screws into a floor joist will further secure the drywall.
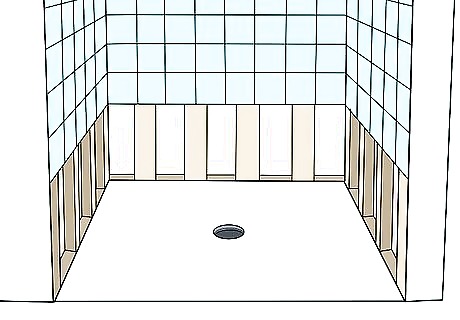
Build any necessary framing following manufacturers instructions for the shower pan. Prefabricated showers are made to be installed as-is, and most require only the addition of silicone sealant along the edges to complete. If you have a ceramic wall or other type of solid wall, it may be necessary to frame under the flange of the pan in order to provide needed support. If you plan to frame under the flange of the pan, fasten lengths of 4x4in (10.16 cm) wood or laminate lengths of 2x4in (5.08x10.16cm) planks around the pan.
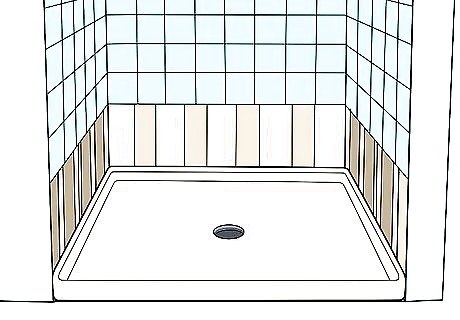
Place the fiberglass shower pan in the shower space.
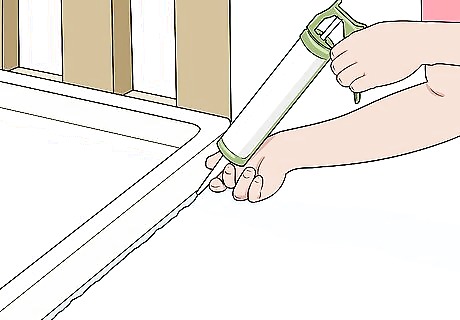
Caulk between the pan and the support pieces. Assure your pan is level. You may need to apply thin-set mortar after it has been mixed according to manufacturer instructions to any voids in the floor that are causing the pan to sit unevenly. Clean any excess thin-set.
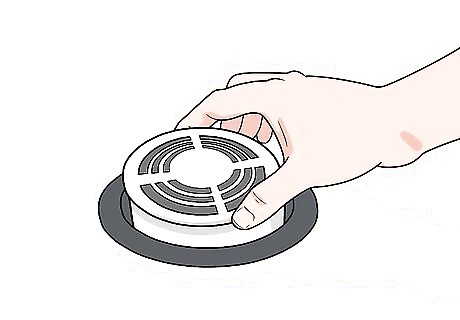
Install the drain fitting into the shower pan, and follow manufacturer instructions. You will need to attach the drain to the waste pipe with a rubber washer, a fiber washer, and finally with a nut. After the drain is attached, seal it with plumber's putty or silicone to seal the drain.
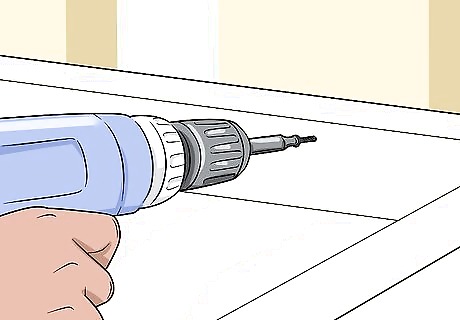
Screw the pan edges to stud walls using the factory-provided screws. Find stud walls using a stud finder.
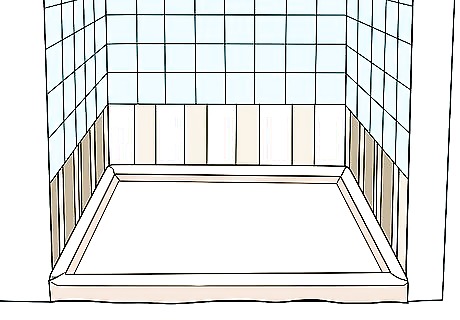
Cover your new shower pan with duct tape and building paper carefully before beginning new tile work. The glossy, gel coated surface of the pan can easily be scratched with the rough materials.
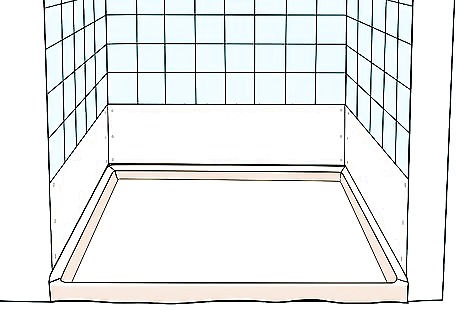
Install backer board to the walls to lay your surface for re-tiling by using backer board screws drilled into wall studs. Use a razor knife to cut the backer board to the necessary size.
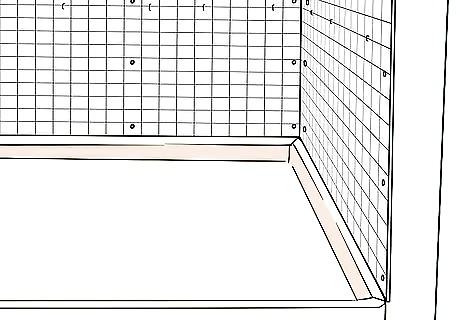
Hang reinforcing wire using staples over the membrane and flashing to serve as backing for the mortar layer.
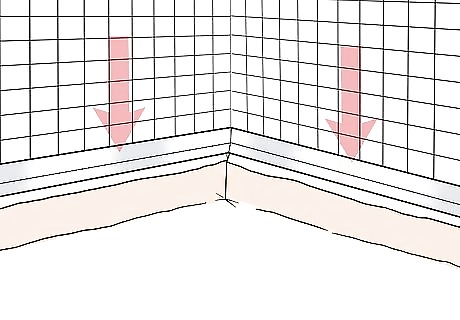
Install tile flashing over the new membrane by mounting it to the membrane covered backer board with flashing screws, in order to further waterproof your surface. The flashing should fit under the tile and over the flange of the new pan.
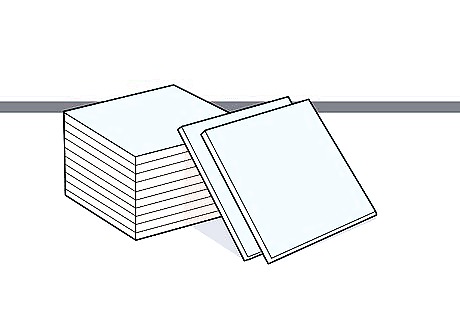
Install your new tile, allowing it to dry sufficiently before applying grout. You will need a tile saw, a chalk line with chalk, mortar, a bucket to mix your mortar, a flat trowel and rubber gloves to protect your hands. Use the chalk line to mark where you will lay your new tile. When you reach the tiles you must cut to fit, measure the size, mark your tile with a pencil, and then use a wet saw the cut the tile to fit.
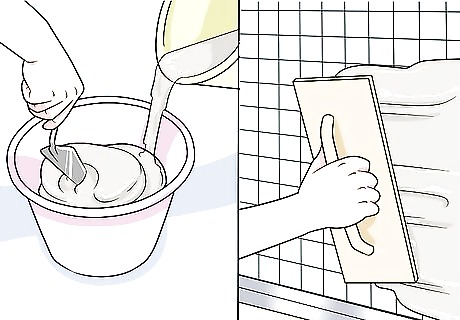
Mix the mortar with water according to manufacturer instructions. Use the trowel to spread mortar on the wall and place tile against the lines you made with your chalk line.
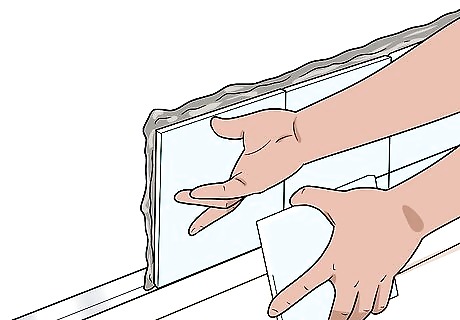
Press the tiles to the surfaces you've covered with mortar, and then let them dry for at least 8 hours before grouting between the tiles. Grout should be mixed according to manufacturer instructions and then applied with a large sponge.
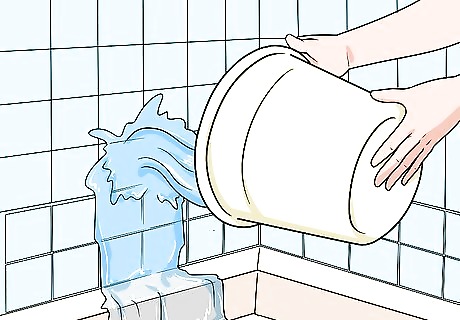
Use a bucket of water to clean the excess grout from the tiles as you work. Be sure to clean out any grout from corners and between the new and old tile, and at the base of the new tile. Use a silicon sealant at these areas.
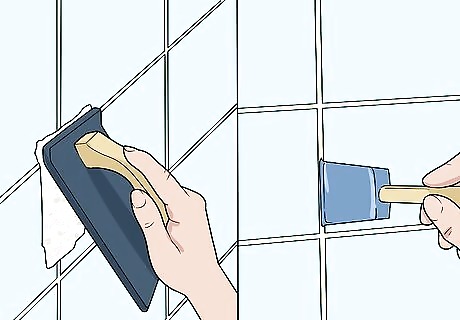
Seal the new tile and grout well to prevent water damage by spraying on sealant.





Comments
0 comment