views
Windows 10 & 11
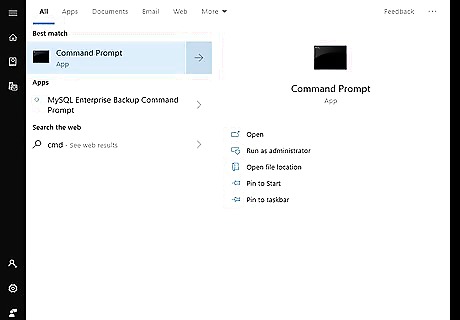
Click the Windows Start menu. It's the icon with Windows logo. By default, it's in the bottom-left corner of the taskbar. You can also press the Windows key to open the Start menu.
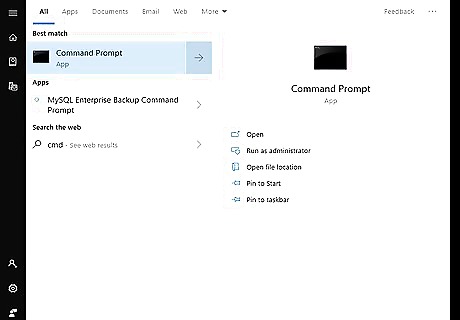
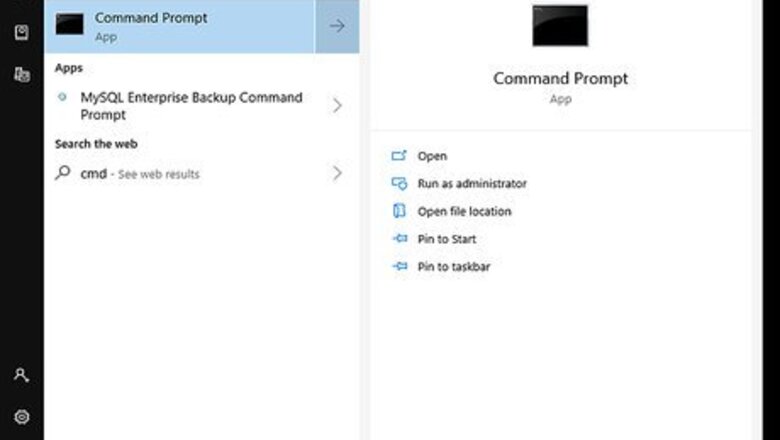
Type cmd. This displays the Command Prompt icon at the top of the search results.
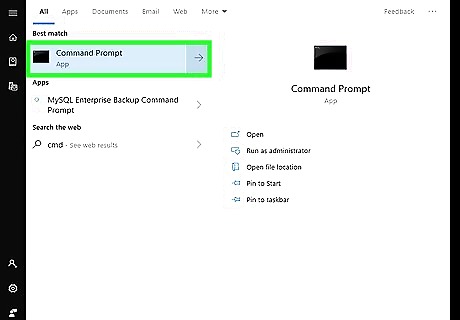
Click the Command Prompt icon Windows cmd. It's the black square icon with a small white "C:\" in the upper-right corner.
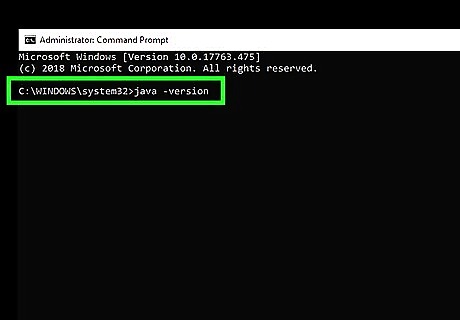
Type java -version and press ↵ Enter. Once you run this command, you'll see the Java version next to "java version" on the first line. To check the version of the Java compiler, use javac -version. If you see an error that says "'java is not recognized as an internal or external command, operable program or batch file," Java is either not installed or not properly added to your path. Add Java to your system path to fix the error.
Using Windows 8, 7, and XP
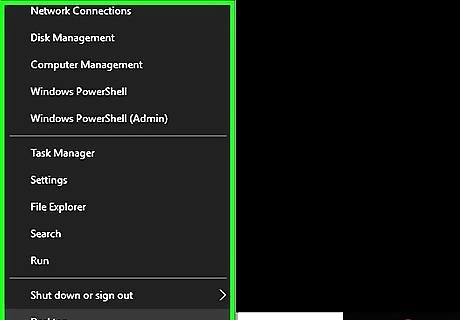
Right-click the Windows Start Windows Start icon. It's the icon with the Windows logo. By default, it's in the lower-left corner. Right-clicking this icon displays the System menu above the Start button.
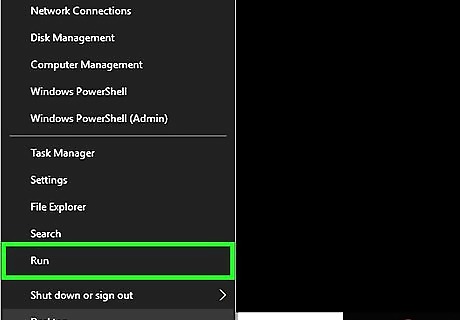
Click Run. It's the third option from the bottom of the System menu. This opens the "Run" program.
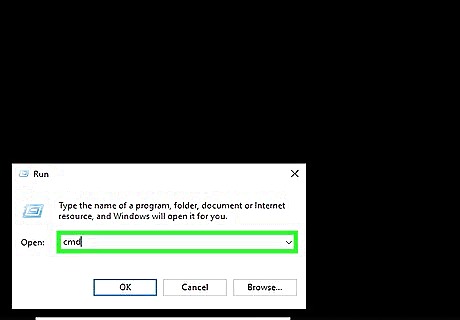
Type cmd.exe and click OK. Use the space next to "Open" in the Run program to type the command to open the Command Prompt.
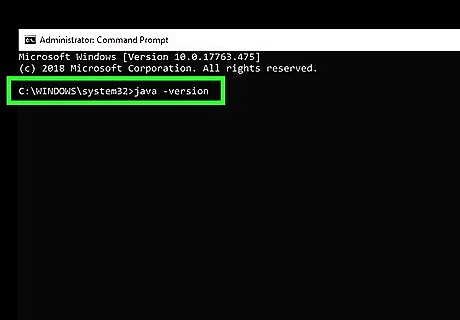
Type java -version and press ↵ Enter. You'll see the currently installed version of Java next to "java version." To check the version of the Java compiler, use javac -version. If you see an error that says "'java is not recognized as an internal or external command, operable program or batch file," Java is either not installed or not properly added to your path. Add Java to your system path to fix the error.
Fix the "Java is Not Recognized" Error
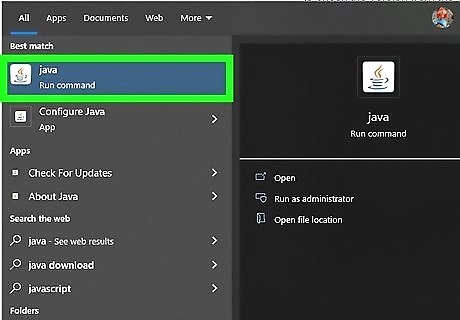
Find out where Java is installed. If you've installed Java but you're unable to check the version from the command line, you might just need to add the Java path to your system environment variables. But first, you'll need to figure out where Java is installed: First, press Windows key + S and type java. If there are no results on your computer, you will need to install Java, which you can download from https://www.oracle.com/java/technologies/downloads. If Java is installed, right-click the Start menu and select File Explorer. Locate the Java installation directory, which will look something like this (depending on your version): C:\Program Files\Java. If you don't see a Java installation directory in C:\Program Files, look in C:\Program Files(x86)\Java or C:\Java. Open the folder number containing the most recent version number for JRE or the JDK, e.g. C:\Program Files\Java\jdk17.0.4.1 or C:\Program Files\Java\ jdk1.8.X_XXX. Highlight the full path to the current folder at the top of File explorer and press Ctrl + C to copy.
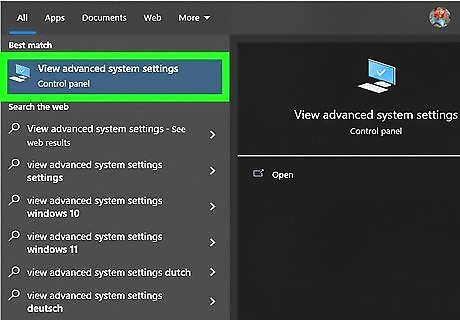
Open your Advanced System Settings. On Windows 11, 10, and 8, press Windows key + S, type View advanced system settings, then click Advanced System Settings. On Windows 7, right-click My Computer, click Properties, then click Advanced.
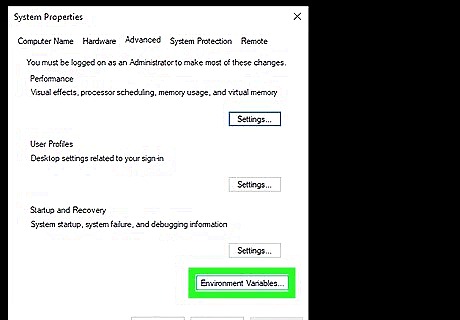
Click the Environment Variables… button. You'll see this near the bottom-right corner of the window.
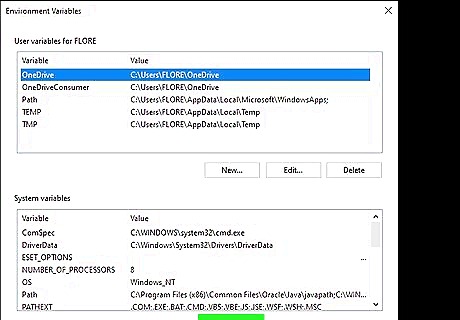
Click New… under "System variables." This is the bottom section. Adding a new item to System variables instead of User variables ensures that the Java path will be correct for all users on this PC, not just your own user account.
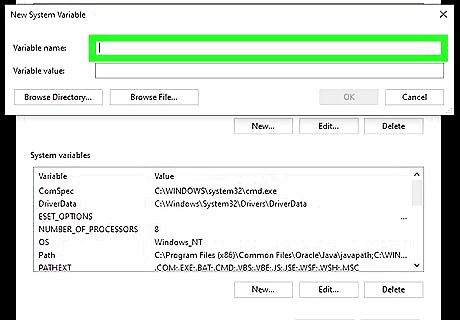
Type JAVA_HOME (for JDK) or JRE_HOME (for JRE). Create this variable name based on whether you installed the Java Development Kit or the Java Runtime Environment.
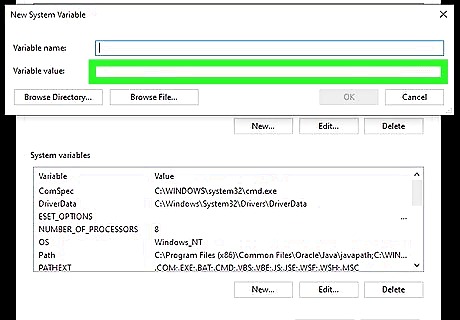
Paste the copied path to Java into the "Variable value" field. You can do this by right-clicking the bottom field and selecting Paste.
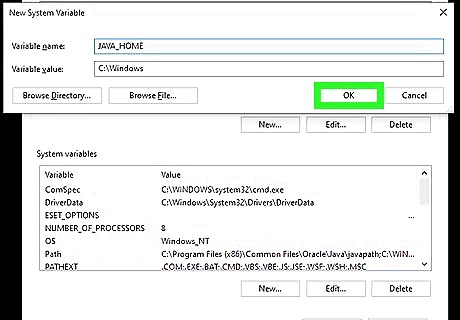
Click OK to save your variable. Now that you've added Java to your path, you can successfully check your Java version from the command prompt. Just close the open command prompt window, open a new one, then run java -v to find your version.




Comments
0 comment